SHTFPreparedness may collect a share of sales or other compensation from the links on this page.
An axe is a versatile tool. You can use it for a variety of tasks. For example, with an axe, you can:
- Chop firewood.
- Clearing brush.
- Build structures.
However, over time, the axe blade can become blunt. It makes it difficult and potentially dangerous to use. Sharpening an axe is a daunting task. But it is an important skill that should be in the arsenal of any axe user.
In this text, we will tell you how to sharpen an axe. You will learn a few simple steps. They will help you sharpen an axe and return it to its former glory. We will cover the necessary tools and materials and the techniques you should use to sharpen an axe.
Whether you are an experienced axe user or a beginner, our guide will provide you with the knowledge you need to know how to sharpen an axe at home and make it an effective and reliable tool again.
So, are you facing the problem of a blunt axe? It’s time for you to learn how to sharpen an axe. Keep reading and follow our step-by-step guide.
Step 1: Prepare Your Materials
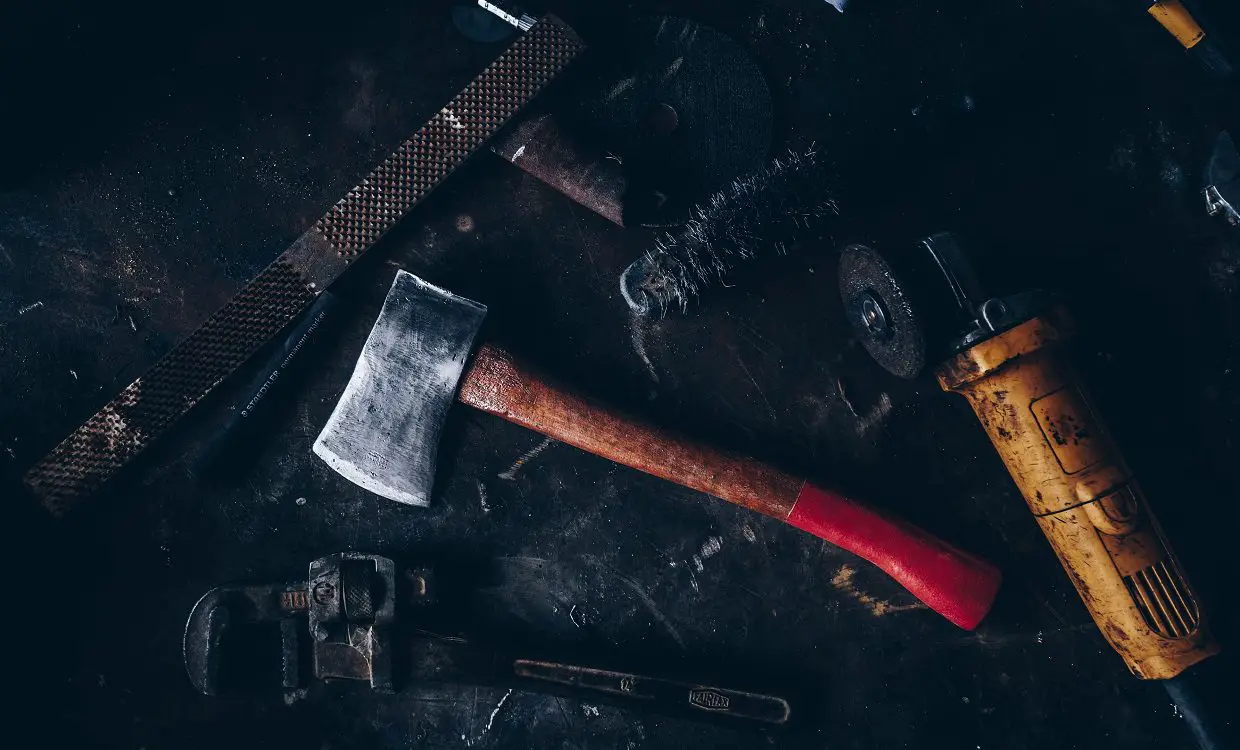
Before moving on to the axe sharpening guide, you must gather all the necessary tools. That way, your process will go as smoothly as possible. You will need the following:
- A file.
- Sharpening stone.
- Lubricant.
- Protective gloves.
- Eye protection.
You will use the file to remove nicks and damage on the blade’s edge. You will use a sharpening stone to sharpen the blade to a fine edge.
Lubricant helps reduce friction and prevent overheating. And safety gloves and eye protection will protect you from debris. You can move on to axe sharpening preparations when these materials are prepared.
Step 2: Secure the Axe
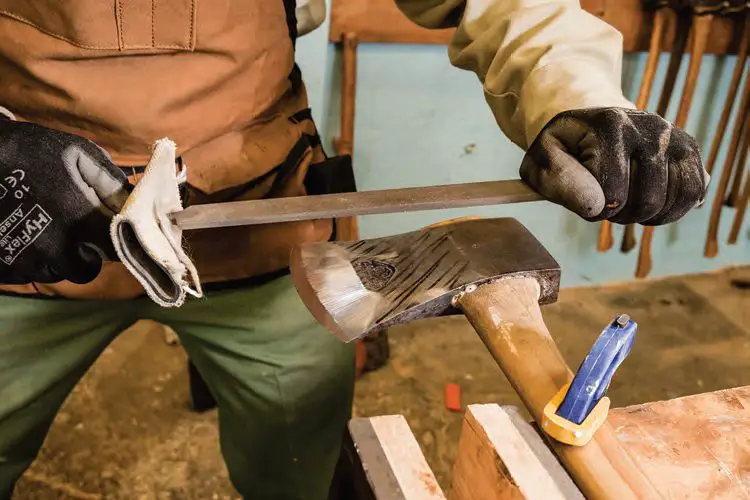
To keep the axe from moving during sharpening, secure it securely. One way to do this is to use a vise or clamps to hold the axe in place.
Ensure the axe is upright to be comfortable working with the blade’s edge. If you don’t have a vise or clamps, someone can hold the axe while you sharpen it.
Make sure the person helping you is wearing protective gloves and goggles. Once you have secured the axe, you can assess its condition. It is the next step in our axe sharpening guide.
Step 3: Assess the Blade Condition
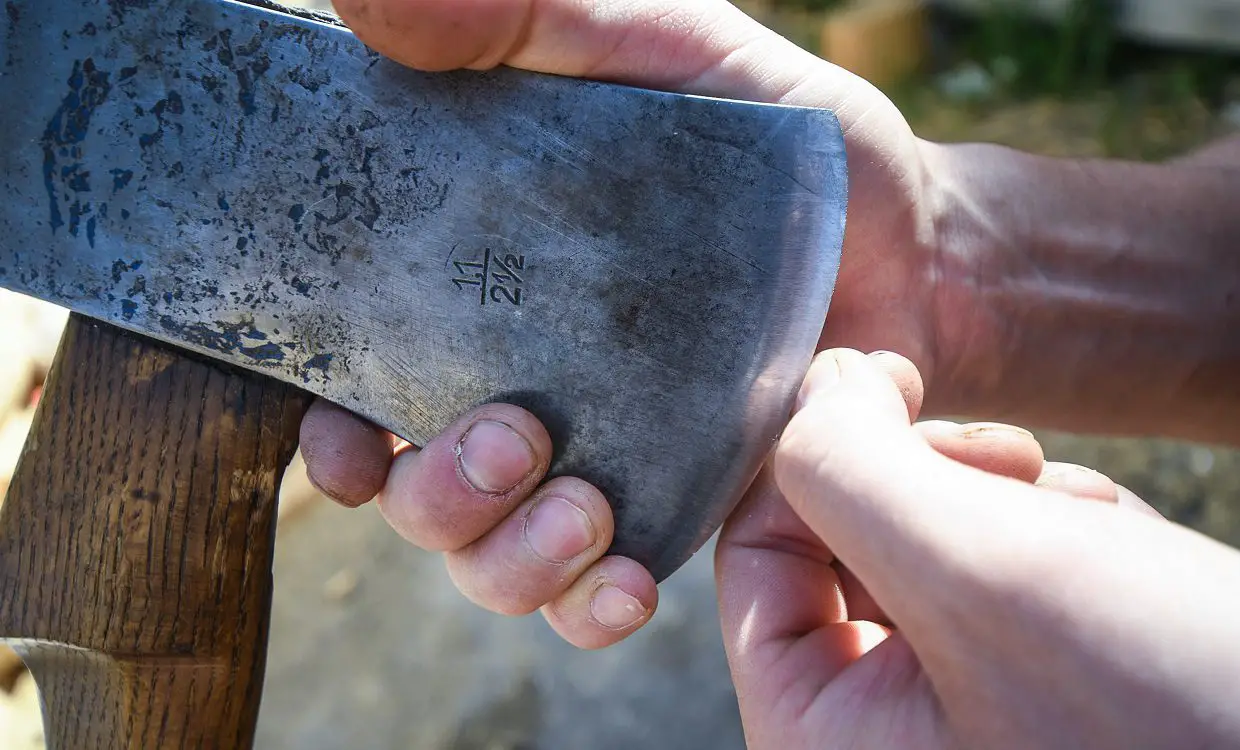
Before you know how to sharpen an axe at home, assess its condition. Look to see if there are any nicks, chips, or damage to the edge.
Is there any visible damage on the axe? Use a file to smooth them out before you start sharpening.
You should also check the bevel angle of the blade. Most axes have a bevel angle of 25 to 30 degrees. If the angle is different, adjust it accordingly with a file.
Evaluating the condition of the blade can help you. You won’t waste time and effort sharpening a damaged or improperly sharpened blade.
Step 4: File the Edge
Move on to the process of axe sharpening. Using the file, start by sharpening the edge of the axe.
Position the file at a 20-30 degree angle to the chamfer of the blade and move it along the edge in one direction.
Slightly pressing down, move along the edge until you have filed the entire blade. Repeat the process on the other side of the blade so that both sides are evenly sharpened. If there are nicks or damage, focus on these areas and file them.
Step 5: Sharpen the Bit
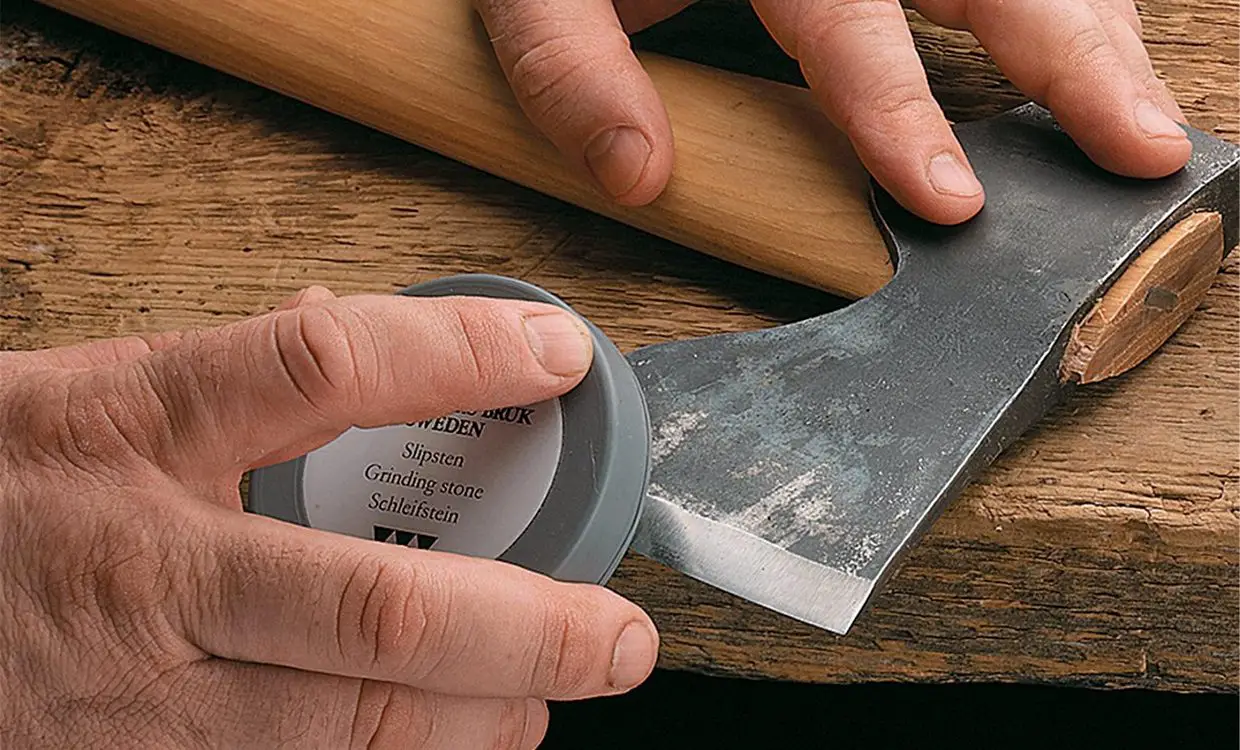
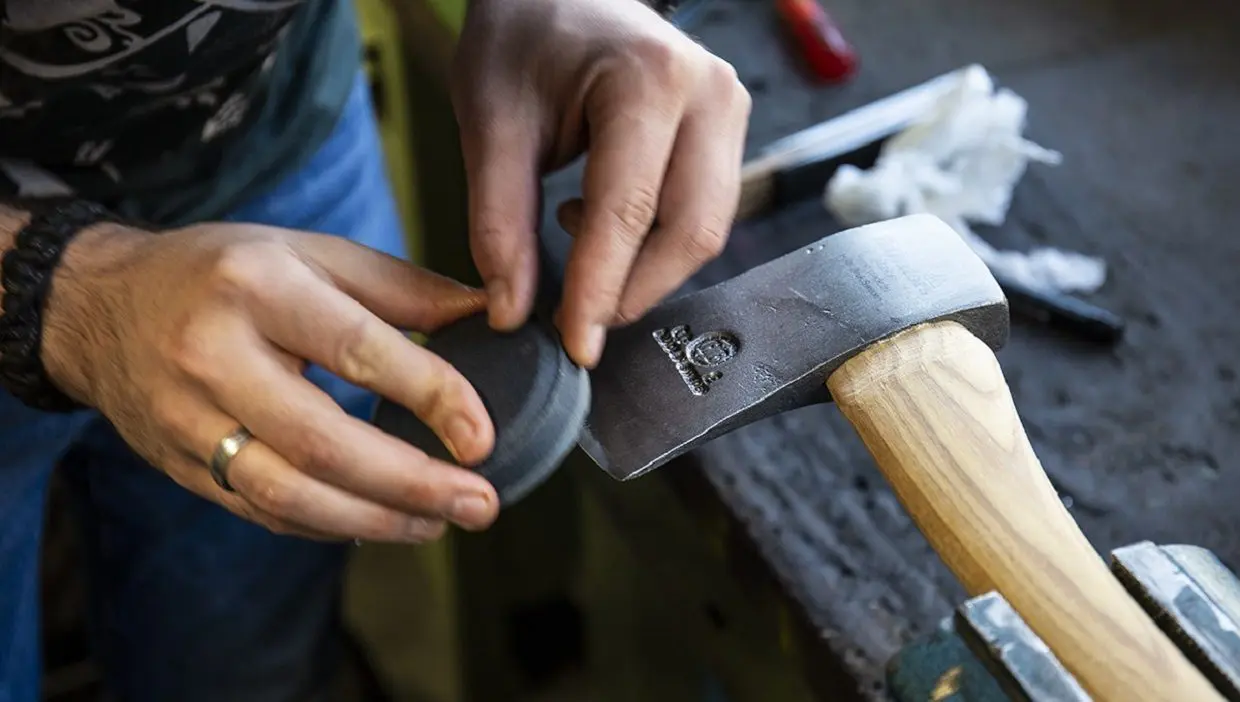
After machining the edge with a file, the next step is to sharpen the chisel. Using the sharpening stone, set it at the same angle as the blade bevel. Apply light pressure by moving the stone in a circular motion over the chisel.
Repeat the process until you have covered the entire chisel. Then turn the axe over and repeat the process on the other side.
Ensure the chisel is evenly sharpened and has a clean, polished appearance. Once you have sharpened the chisel, you can move on to step 6 of the how to sharpen an axe question.
Step 6: Hone the Blade
Sharpening the blade helps improve the edge. With it, you can remove any burrs that may have formed during machining.
Using the sharpening stone, hold the axe so that the bevel fits snugly against the stone. In a circular motion, move it back and forth. Cover the full edge of the blade with minimal pressure.
Repeat the process on the other side of the blade so that both sides are evenly honed. Have you honed the blade yet? Proceed to step 7, our axe sharpening guide.
Step 7: Remove Any Burrs
After sharpening the blade, check for burrs on the edge. A burr is an uneven edge that can cause the axe to snag or scuff.
To remove the burr, hold the axe at a slight angle. Gently scrape the edge with a sharpening stone until you remove the burr.
Repeat this process on the blade’s other side to ensure both sides are burr-free. After deburring, you can move on to the last step, applying lubricant and checking the edge.
Step 8: Apply Lubricant and Test the Edge
The last axe sharpening step is applying lubricant to the blade and checking the edge. Lubrication helps to reduce friction and prevent overheating. Overheating can damage the blade.
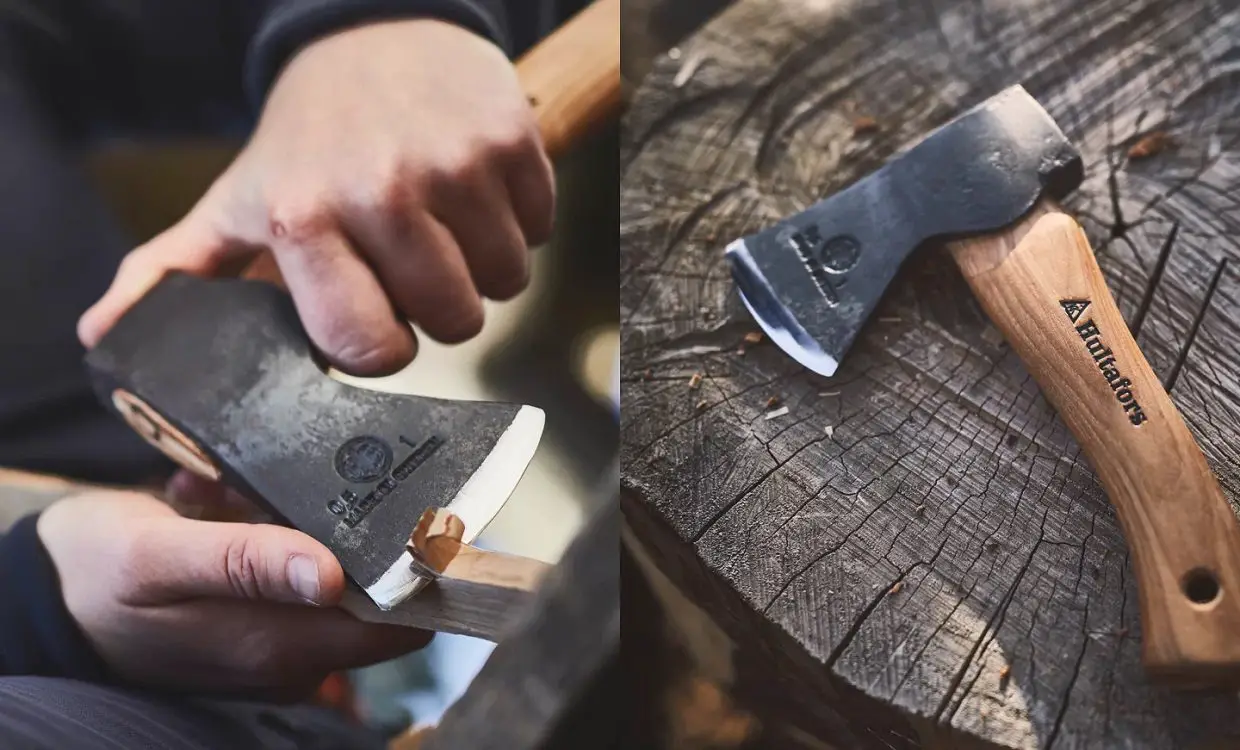
Apply a few drops of the lubricant to the blade and use a soft cloth to spread it evenly over the edge. To check the edge, gently run your finger along the blade’s edge to feel for roughness or grip.
The axe is ready to go if the edge feels smooth and sharp. If not, repeat the axe sharpening process until you achieve the desired sharpness. Finally, remove the axe from the vise or clamp and put it away for storage.
Conclusion
Sharpening an axe is a simple process that you can do with a few tools and a little patience.
Following these eight steps will answer the question of how to sharpen an axe.
Remember to wear protective gear and handle the axe carefully to avoid injury.
References:
Bonus: Root Cellar That Can Be Used as a Bunker
Do you remember the old root cellars our great-grandparents used to have? In fact, they probably built it themselves, right in their back yard.
If you want to learn how to build a backyard bunker like your grandparents had, without breaking the bank, then you need Easy Cellar.
Easy Cellar will show you:
- How to choose the ideal site
- Cost-effective building methods
- How to protect your bunker from nuclear blast and fallout
- How to conceal your bunker
- Affordable basic life support options
Easy Cellar will also reveal how a veteran, with only $421, built a small nuclear bunker in his backyard.


