When it comes to survival tools, there’s an old saying that “two is one and one is none.” The intent of this saying is to reinforce the importance of redundancy — if item A breaks or is lost, you still have item B. However, this logic also applies to diversifying the capabilities of your gear. To illustrate the point, let’s look at one of the most critical tools of all: a knife. You’ve probably already incorporated two knives into your survival kit, but it’s unlikely that they’re two identical knives. One may be a midsized fixed blade, highly durable and capable of heavy-duty chopping. Perhaps it’s a machete or an ax. The other is likely a smaller blade with a more precise edge that’s ideal for shaving tinder or skinning game; it could be a folding knife or a small fixed blade worn on a neck lanyard. Although there’s substantial overlap between the capabilities of these two tools, there are also tasks that each excels at. In addition to providing redundancy, they complement each other.
By this point, you should realize the same philosophy applies to other survival tools, including firearms. So, when the subject of building an ideal survival rifle came up, it led me to the realization that it’s possible the ideal tool isn’t one rifle. I’d argue that it’s two.
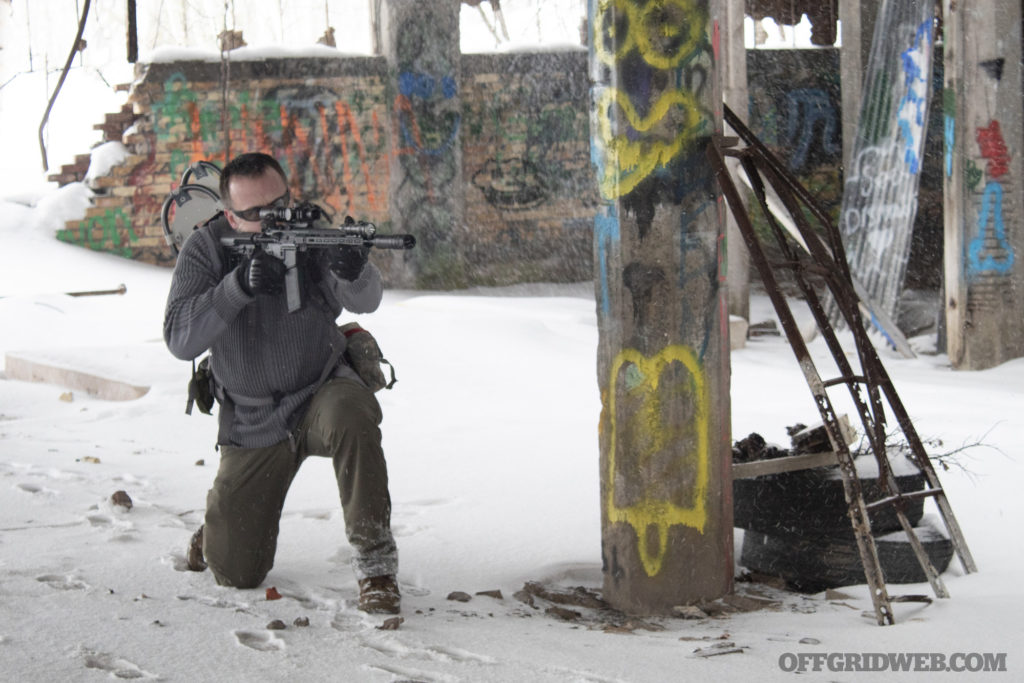
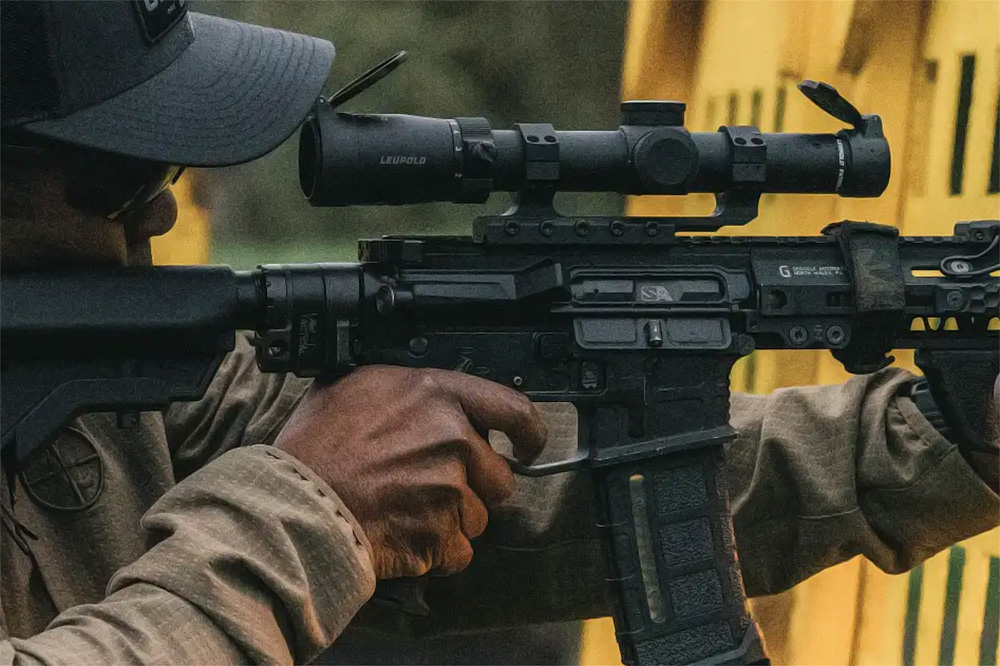
Photo by Tom Marshall
Editor’s Note: Welcome to the third and final part of our Tailor-Made ARs series, a conceptual approach to building task-focused, performance-driven rifles for emergency preparedness. Several RECOIL OFFGRID writers will each take a unique path to designing an idealized AR for survival and crisis response. We’ll examine how each weapon is tailored to the user, and how it can be creatively adapted to a multitude of dicey situations. We hope these builds reinforce the importance of choosing every component wisely with versatility in mind.
Interchangeable Uppers vs. Complete Rifles
In the beginning, I decided to start with my tried-and-true 11.5-inch short-barreled rifle (SBR) and simply build a second upper receiver for it. After giving this some thought, I wrote down the following pros and cons related to this one-and-a-half-rifle plan.
Pros:
- It’s much less expensive than building two complete guns.
- A spare upper is lighter and easier to carry than a second rifle.
- Since I’m starting with a registered SBR, I can run sub-16-inch barrels, a stock, and a vertical foregrip.
Cons:
- No true redundancy. If something goes wrong with my only lower receiver, both uppers are rendered useless. Also, in a group survival setting, I wouldn’t have a second functional rifle to hand to a friend or family member.
- Less specialization. With only one lower, I’ll need to pick a configuration that’s suitable for both uppers. This means I won’t be able to fine-tune the buffer system, trigger, grip style, and stock shape for each setup.
- Inconvenience. A separate upper is harder to keep clean and lubricated, since the underside of the bolt carrier is exposed to dust and lint. It also takes a few seconds to retrieve an upper, pop the pins, and switch receivers. In time-sensitive situations, that may be a problem.
- Compatibility. If you’re running Mil-spec receivers, you shouldn’t have this concern unless one is out of spec. But, in my case, my SBR was built with a matched billet receiver set from Ascend Armory. When I attempted to install an Aero Precision M4E1 stripped upper, I noticed it was impossible to install it due to the lower’s large ambidextrous bolt catch. Some will see this as a reason to only run Mil-spec parts, but there are two sides to that argument, as I’ll explain later.
- It’s a registered SBR, so I have to file an ATF 5320.20 Application to Transport NFA Firearms form any time I travel with it outside my home state.
As a result of these considerations, the plan to use one lower and two uppers was scrapped, and I decided to build two complete AR-15s.
Similarities and Differences
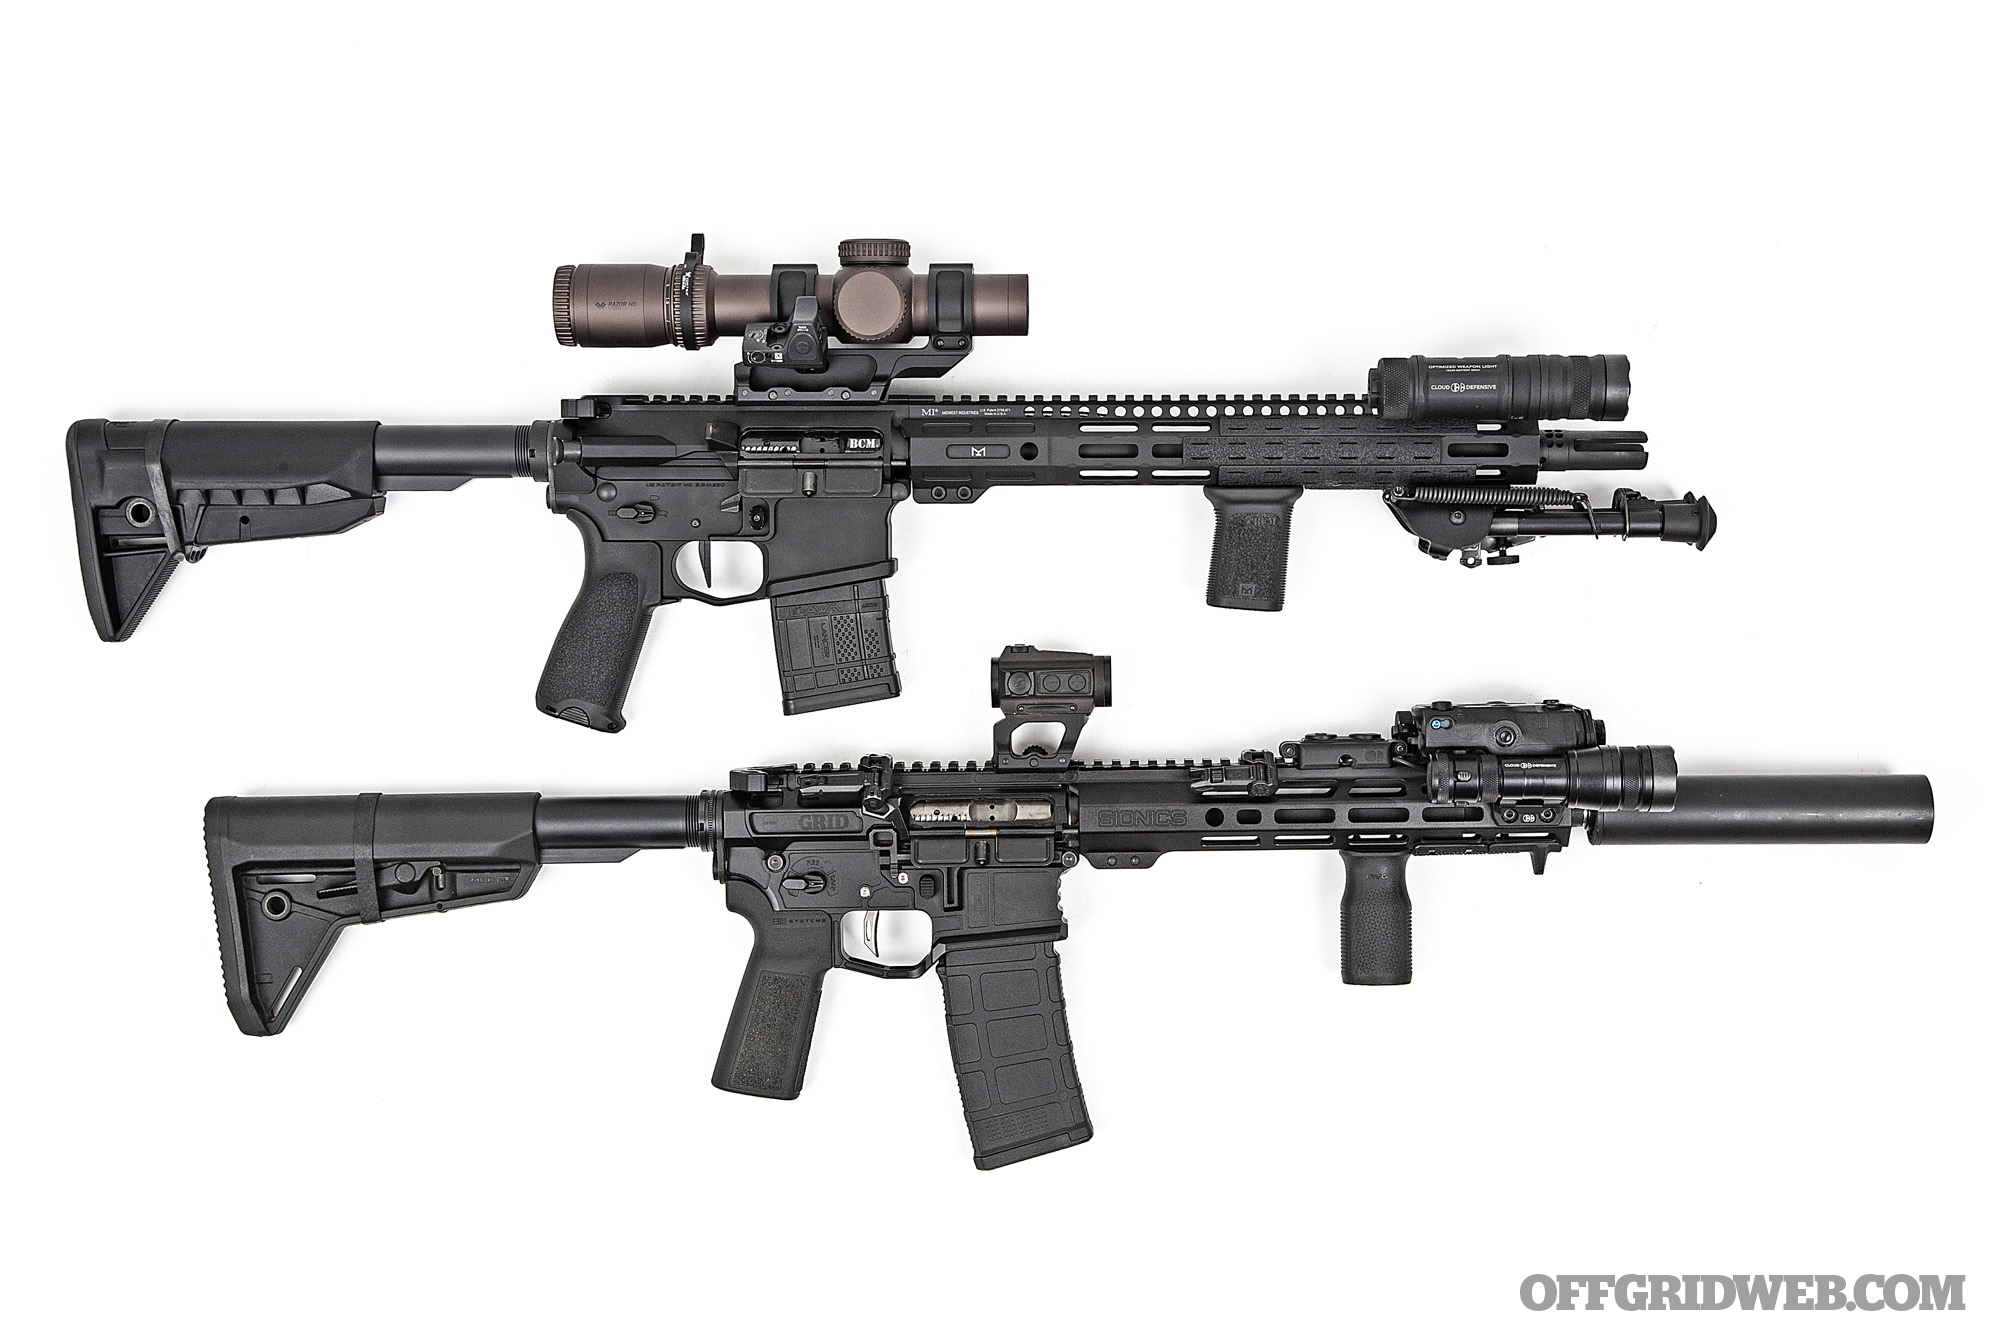
At this point, I had to decide how much overlap I wanted between the two weapons. On one side of the spectrum, I could have gone for maximum differentiation — for example, a precision bolt-action rifle and a personal defense weapon (e.g. short AR pistol or MP5K). This would allow both to be carried by one person comfortably but would also almost eliminate the overlap and redundancy in capabilities, as I mentioned earlier. Instead, I chose to build two rifles that share many characteristics but aren’t identical.
As far as similarities, both are AR-15s chambered in .223/5.56 NATO. This means I can share ammo, magazines, and critical moving parts (e.g. bolt carrier groups) between the two. I have a stockpile of .223/5.56 ammo already, and I know many of my friends and neighbors have their own supplies to share in the event that we need to pool resources. The manual of arms is virtually identical for both rifles, so anyone who has used an AR before should know how to operate them, maintain them, and clear malfunctions in the field. In a “take this and watch my back” group survival situation, that’s immensely valuable.
Differences are relatively limited and will be discussed in greater detail during the individual build sections. The CliffsNotes version is that the 11.5-inch rifle is optimized for close-quarters and night vision use, while the 13.9-inch rifle is optimized for medium-range precision and reconnaissance.
Read on as we look at the specs and components of each build.
11.5-inch Suppressed SBR
Above: This Scalarworks 1.57 mount is lightweight, tall enough to clear my infrared laser, and can be installed and removed without tools. It fits a variety of optics that use the Aimpoint Micro footprint.
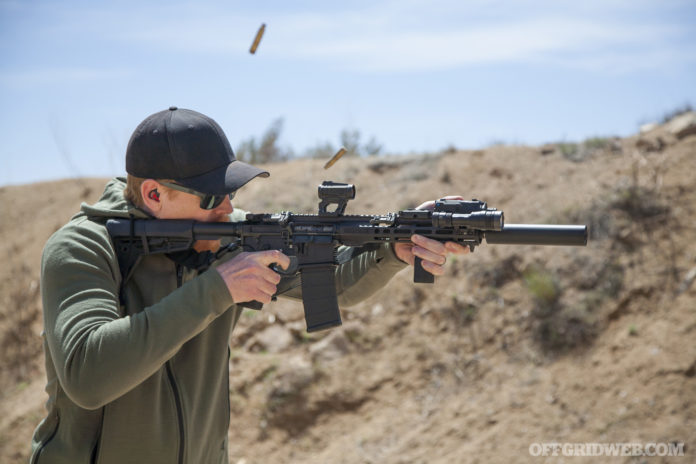
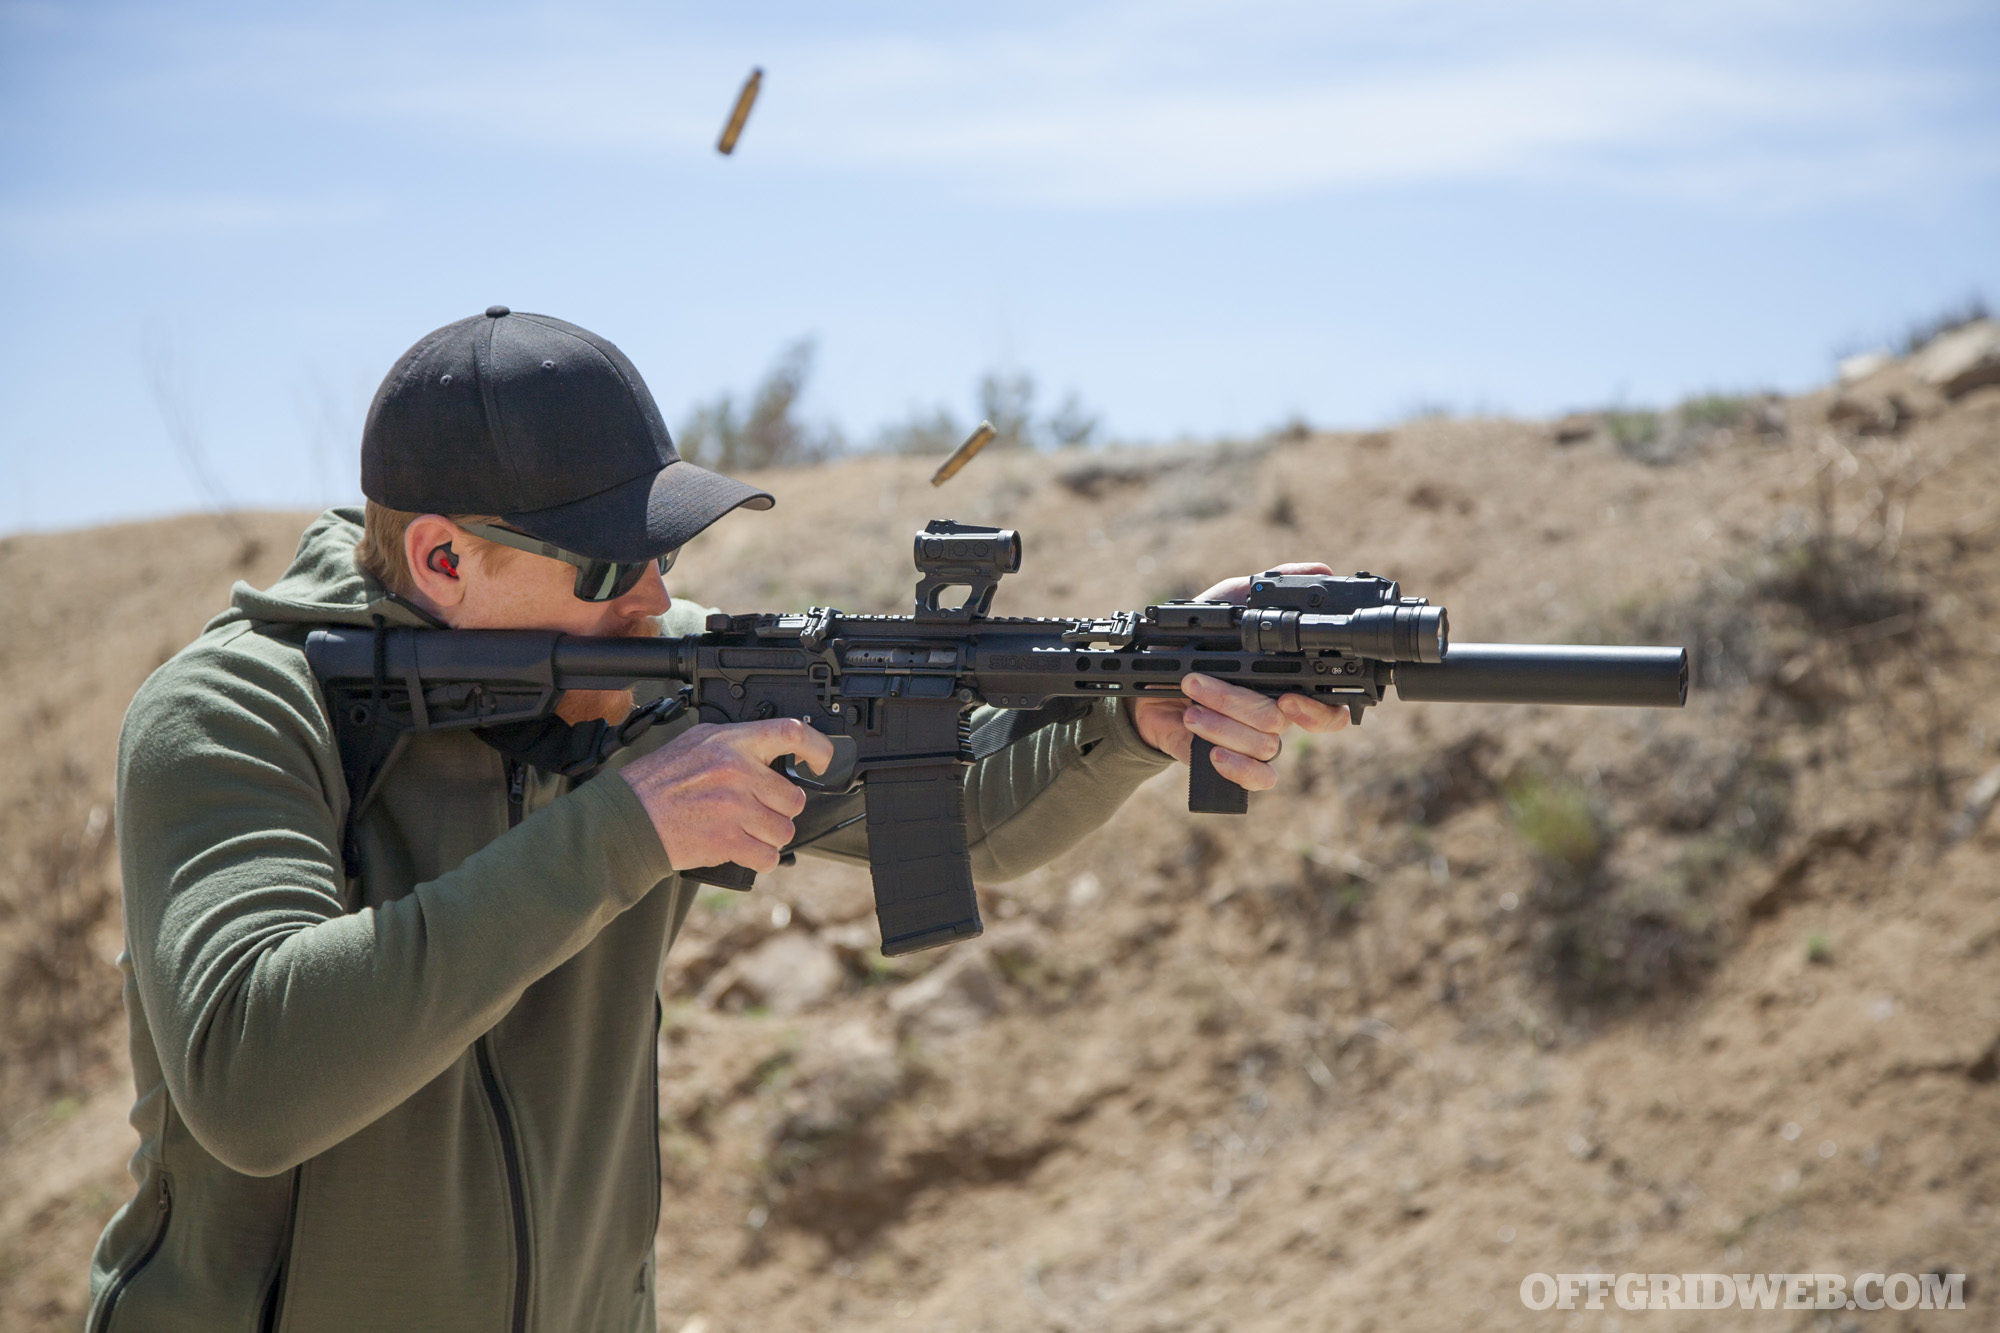
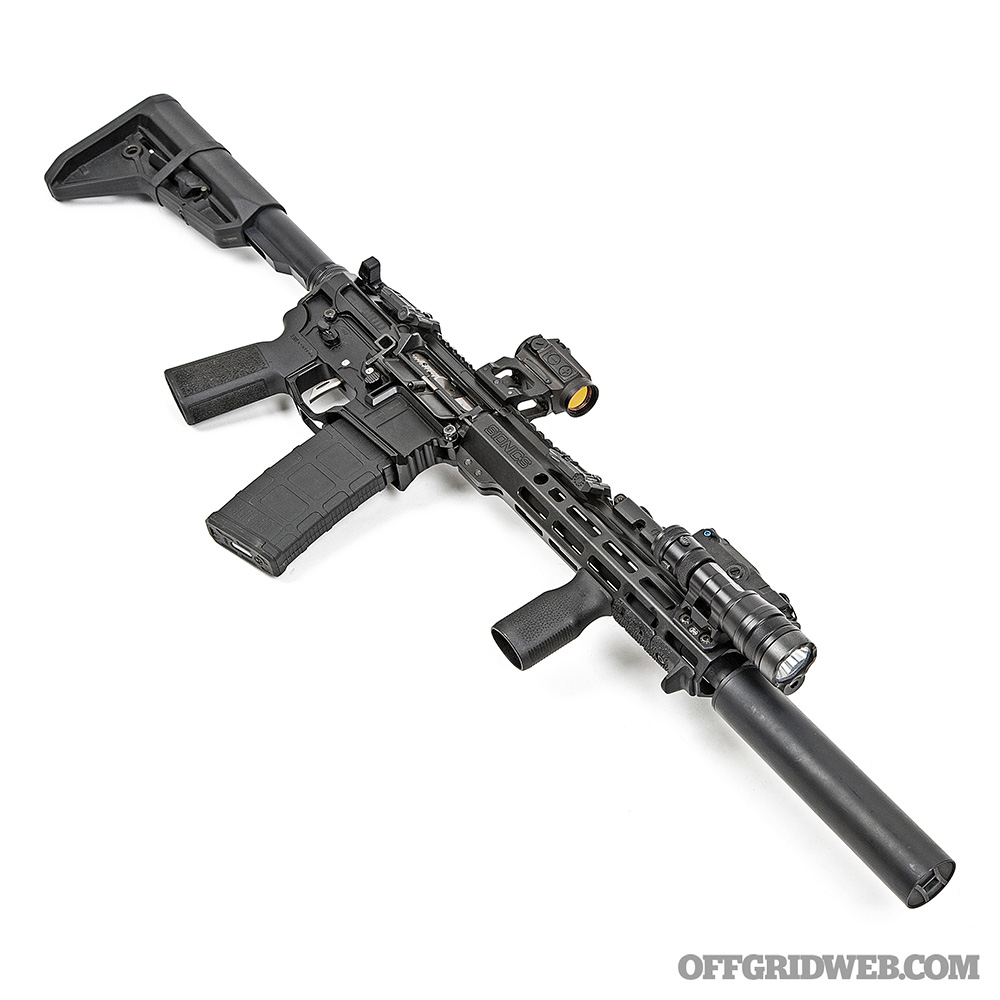
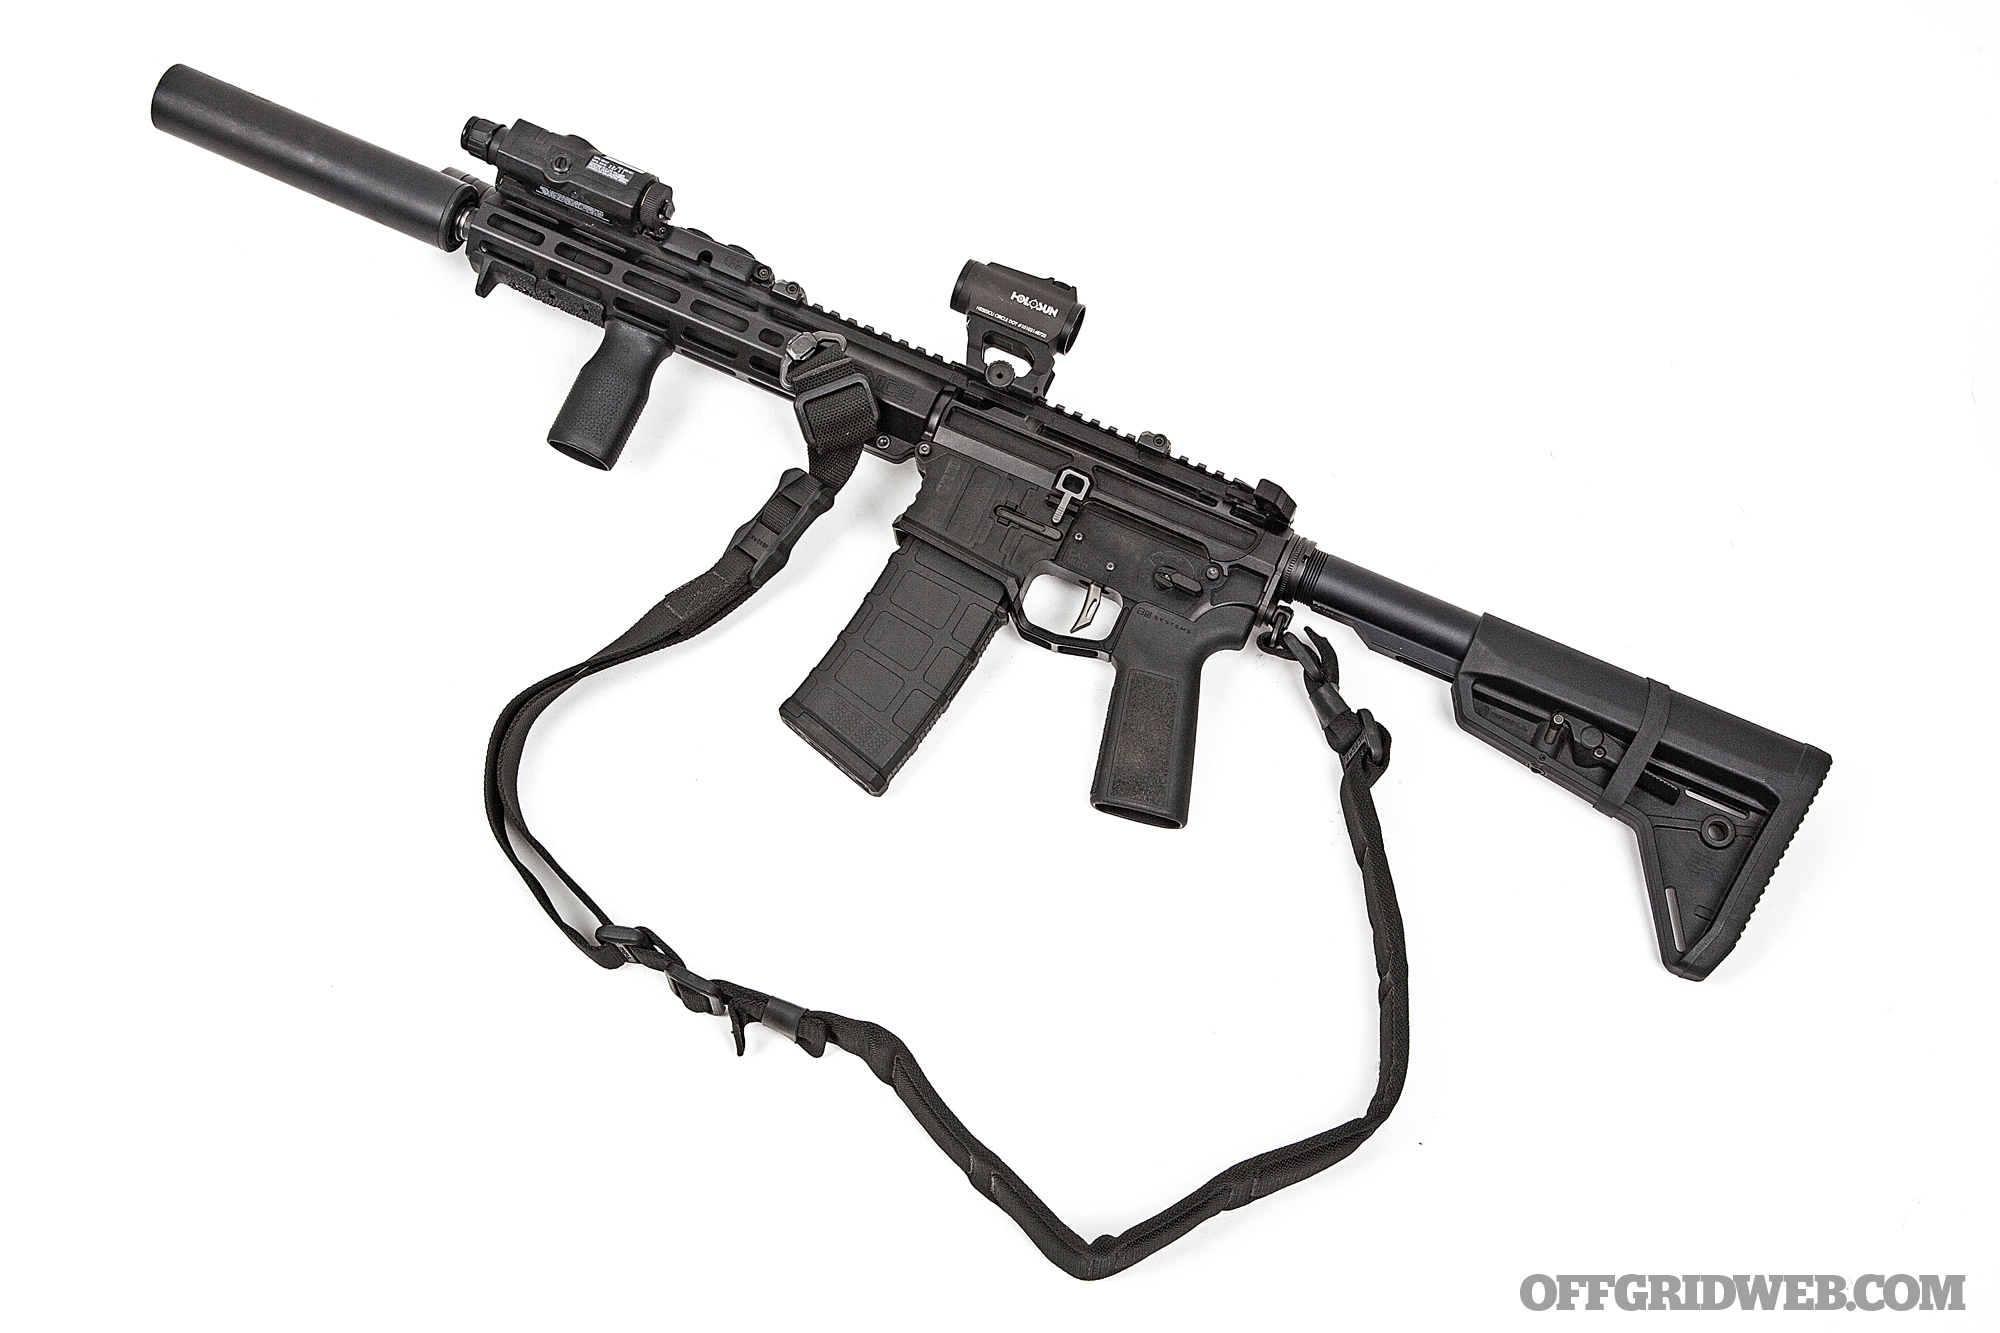
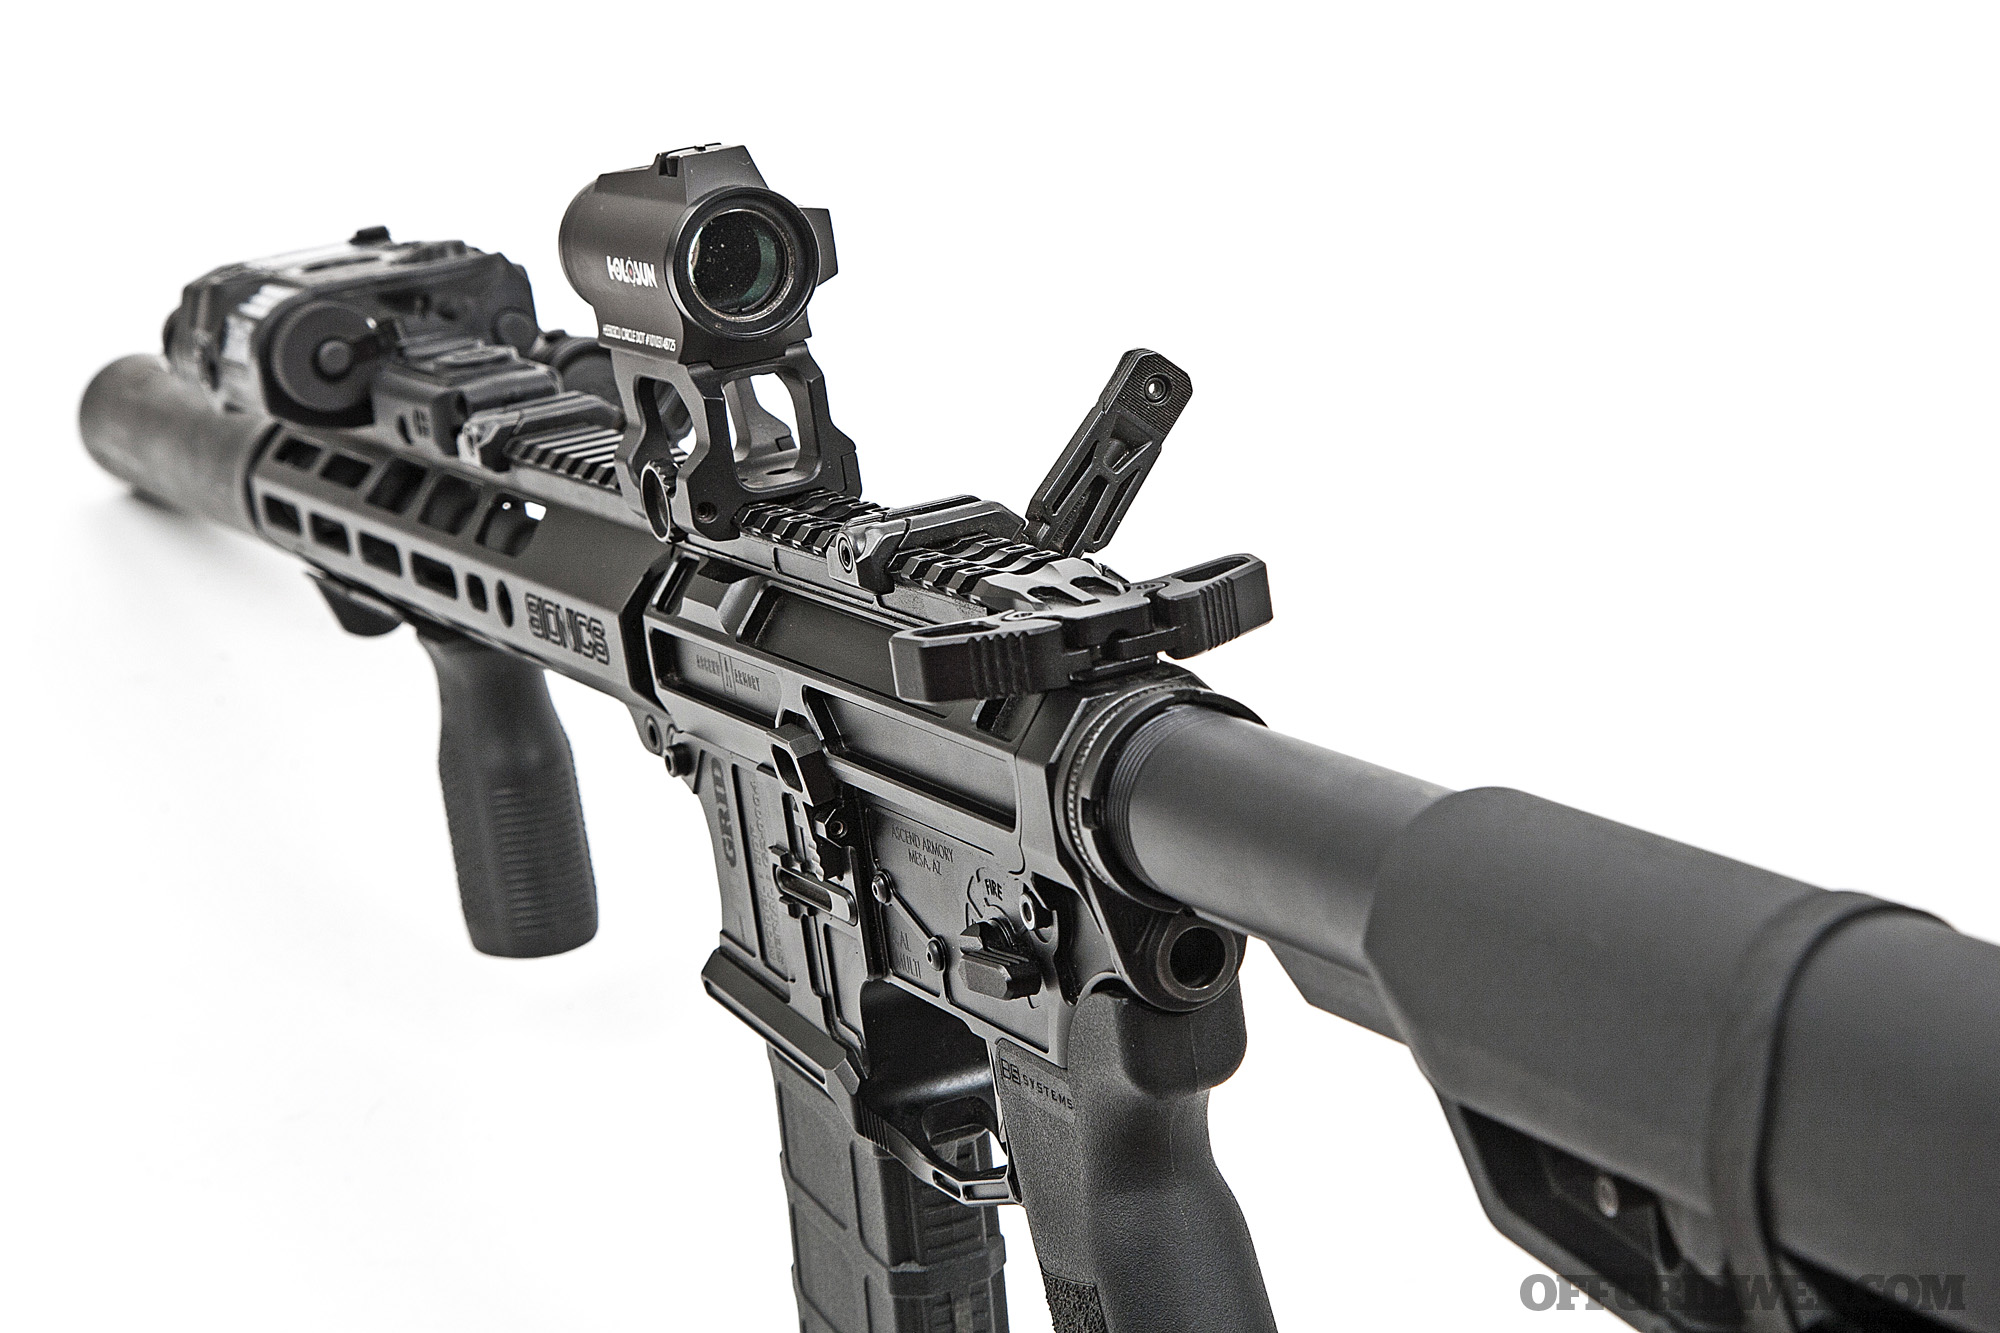
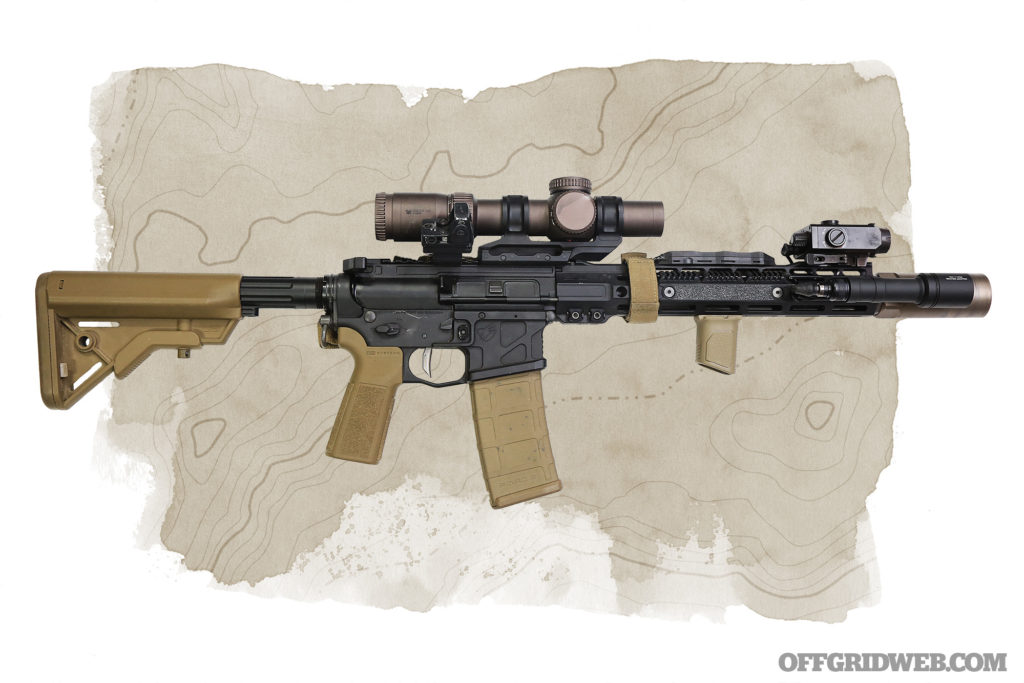
The earliest version of this suppressed SBR build was featured two years ago in Issue 48 of our sister publication RECOIL. Back then, it featured a few different parts and accessories, but the core components have remained mostly unchanged. It’s based on an Ascend Armory lightweight billet receiver set; it features ambidextrous bolt catch/release levers that are easy to find in the dark, a flared magwell to facilitate smooth reloads, and an enlarged trigger guard that won’t interfere with gloved hands. I filed an ATF Form 1 to designate this as an SBR before adding an 11.5-inch standard-gas-port carbine barrel, 10.5-inch M-LOK handguard, and easy-to-clean NP3-coated bolt carrier group, all from SIONICS Weapon Systems.
Since this weapon is intended for use in low light and enclosed spaces, the substantial flash and concussion from its short barrel had to be tamed. I addressed this with a Gemtech Quickmount flash hider and Shield titanium quick-detach suppressor. Gemtech says this suppressor has passed the U.S. military’s SOCOM standards, which involve more than 1,400 rounds fired in semi-auto and full-auto over a short period of time, so I have no concerns about its durability. The quick-detach system also means I can remove it in seconds to fit the rifle into a smaller bag.
Above: Billet receiver sets often diverge from Mil-spec standards to improve ergonomics or add features. This Ascend Armory set has enlarged bolt catch/release levers on both sides.
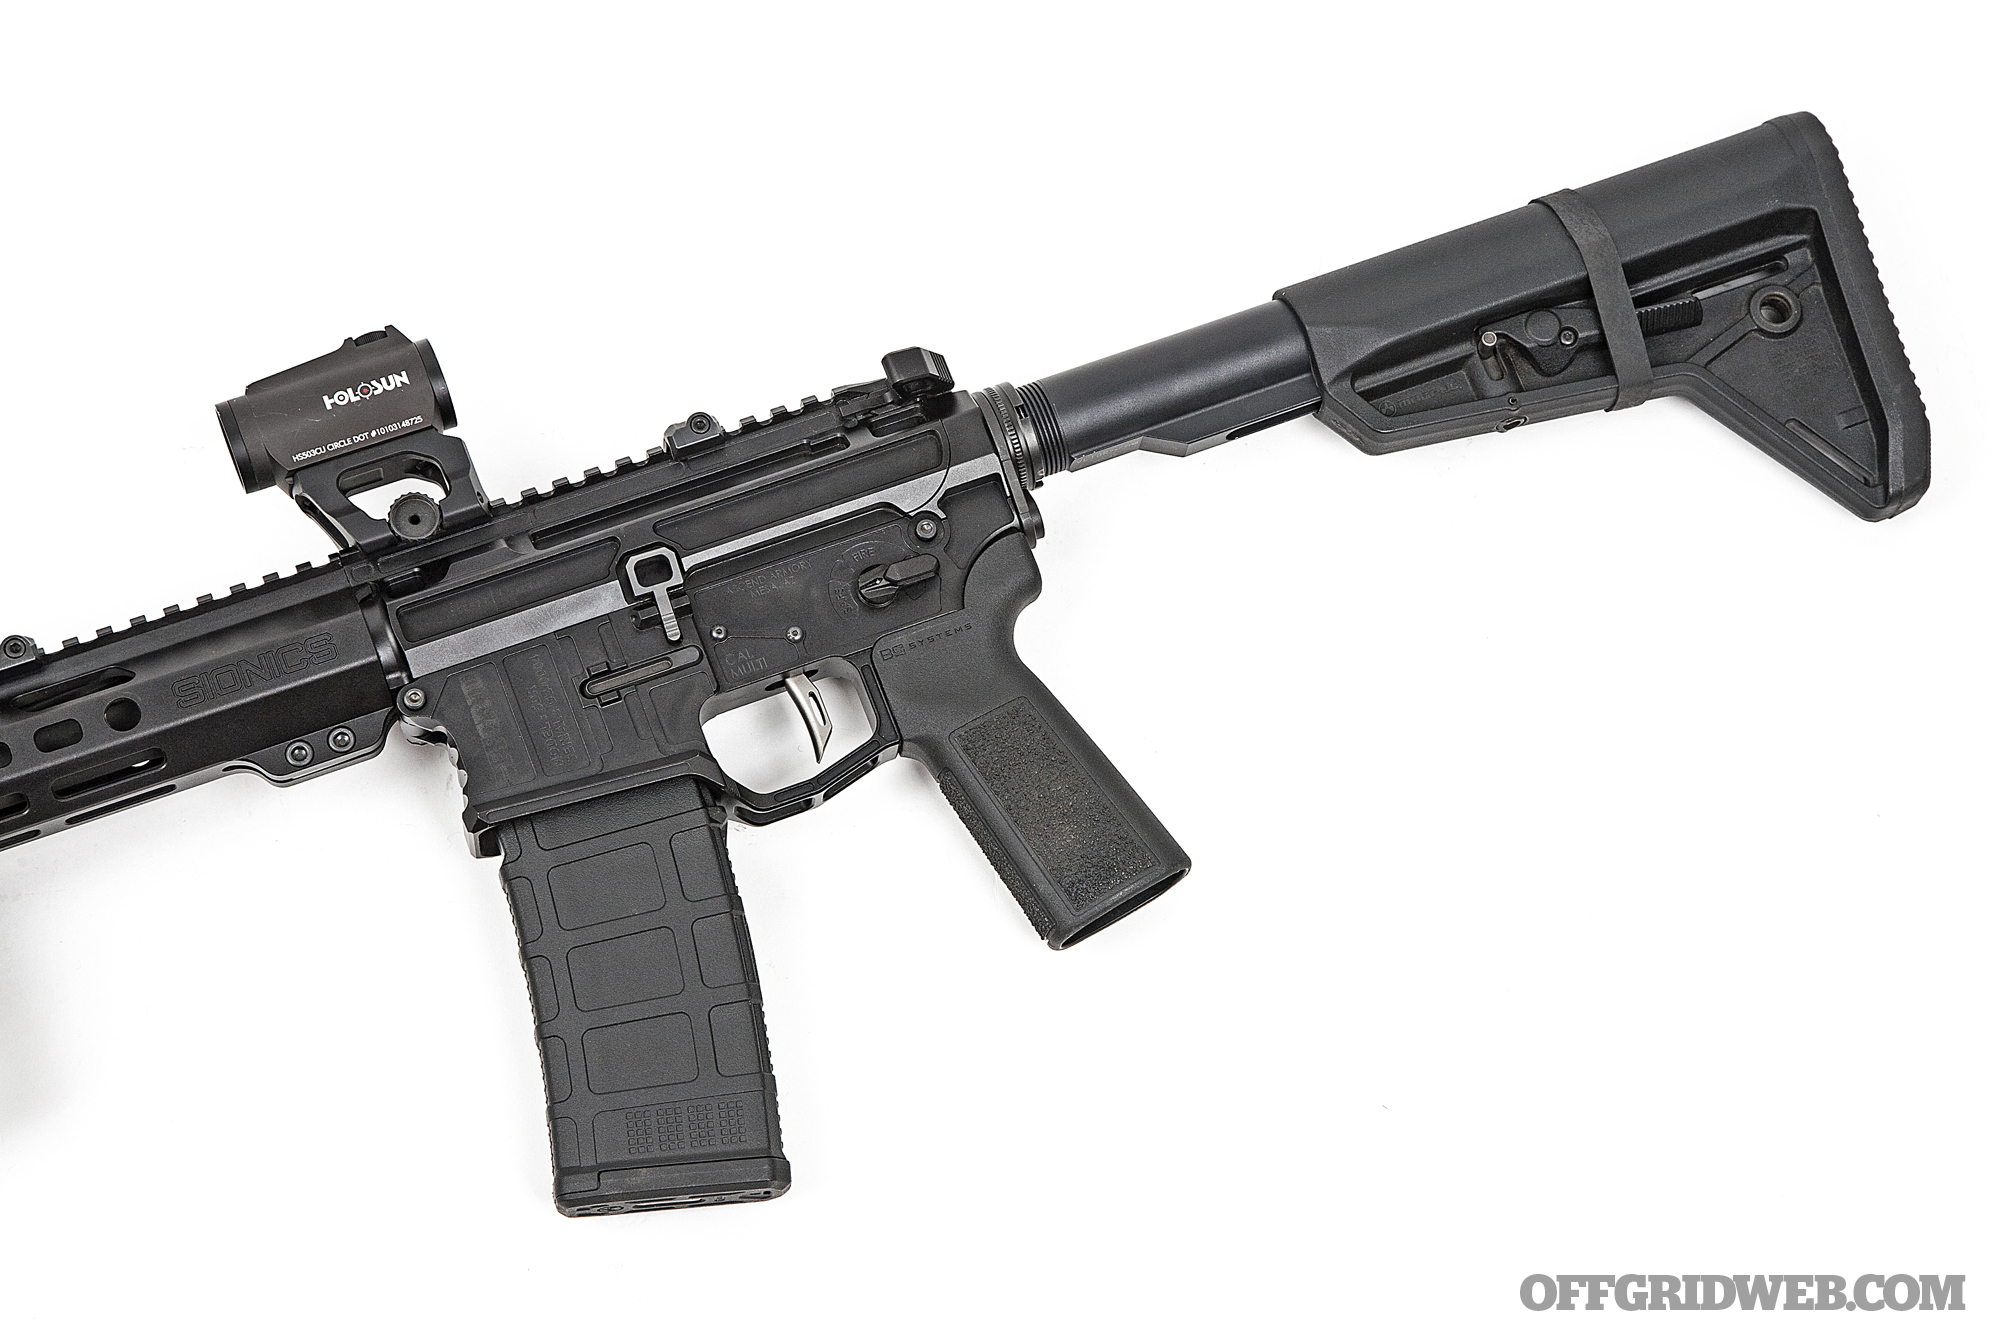
The lower receiver was previously set up with a LAW Tactical folding stock adapter, but I found I rarely needed it given the short length of the gun, so I removed it to shave some weight. I’m still using the VLTOR A5 buffer system, which allows the SBR to cycle smoothly and reliably, suppressed or unsuppressed, with a variety of ammo types (a key consideration for any scenario where ammo may be hard to find). The lower also contains a RISE Armament RA-535 trigger, which offers a crisp 3.5-pound break and near-immediate reset, and a Radian Talon 45-degree ambidextrous safety selector. This combination allows me to send the first round downrange the instant my sights are on target and maintain a fast and consistent cadence of follow-up shots. The charging handle is a Radian Raptor-SD, which is designed to make shooting a suppressed AR more comfortable. It features ports and angled relief cuts that divert gases inside the upper receiver, so they don’t end up seeping out and causing my nose to sting and eyes to water.
Lights & Lasers
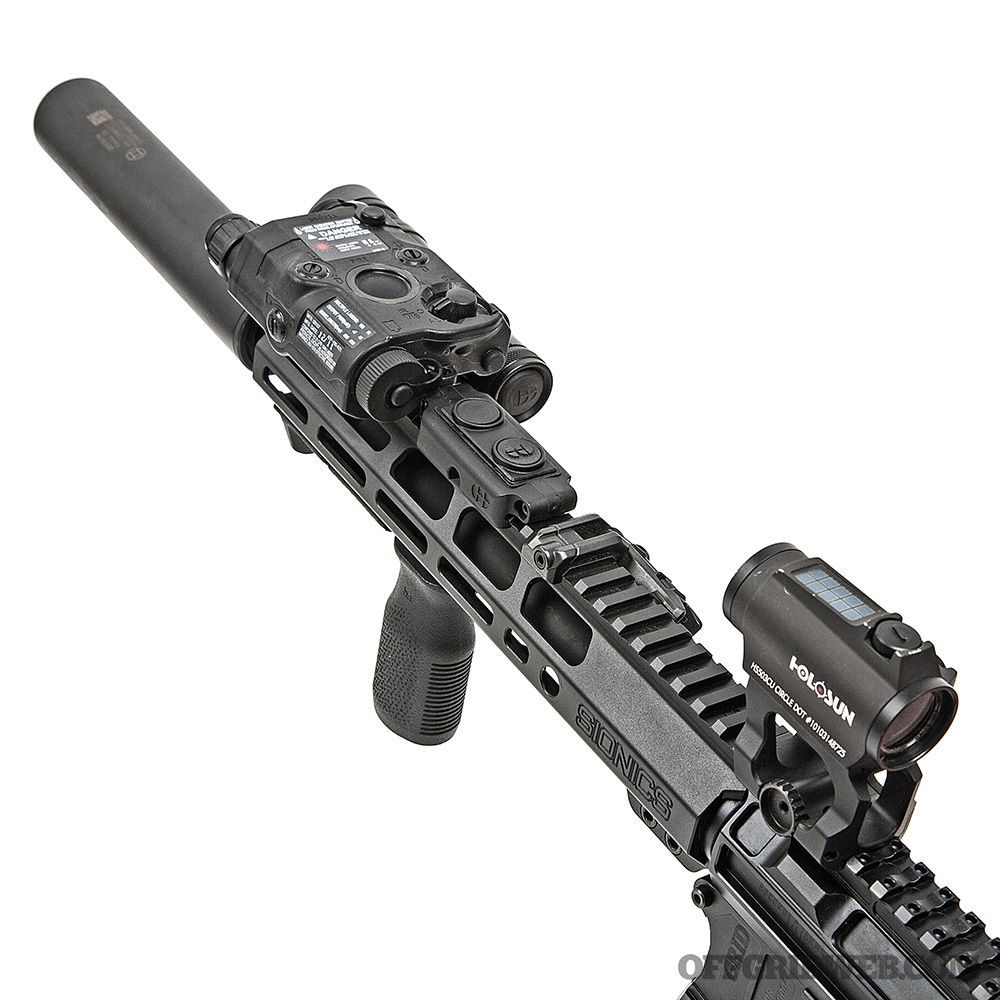
Above: I mounted the REIN light at 2 o’clock on the handguard using Cloud’s Torrent Offset M-LOK mount; clearance is extremely tight against the ATPIAL housing. The REIN remote switch is also so close to the back of the ATPIAL that I had to file it down to clear the battery cap. A tight squeeze, but it works well.
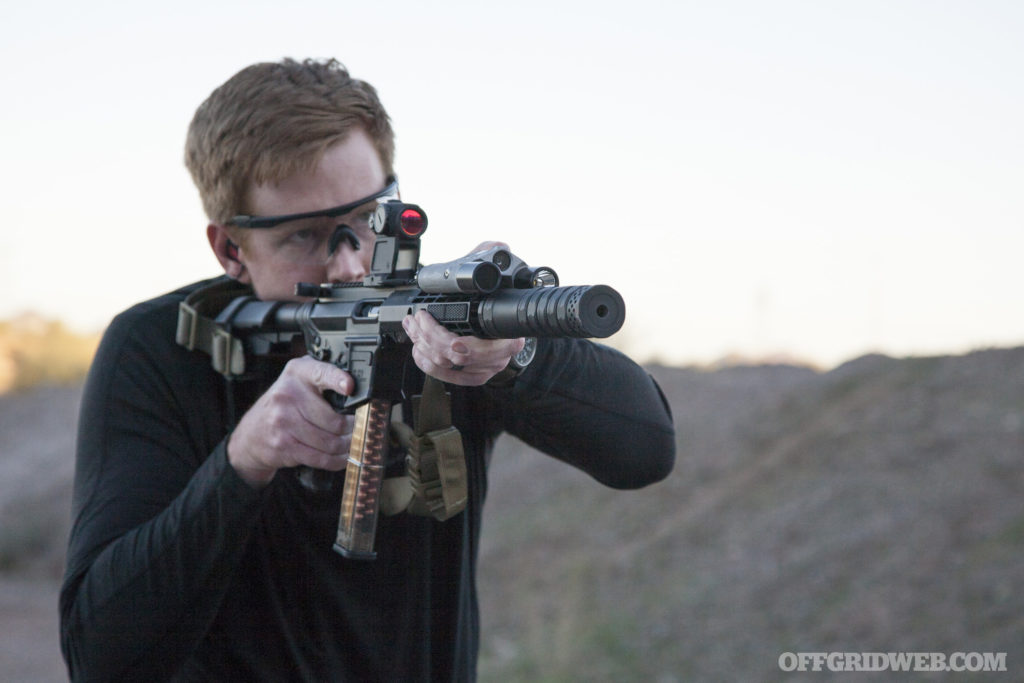
I believe every serious defensive weapon — rifle, shotgun, or pistol — needs a visible light source to help the user positively identify targets. Nature shows us that predators avoid settings where prey can see them clearly, so you’re more likely to face a threat in twilight or total darkness than broad daylight. For this SBR, I picked a Cloud Defensive REIN Micro. It produces 1,300 lumens and 55,000 candela; in layman’s terms, that’s a whole lot of light focused into a beam that’s capable of reaching a long distance. I mounted the included remote switch to the top rail on the handguard and used its built-in cable routing channel to keep excess slack tucked out of the way. In case of switch damage, the light’s tailcap button functions as a redundant activation method.
Since this gun is intended for use with night vision, it also needed an infrared (IR) illuminator and an IR laser for active aiming (firing from a head-up position without looking through weapon-mounted sights). I fulfilled both these needs with an L3Harris ATPIAL, also known by its military designation AN/PEQ-15. The ATPIAL features a red laser for daytime zeroing, an IR laser, and a laser-based IR illuminator with adjustable focus. Although a remote switch is included, I found that I prefer using the button on top of the unit, since it’s easy to reach with my thumb.
Optic & Iron Sights
Anyone who has attempted to shoot while wearing night vision goggles (NVGs), a helmet, and electronic earmuffs knows that it’s often challenging to align your eye with a weapon’s optic (referred to as passive aiming). Switching to a taller optic mount can alleviate this, but there are some drawbacks — increased height over bore can cause rounds to impact lower than expected at close range and may lead inexperienced users to inadvertently shoot the edge of a barricade after forgetting that the muzzle is several inches below the sight.
Above: The Holosun red dot has proven itself to be dependable, but a set of Magpul offset iron sights provide a secondary means of aiming just in case. The ATPIAL’s red laser could also be used in a pinch.
In search of a happy medium, I chose a Scalarworks LEAP/01 1.57-inch-height mount. With the Aimpoint Micro optic it was designed for, this would produce a lower-1/3 cowitness with iron sights. However, the Holosun 503CU optic I’m using is about 0.25-inch taller than an Aimpoint. As a result, the centerline of the optic is 1.82 inches above the rail. Based on these measurements, Scalarworks’ taller 1.93-inch mount would result in a centerline height of 2.18 inches, which was more height than I wanted. Technical details aside, this setup offers a comfortable and easy-to-acquire aiming point, whether I’m working in broad daylight, low light, or under NVGs.
As a backup to my red-dot optic, I installed a set of Magpul MBUS Pro Offset 45-degree flip-up iron sights.
Furniture
Above: A slender MOE-SL stock prevents the rifle from interfering with helmet-mounted ear protection. It also stays out of the way of my plate carrier.
As I mentioned above, achieving the proper head position for passive aiming under NVGs is tricky, so I chose the slim Magpul MOE-SL stock to minimize interference with my helmet and ear pro. A B5 Systems pistol grip offers aggressive texture and a steeper, more comfortable angle for my wrist. On the handguard, I combined two-thirds of a Magpul M-LOK Hand Stop kit with a Magpul MVG vertical grip; the result is a textured surface with front and rear stop points for my support hand. Tactile index points are especially important for a night vision application, since I need to be able to manipulate the rifle and find its light/laser controls immediately, all while wearing gloves and being unable to clearly see my hands.
The last piece of this rifle is a Magpul MS1 padded sling, which is connected to QD sockets on the rear of the handguard and the Primary Weapons Ratchet Lock receiver endplate. The sling’s hard polymer adjustment slider is easy to find by feel in the dark. When it’s not in use, I stow it against the stock via a band of bicycle innertube (aka Ranger band).
Editor’s Note: Stay tuned for the second half of this article tomorrow, featuring all the details on our 13.9-inch pin and weld rifle.
Related Posts
The post Tailor-Made ARs: 11.5″ Suppressed SBR Build appeared first on RECOIL OFFGRID.


