You can learn different paracord knots and hitches to make life easier, especially when camping or when you’re up for some outdoor adventures.
Secure those tents and save your life with these paracord knots and hitches for beginners.
In this article:
- Why You Need to Learn How to Knot the Paracords
- Simple Paracord Hitches You Can Learn Today
- Supplies You Need
- Two Half-Hitches
- The Tautline Hitch
- The Slippery Hitch
- The Trucker’s Hitch
- Simple Paracord Knots for Beginners
An Easy Guide to Using Paracord Knots and Hitches for Survival

Why You Need to Learn How to Knot the Paracords
Paracord knots are one of the most useful skills you need to know as a self-reliant connoisseur. Also, a parachute cord or paracord is a must-have item for preppers on the go and those living off the grid.
There are different kinds of paracord knots and hitches you can learn. These include the king cobra knot or paracord lanyard knots. You can even teach yourself paracord bracelet knots.
Regardless of the pattern or design, you can use the knots to bind ropes to other ropes and the hitches to secure objects to the lines.
Simple Paracord Hitches You Can Learn Today
As a DIY survivalist, here are the most critical hitches for beginners you need to know.
Supplies You Need
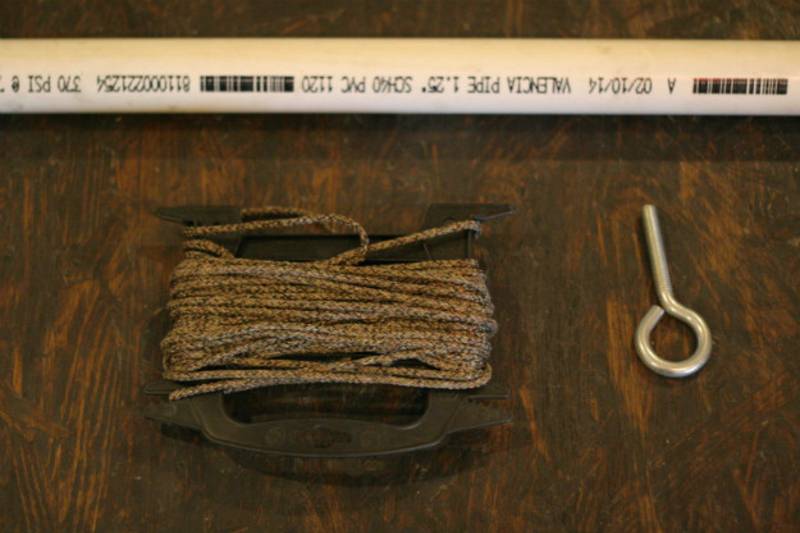
- Paracord (parachute cord)
- 1 screw eyelet (for practicing)
- 1 PVC pipe or another straight bar (for practicing)
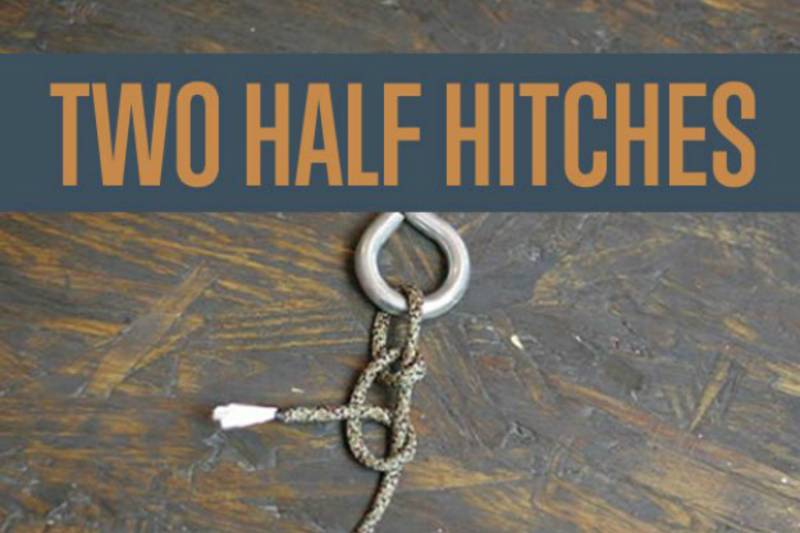
1. Two Half-Hitches
The two half-hitches are part of a group called binding hitches. You use it in situations when you don’t want or need to quickly undo your hitch. Others refer to two half-hitches as a clove hitch over itself.
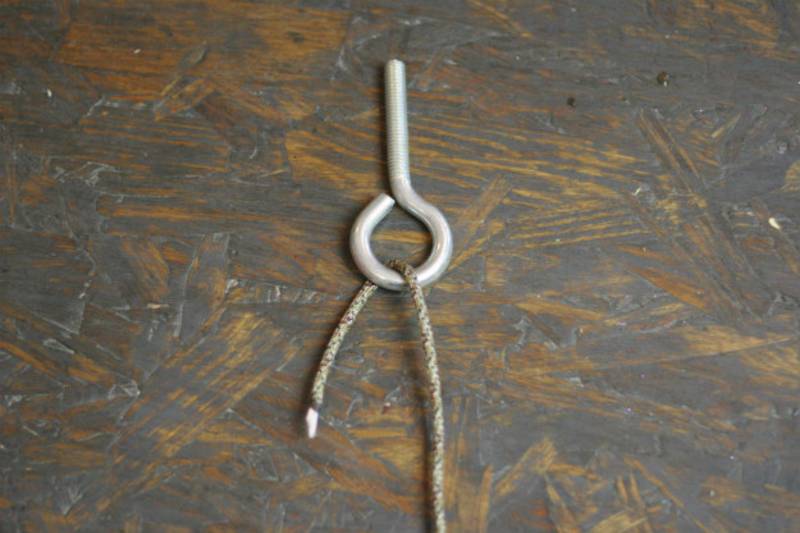
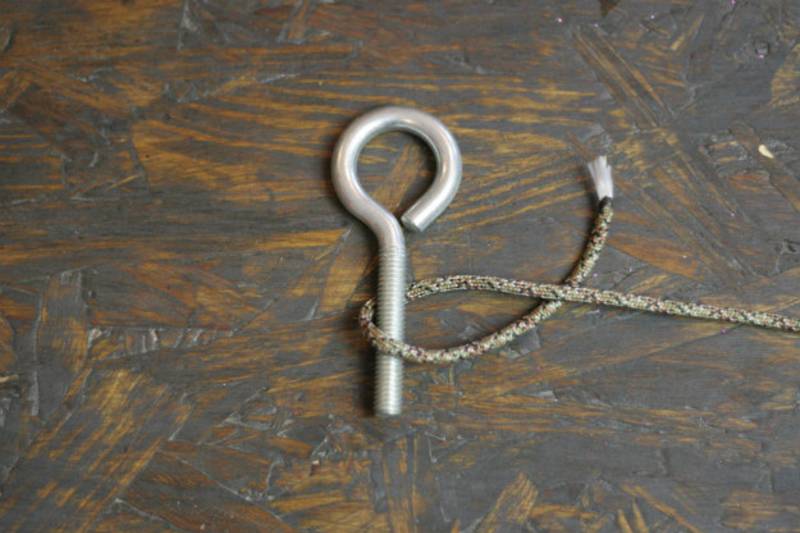
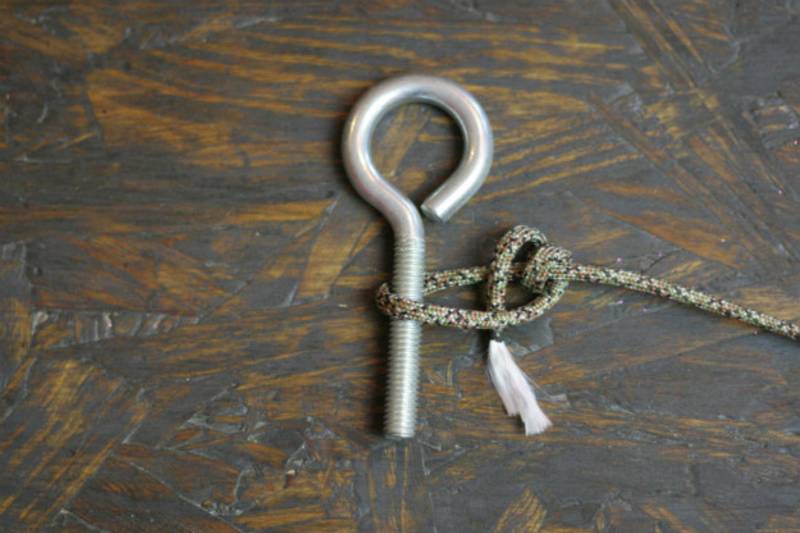
Step 1: Thread the Paracord Through the Eyelet
You can use anything to practice these knots, but open eyelets are an easy practice tool to use.
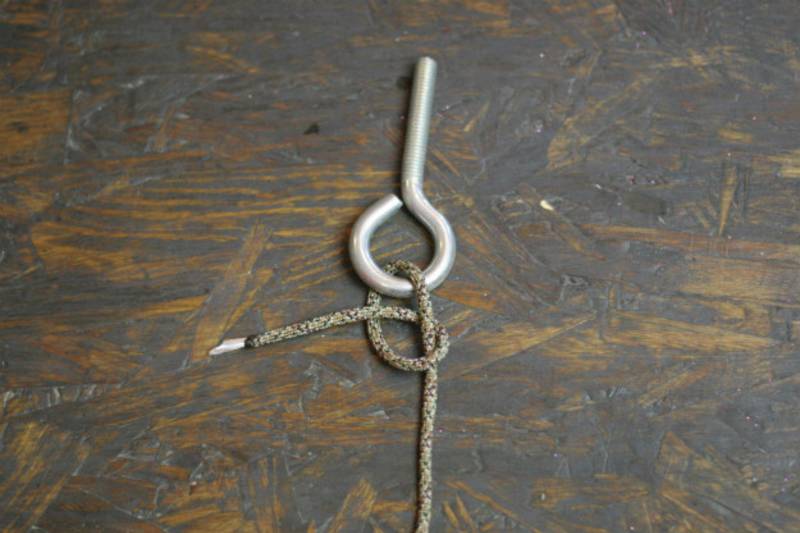
Step 2: Wrap the Paracord Around the Outside and Through the Loop It Makes
Use a simple overhand knot for this step.
What Is Overhand Knot? Also known as the basic knot is a type of knot characterized by forming a loop and passing an end to the stand and the loop.
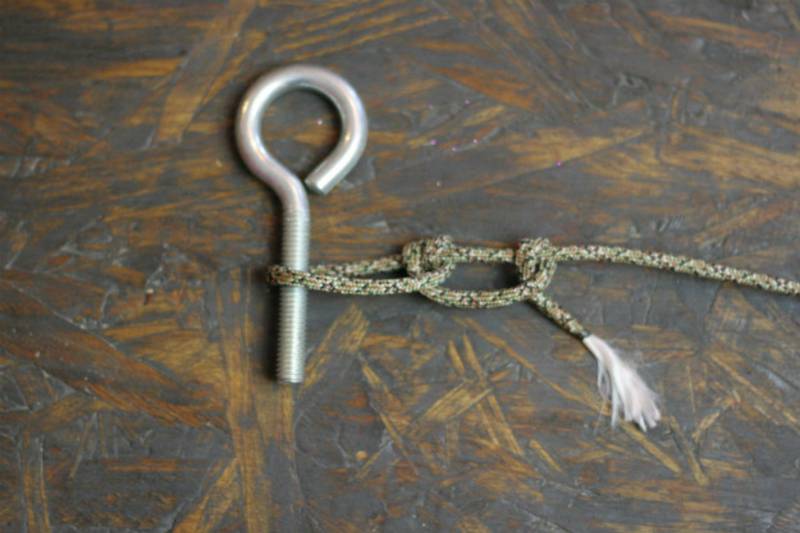
Step 3: Repeat Step 2
Tie another overhand knot.
Step 4: Pull Tight
Once weighted, the two half-hitches are tight. It’s simple, but it can be quite challenging to untie, especially with thinner rope and paracord.
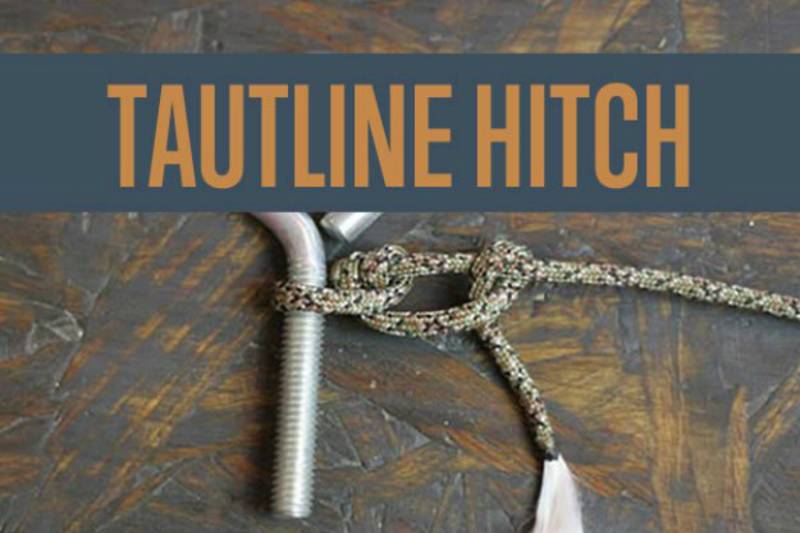
2. The Tautline Hitch
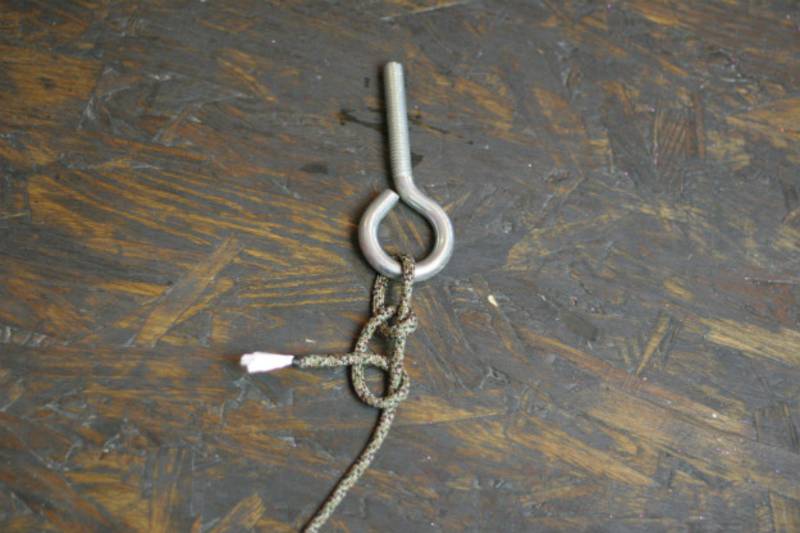
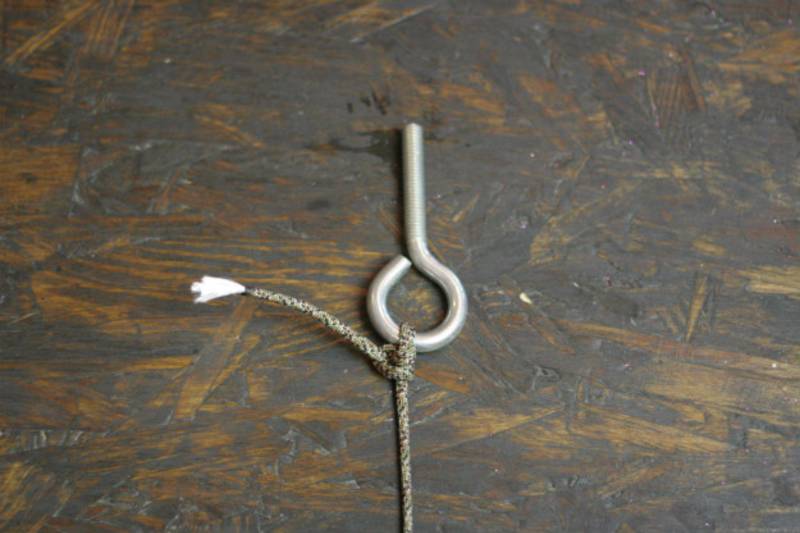
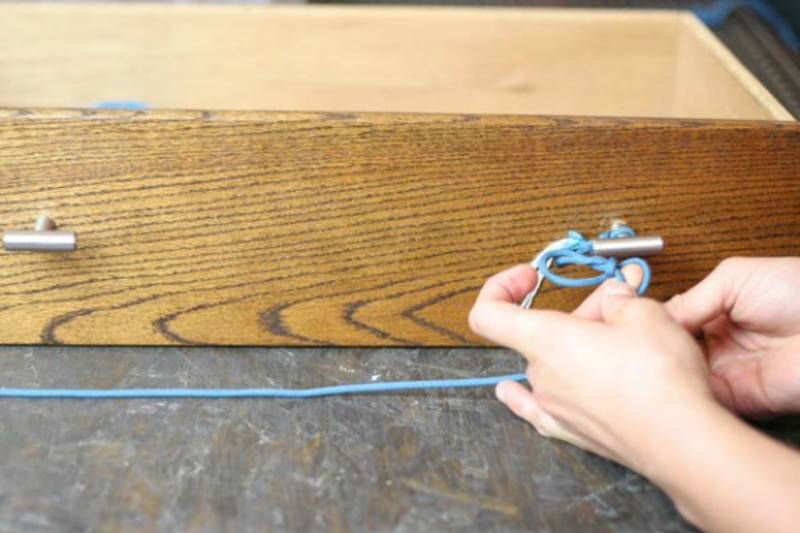
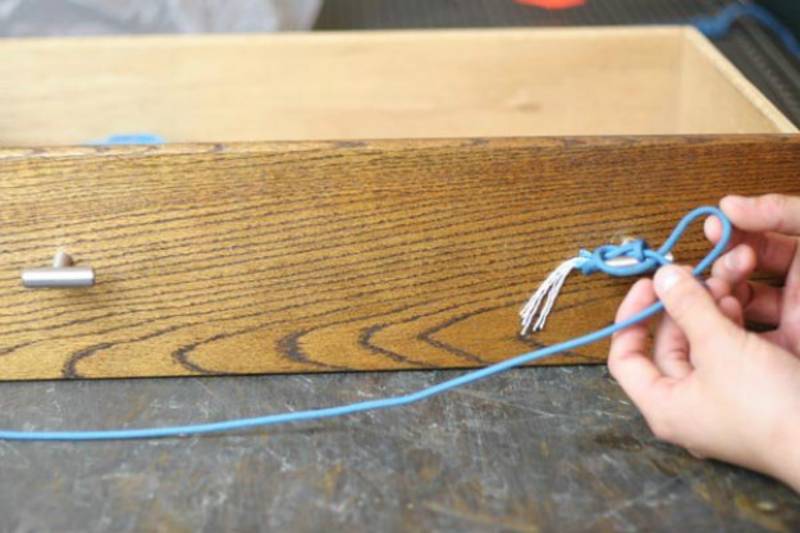
Unlike the two half-hitches, the tautline hitch is easy to untie. When no object is attached, you can easily adjust its placement on your line. This makes it an ideal hitch for lashing down your tent or tarp. It is also useful when you need to adjust the length of your line.
Step 1: Encircle the Paracord Around the Pin and Behind Itself
Step 2: Wrap the Paracord Over Itself and Through the Loop Two Times
Step 3: Repeat Step 2 (but Only Once)
Do this step behind (or, in this picture, to the right of) the two other loops. Doing this paracord knot allows you to adjust the length of the paracord.
With the taut line unweighted, slide your hitch up and down the line. It should move without restrictions. Pull your paracord tight to cinch it in place on the line.
3. The Slippery Hitch
If you’re working with your paracord knots, you must learn the slippery hitch. It is ideal for situations when you need to untie your hitch fast.
When fastened over an object, the hitch holds strong. Once you remove the item, a simple tug on the paracord will undo it.
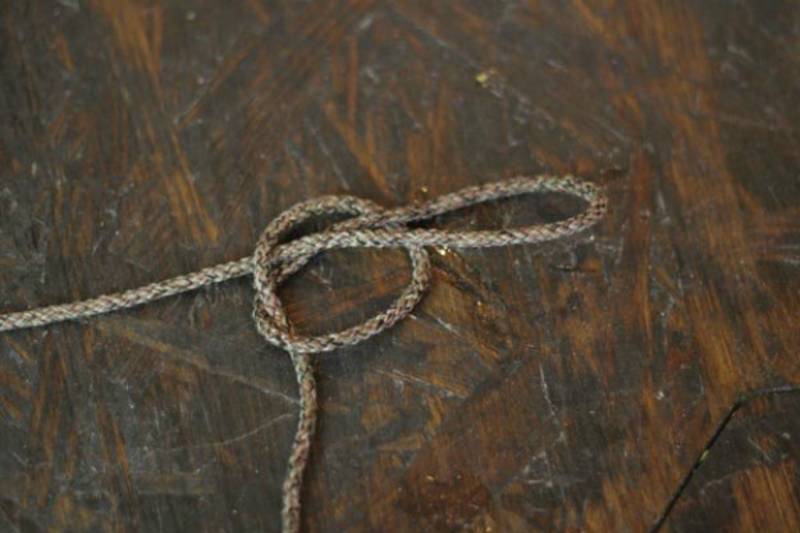
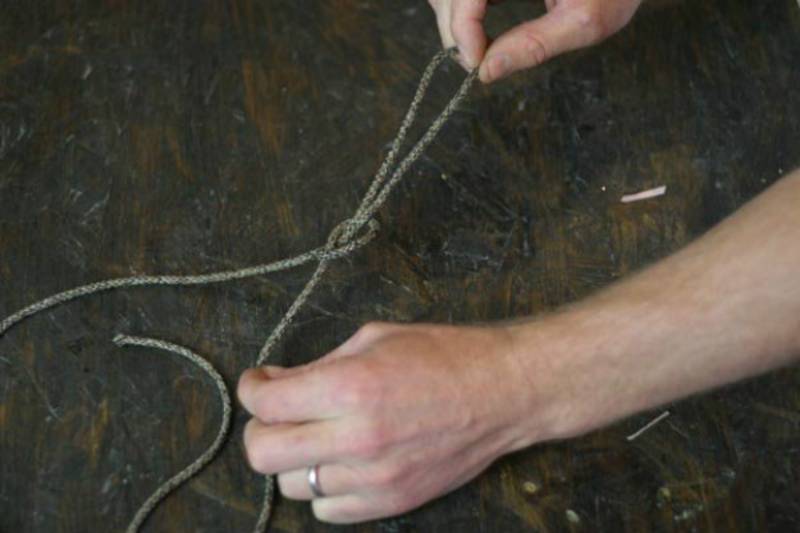
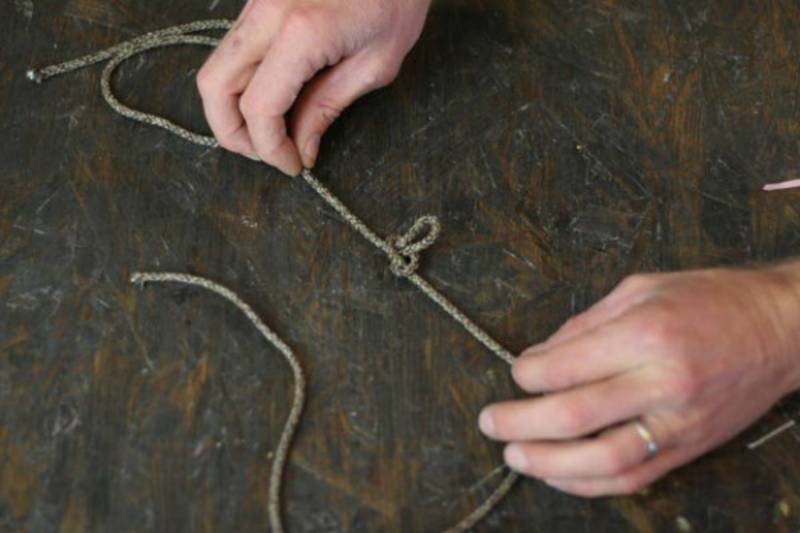
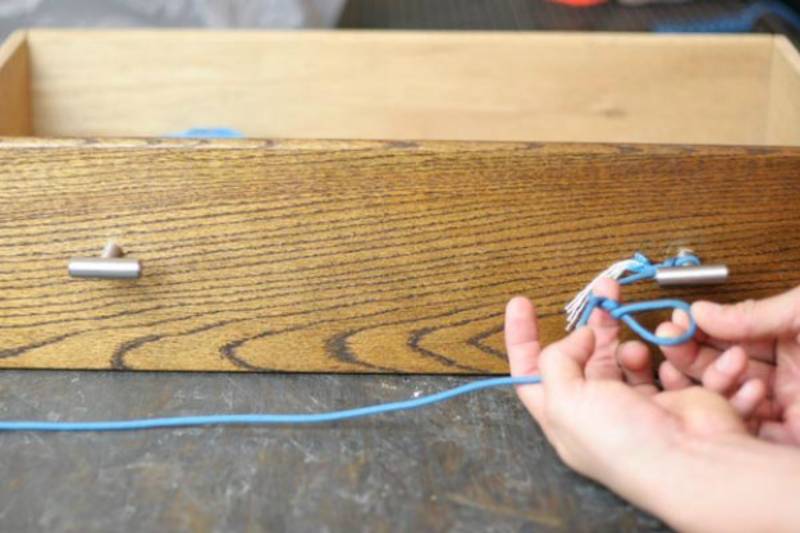
Step 1: Make Two Loops in Your Line (Inverse to Each Other)
This is what inverse loops look like.
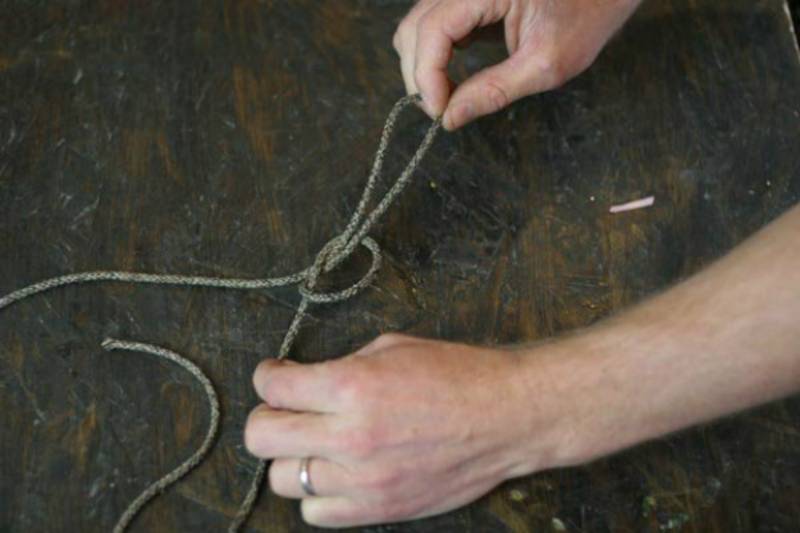
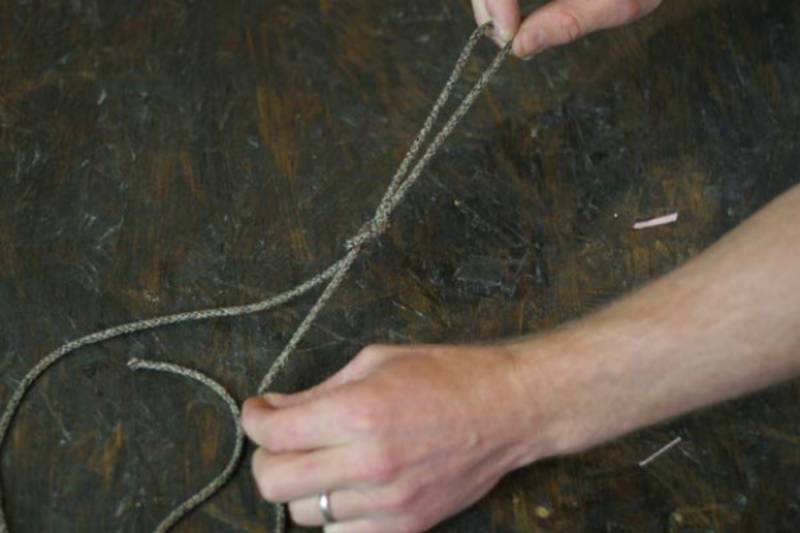
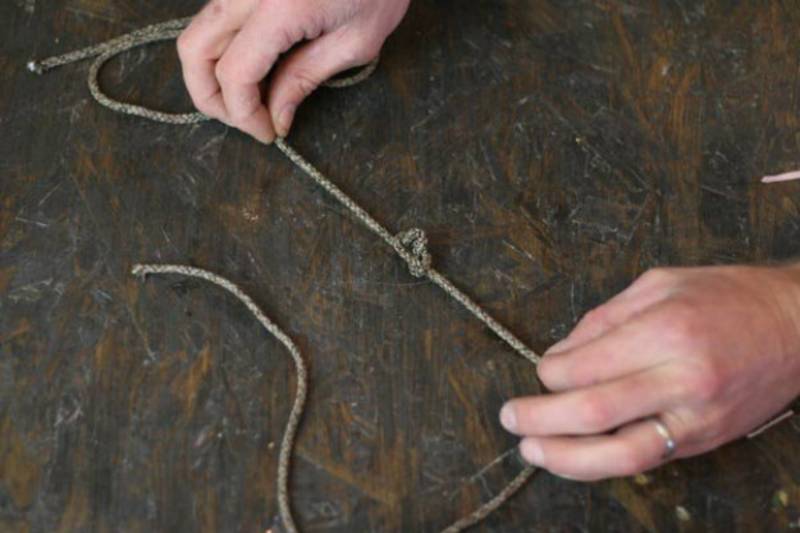
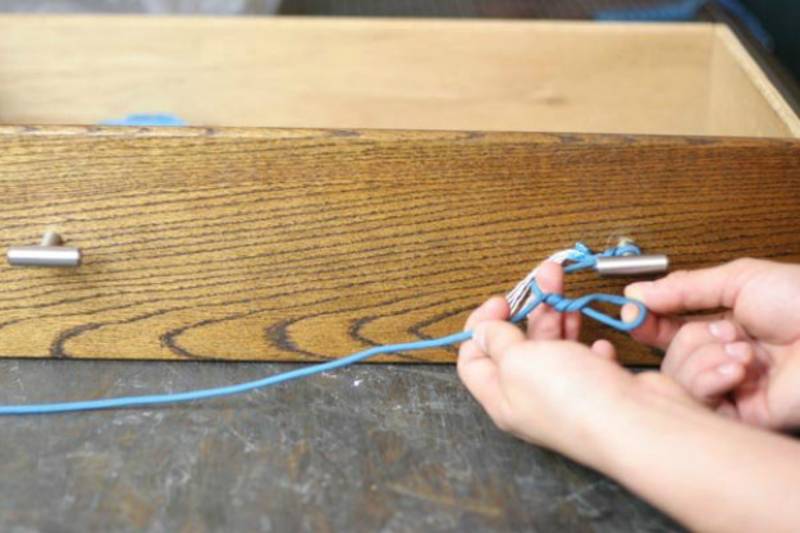
Step 2: Thread the Left Loop Through the Right Loop
This is how your paracord should look like.
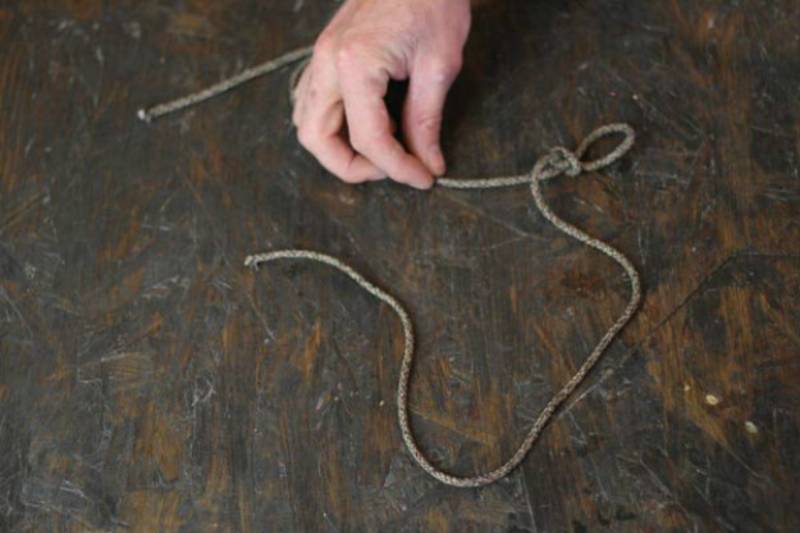
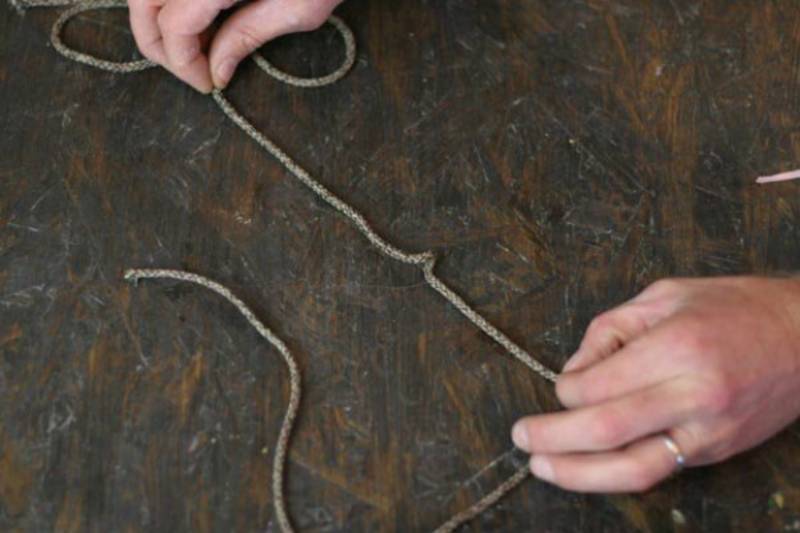
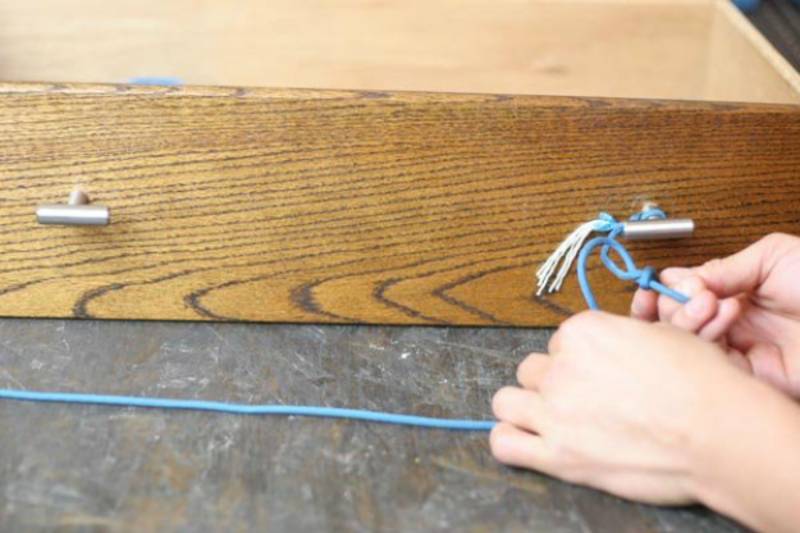
Step 3: Pull the Right Loop Tight
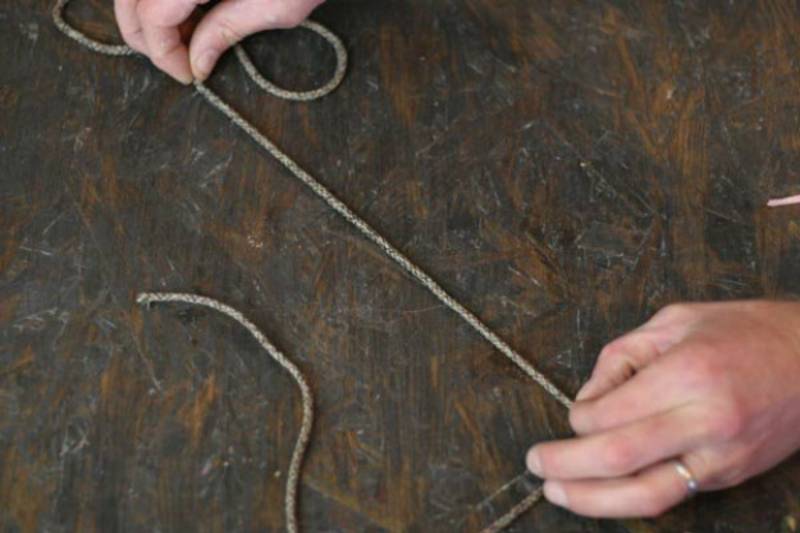
Step 4: Fasten the Remaining Loop on Your Object
When weighted, the loop will tighten up over the object.
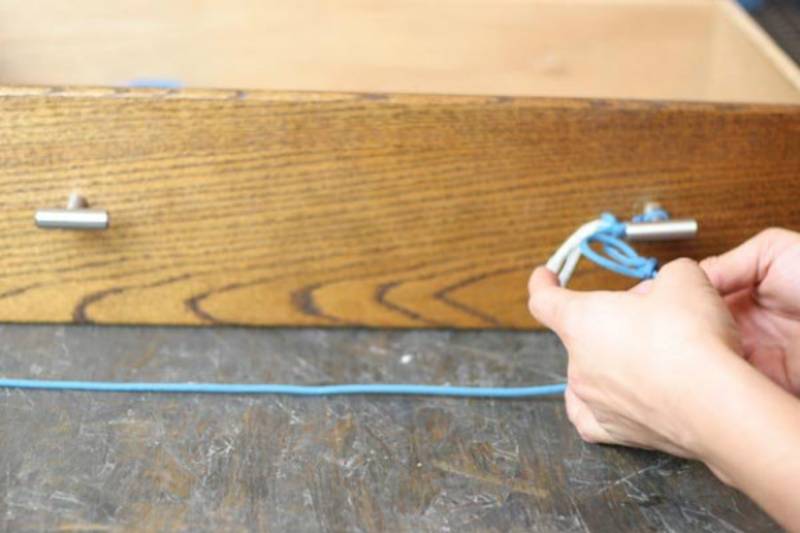
Step 5: To Unfasten the Object, Take the Loop Off
To do this, pull at both ends of the paracord.
Tug at them, and the slippery hitch will come undone!
RELATED: The Ultimate Bug Out Bag List For Every Survivalist
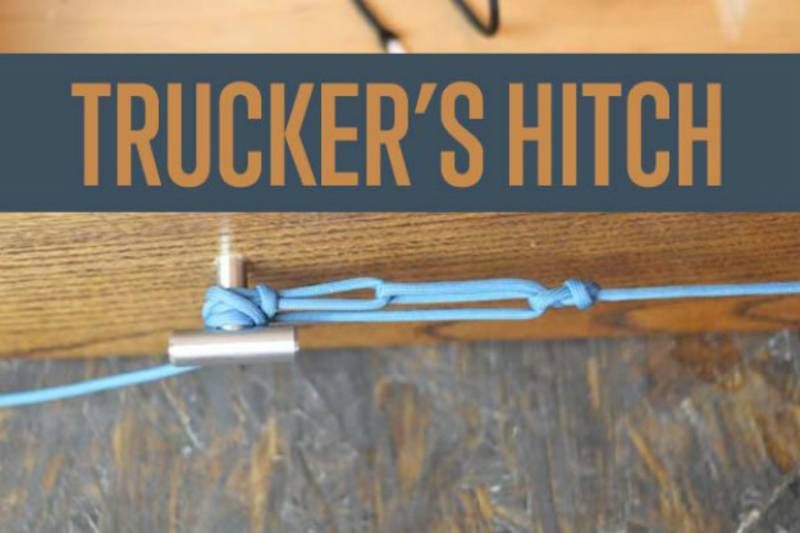
4. The Trucker’s Hitch
If you must choose among the paracord knots and hitches, you must learn the trucker’s hitch by heart. It is useful when you need to secure something as tightly as possible.
The most common use of the trucker’s hitch is fastening things on top of cars or truck beds.
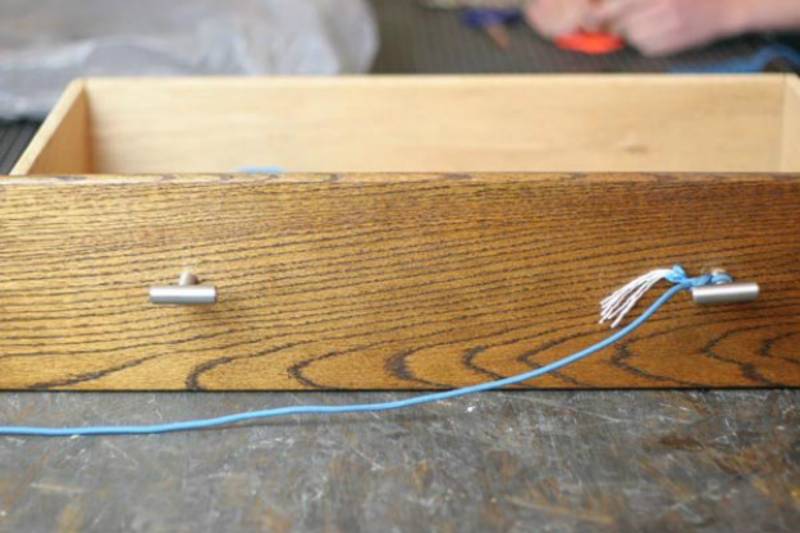
Step 1: Hitch One End of Your Paracord to a Point
Use this opportunity to practice the impressive paracord knots and hitches we discussed earlier! It doesn’t matter how you affix this end as you can make a trucker’s hitch from this fixed point.
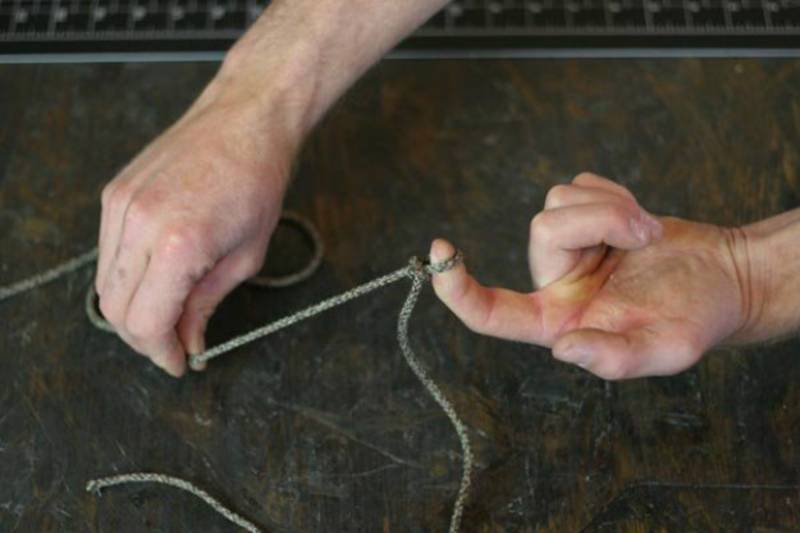
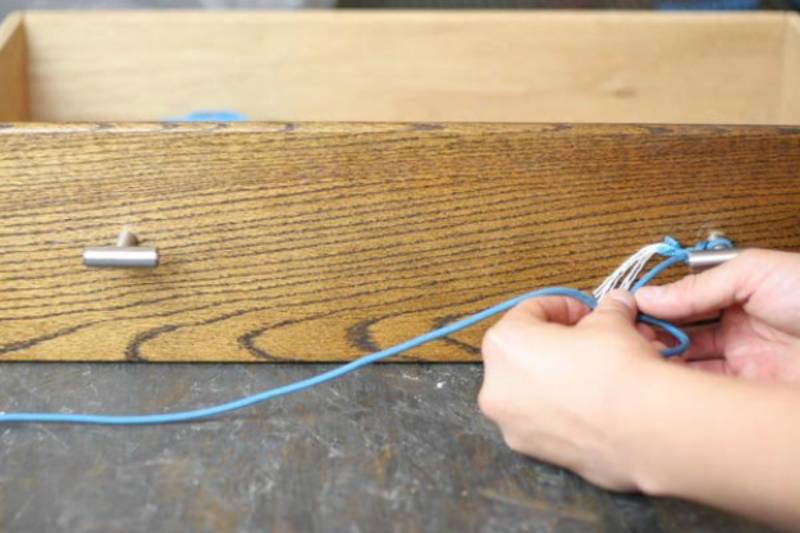
Step 2: Make a Loop in the Line Outside Your Initial Tie-Down Point
Step 3: Twist the Loop Three to Four Times
Tie your paracord in the same way as above.
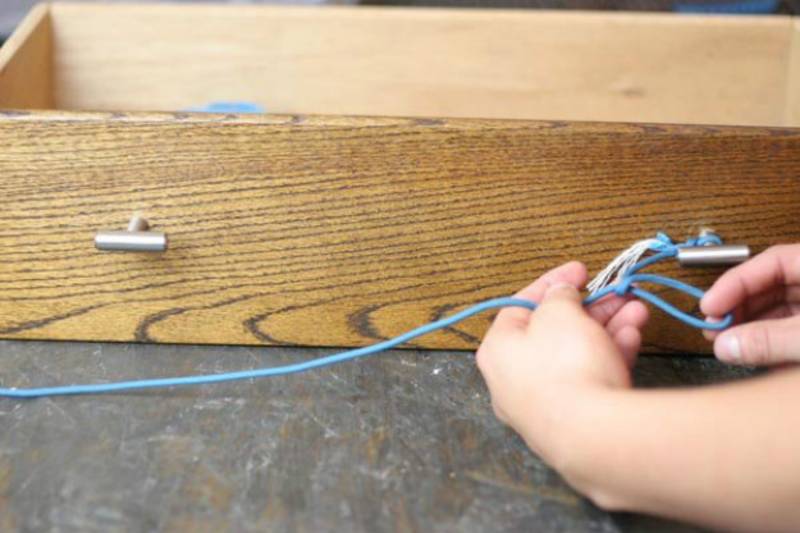
Step 4: Make a Slippery Hitch
Take the free end of your line and feed a bite of it through your twisted loop.
Pull the bite through just like you did with your slippery hitch.
Step 5: Tighten Up the Slippery Hitch
You made the trucker’s hitch!
Simple Paracord Knots for Beginners
Sometimes, a single rope is not enough to do a hitch. This is where your knowledge of paracord knots comes in handy. Here are four basic styles to learn:
- Figure 8 Knot — It is a type of stopper knot. It prevents ropes from running out of retaining devices.
- Bowline Knot — It is one of the paracord knots that are easy to tie and untie. You will have no problem untying this knot even after subjecting it to a load.
- Clove Hitch Knot — Also known as a double hitch, its most effective use is being a crossing knot.
- Reef Knot — You can use this paracord knot to secure objects.
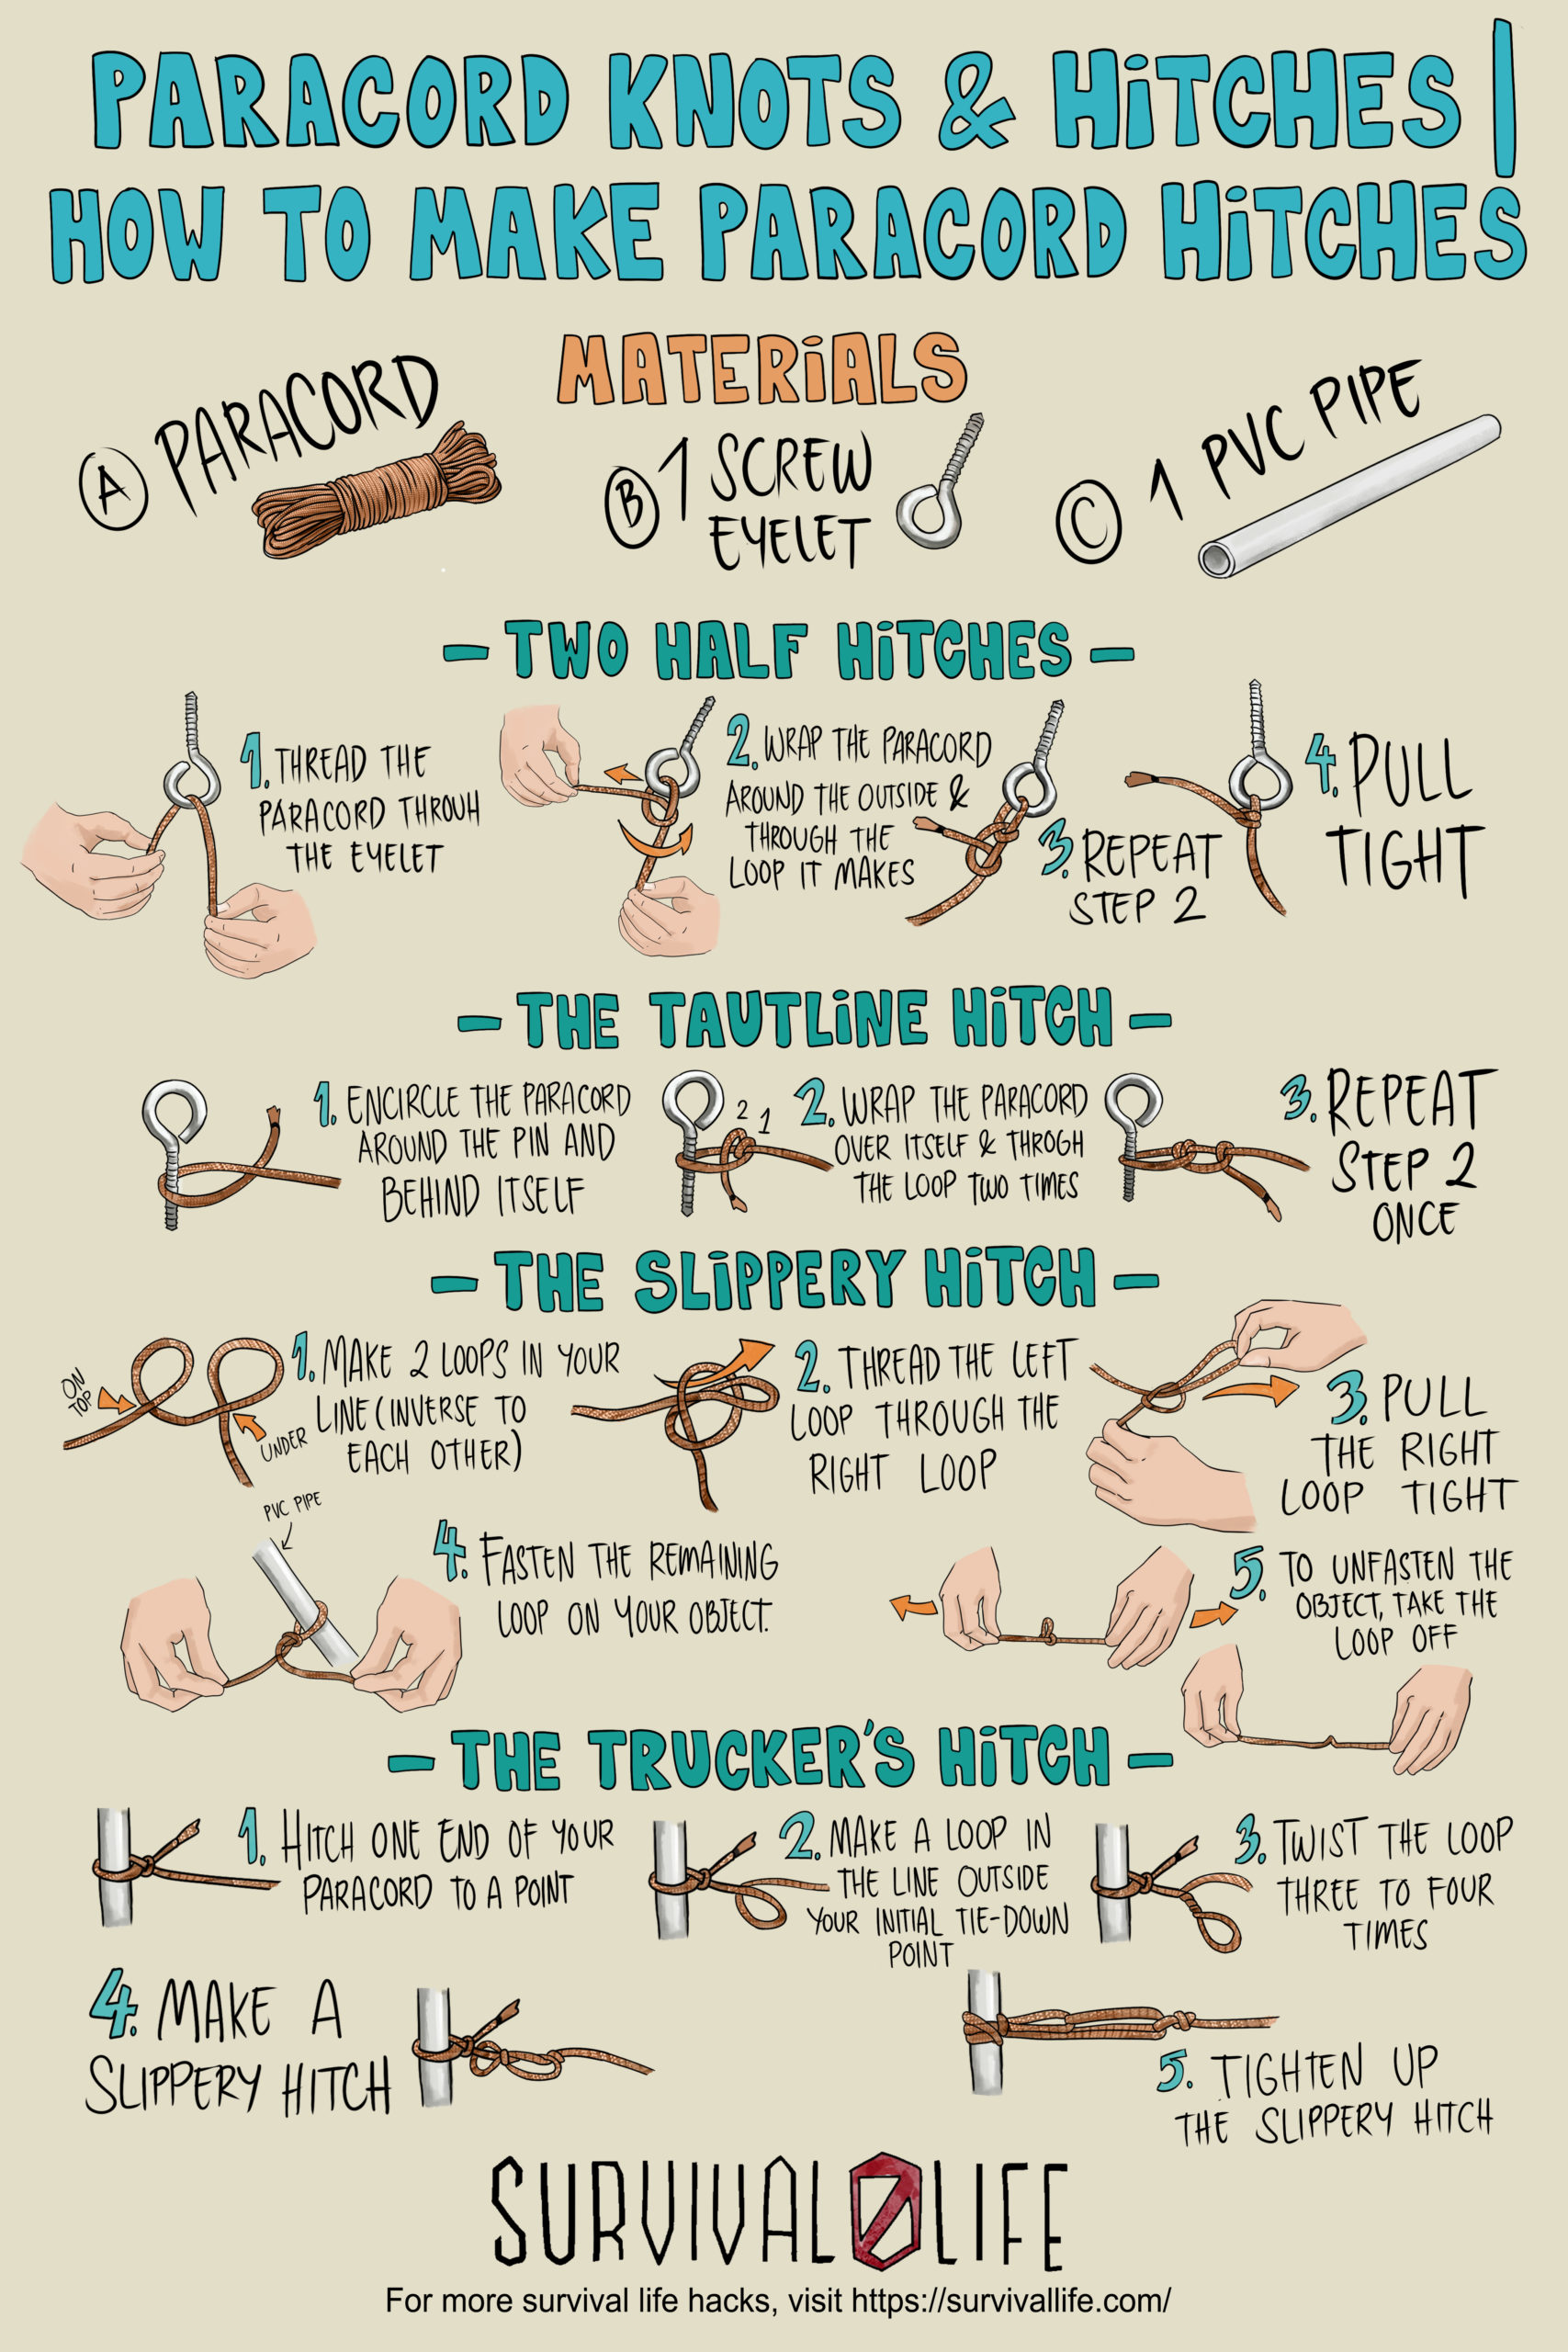
Here’s an infographic guide of the different paracord knots and hitches you can do. Don’t forget to download, save, or share this handy infographic for reference:
Watch this video from The Weavers of Eternity Paracord to learn more paracord knots that you need to master as a prepper:
A survivalist’s life is incomplete without these essential paracord knots and hitches. Go over each step as many times as you need to master each one.
These tricks will come in handy not only during emergencies but also in your day-to-day life. Always be a proactive prepper!
Have you experienced the need to use paracord knots and hitches? Share your experiences with us in the comments section below!
Editor’s Note: This post was originally published on May 19, 2014, and has been updated for quality and relevancy. via SurvivalLife


