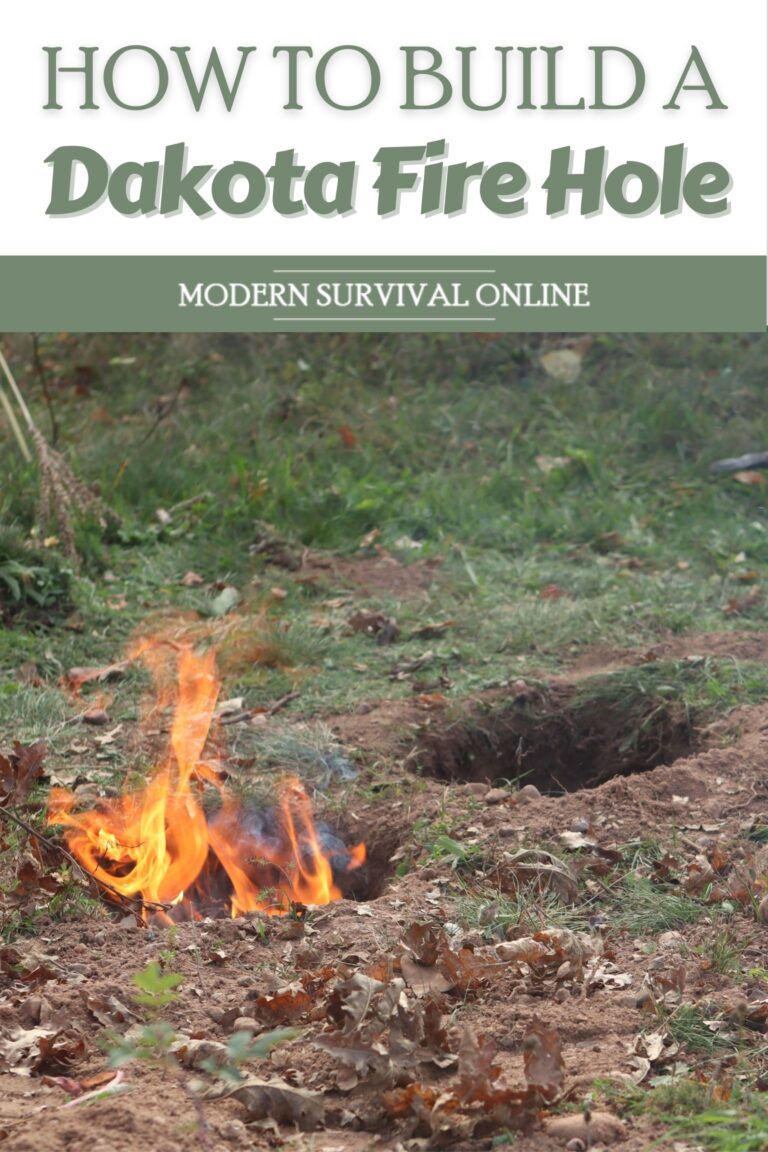
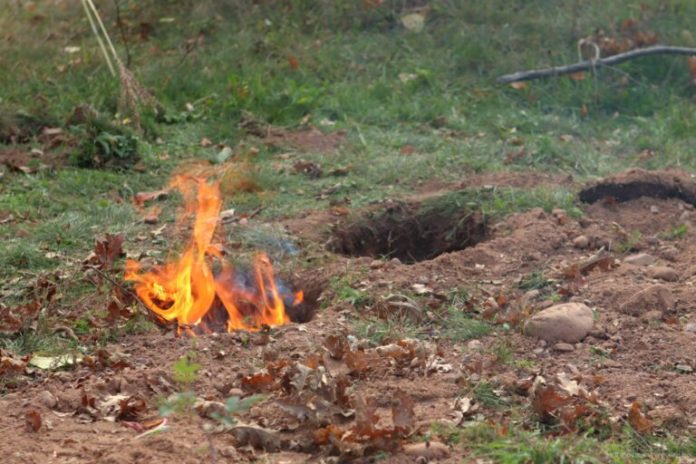
If you’re into bushcraft or experimenting with fire-making, then the Dakota fire hole is an excellent survival tool to master. If you’re a city-dweller looking to expand your horizons, well then this is an easy one to start with.
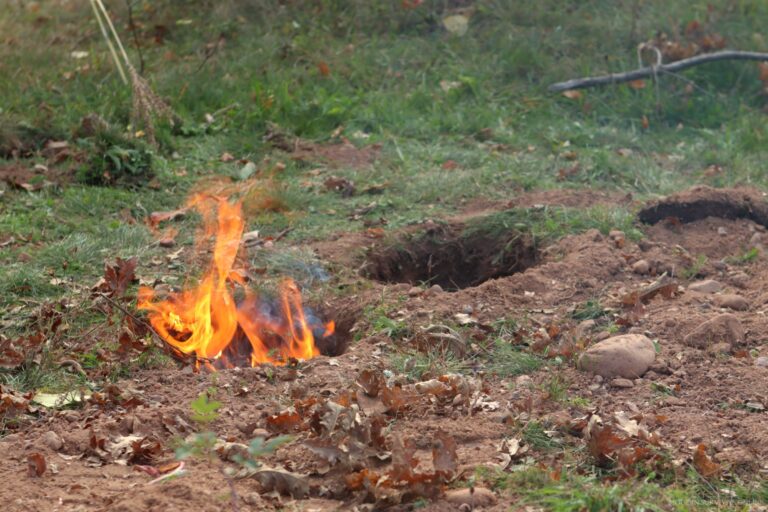
To understand the concept, first picture a hand-dug-out fire pit that is fed air from a connecting hole.
It’s been used for thousands of years and is still used today in various outdoor communities and schools.
Not only is it a stealthy way to have a fire, but the amount of wood you’ll need is also substantially less than what you’d use with a normal campfire.
It’s the ultimate survival fire-building technique, and this article aims to be the ultimate guide for you to craft your own Dakota fire hole.
How Does a Dakota Fire Pit Work?
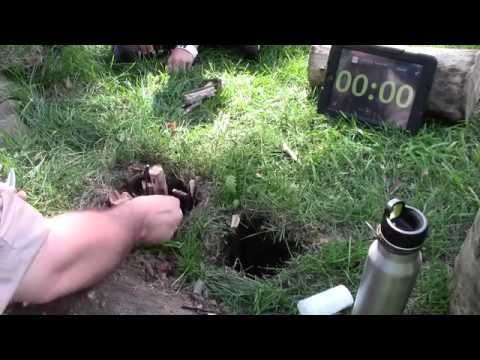
Quite simply, a Dakota fire hole functions by digging two holes in the ground that connect.
One of the holes is dug vertically, right to the bottom and the second is dug away from it at such a distance that you can dig down diagonally and connect with the first hole you created.
Making a fire in the vertical hole will draw air through the angled hole and provide all the oxygen your little fire needs.
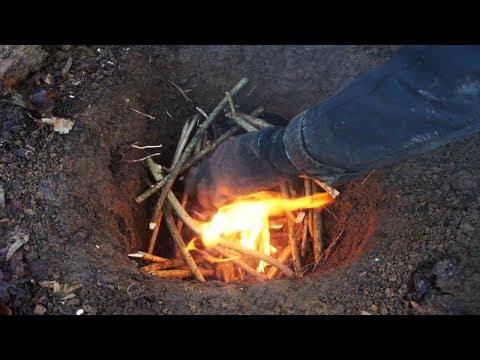
The interesting thing is that since the airflow is so concentrated, you only need a few twigs and branches to get something strong going.
The other important thing to remember is that the angled hole should face the wind so that the airflow is easily accessible.
Once the fire is going, however, you won’t need to worry as the draft will be strong enough on its own.
What’s the Purpose of a Dakota Fire Hole?
The Dakota fire hole is a survival tool that can get you a fire with minimal wood. Modern-day twig stoves are an effective alternative that you have to pay for.
Both require smaller amounts of wood which is perfect for backcountry campsites where forests are often picked clean of firewood.
Additionally, they are an effective way of having a stealthy cooking fire since they are often smokeless and the flames won’t reach the top of the firepit.
If you’re camping out in an area where you need to be unseen, using a Dakota fire hole can give you warm comforts without the orange glow flickering amongst the trees.
Origins of the Dakota Fire Hole
As with many of the primitive techniques we use today, a Dakota fire hole was traditionally used by Native Americans, coined by the Dakota tribe who lived within what we know as North and South Dakota, Minnesota, and Wisconsin.
Historically they were used as ways of making a fire in inclement weather as the pit would shield the flame from rain and wind.
Other times Dakota fire pits were used in dry times to avoid forest fires or grassland blazes.
Such a simple technique is still used widely today as it is taught in a lot of forest schools and expedition programs.
Advantages of a Dakota Fire Hole
The advantages of the Dakota fire hole far outweigh the disadvantages, especially if you’re in a survival situation with limited resources and potentially bad weather coming in.
Here are the advantages of using this technique in modern-day situations.
- Stealthy with low light emission
- Throws off hot heat due to focused air intake
- The open pit concept is great for cooking and grilling
- Smokeless
- Resilient in inclement weather
- Requires little in terms of wood for fuel
The risk/return reward for this technique is entirely in your favor; however, there are times when using a Dakota fire pit is not recommended.
Disadvantages of a Dakota Fire Hole
You aren’t alone if you can’t think of any disadvantages in using one of these in a survival situation but location and timing are everything, including a Dakota fire hole.
Here are the reasons why you may not want to use one of these in a survival situation.
- Won’t do much for heating, unless in a shelter (Not advisable)
- Hard to do in the winter when the ground is frozen
- Swamps and marshy areas tend to hold a lot of water under the surface
The wet ground will snuff out a fire as too much moisture is introduced, of course, if the fire is hot enough then it won’t matter.
If you’re looking for something to heat everyone around your campsite this isn’t the best choice since the heat is directed upward and not out.
Tools Required To Begin
You can easily make your Dakota fire hole with your hands if the ground is soft enough that you can claw away at it.
When you visit an external link on this page and then make a purchase, I may earn a commission. Read my full advertising disclosure here.
If you want to be prepared, bring along a pocket bellows so that you can supply even more oxygen to your fire.
Here is a breakdown of the gear you would need to successfully create a Dakota fire pit:
- Shovel (Foldable camp shovels work best)
- Tinder (Birch bark, fatwood, DIY firestarter)
- An ignition source (lighter, matches, ferro rod)
- Pocket bellows (to provide more oxygen if needed)
Much of the items needed can be incorporated into other aspects of bushcraft so many outdoor enthusiasts have these items in their kit already.
How to Build a Dakota Fire Hole
Building a Dakota fire hole doesn’t take a long time if you’re digging into the right material. Ensure that you keep all of the stuff you dug out close by because you’re going to need it when you leave.
1. Mark Out Where You’re Going To Dig
It’s important to scope out the area that you’re going to dig in before you try because there could be things lurking underneath the surface that may hinder you from your objective.
Keep an eye out for thick tree roots, large rocks, or sandy conditions that won’t keep their shape as you dig further.
You’ll need to make sure that the holes will intercept each other as you dig at their respective angle.
You can easily mark the area with a stick in the ground or some other marker.
2. Dig Out The Holes
If the ground is soft enough you can probably get away with using your hands, being sure to avoid roots as much as possible. If there are a lot of roots present, it’d be best to switch areas.
Start with the first hole, which you’ll be digging down vertically. You’ll want to go about 12 inches deep.
The top of the hole should be narrower (about 6-12 inches) than the bottom as you want as much room as possible for the fire but still have a small enough hole to put a pan on top.
The second hole should be about 10 inches away from the first hole and should be no larger than 8 inches in diameter.
This hole needs to be dug on a diagonal as it should intercept the other hole, making a decline for the air to follow.
It is best if this hole is positioned facing into the wind for easy airflow.
3. Starting The Fire
You want to create the fire in the first hole you dug out, while the air will be pulled through the angled tunnel.
You won’t need much fuel, maybe a few pieces of fatwood and some twigs to get it started.
A nice piece of white birch bark can get the fire started and you’ll see the air being pulled into the adjacent hole into your fire.
4. Keeping Your Fire Going
Try not to plug up your Dakota fire hole with too much wood as the flames will start to reach above the hole.
The key to controlling the fire is to use less wood than you would with a regular campfire. Since the holes you dug were so small it should be easy to do that.
5. Putting Out The Fire
This is where you would put that dirt you dug up to good use as you’ll be using it to cover your tracks when you’re done using the fire hole.
The easiest way to put out the fire is to fill both holes with dirt because without oxygen the fire won’t continue to burn.
Tips on Building the Best Dakota Fire Hole
Creating your own Dakota fire hole is a simple task once you’ve done it a few times but some tips can help beginners and experienced people alike get ahead of the game.
Site Selection
Knowing the ground underneath you is important in making the right decision on where to make your fire pit. If in doubt, pay attention to the trees around you.
Cedars like swampy ground with high acidity which means the ground might be saturated.
Pine trees love shallow soil which means rocks may be prevalent underneath.
Dig a couple of inches into the ground and see what the understory is like before dismissing an area.
Under a Tree To Disperse Smoke
During the warmer months building a Dakota fire hole underneath or near a tree canopy will further air in the stealthy aspect of using this technique.
This is largely because the leaves will diffuse the smoke enough that they will be less perceptible as it rises above the canopy.
When the fire gets hot enough inside the pit then the smoke will disappear.
Final Thoughts
The Dakota fire hole is a traditional fire-building method that provides a stealthy cooking fire with minimum fuel.
It is a great training tool for novices to learn how to manipulate fire without worrying about burning the forest down around them.
Frequently Asked Questions
Can you believe there is still more to talk about with Dakota fire holes? Here are some of the most popular questions we get asked about them.
Can the fire from a Dakota Fire Hole spread to nearby roots?
Yes, if not properly extinguished. Also, avoid large roots when digging your fire pit to mitigate this risk.
Is a Dakota Fire Hole smokeless?
Yes, because the fire is under the surface it will burn hotter which promotes a cleaner burn.
How deep does the pit need to be for a Dakota Fire Hole?
Both holes for the Dakota fire pit should be about 1 foot (12 inches) deep.
Why build a Dakota fire hole?
It is a quick-to-build, smokeless cooking fire that burns hot and stealthy in survival situations.
Why do you need two holes for a Dakota fire pit to work?
The first hole is dug vertically and is where the fire will be, the second angled hole provides fresh oxygen to keep the fire going.
