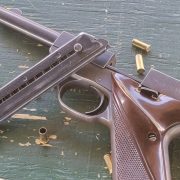
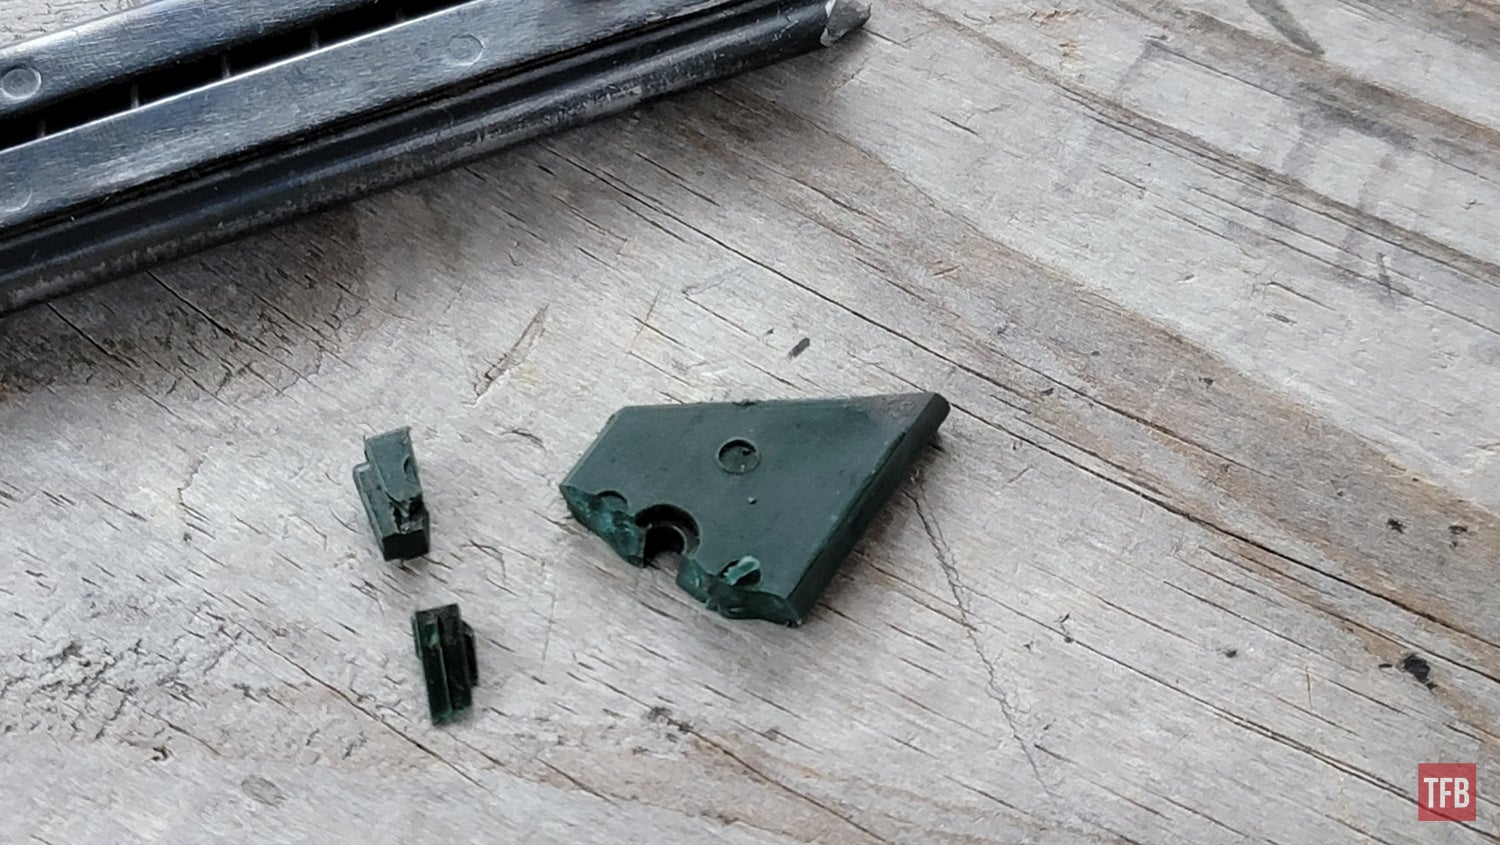
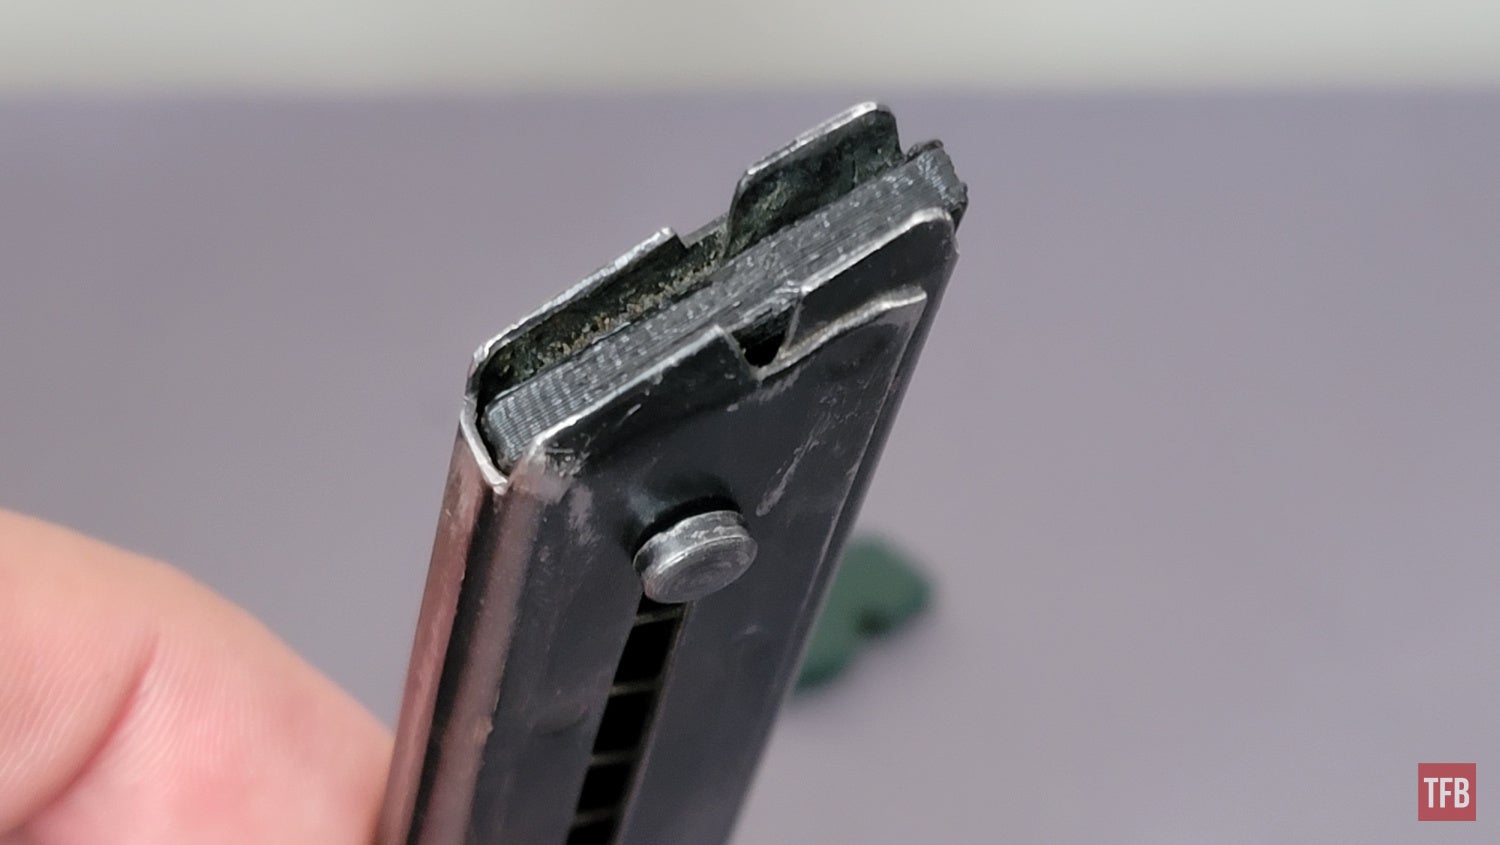
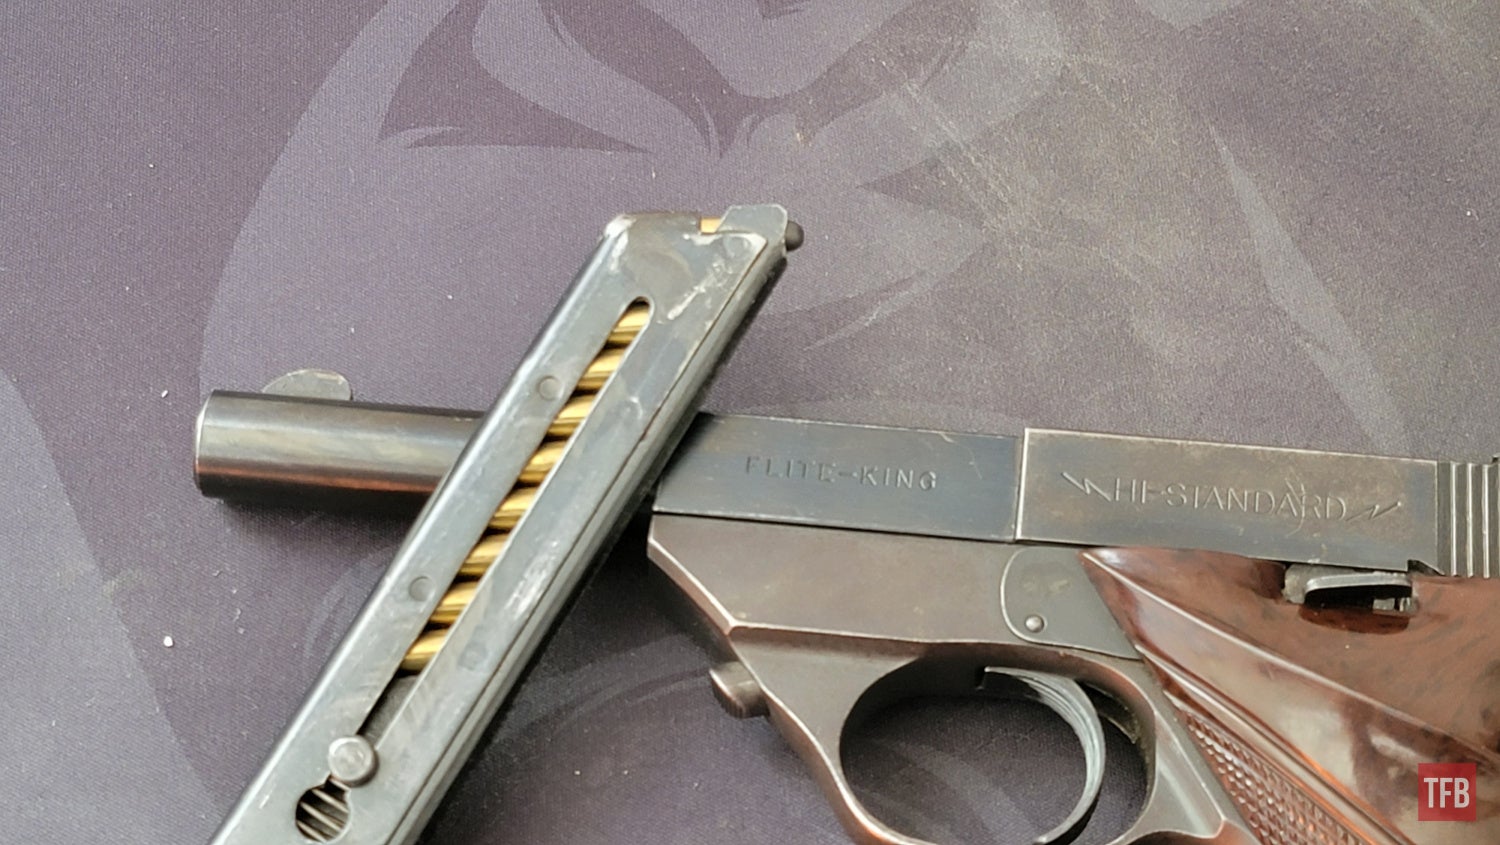
Hello and welcome back to another edition of The Rimfire Report! This ongoing series is all about the rimfire firearm world and its various guns, gear, sports, ammunition, and trends. A couple months ago, you guys will remember that we took a look at the old school High Standard Flite King. In that article, we discovered a few things about my little pawnshop find including the fact that it may have actually been a mash-up of a High Standard Sport King frame with a Flite King barrel. During the course of my testing of the pistol, some of you will remember that the magazine’s follower humorously broke and ejected itself from the pistol en bloc clip style. My review of the pistol ended right then and there and for weeks I wasn’t able to find an affordable solution. Today we’ll discover the process I took with fellow TFB Writer Giorgio O, TFBTV Discord member/notorious firearms mangler Stubbs to return the Flite King’s magazine to service in the hopes that it may inspire some of you hesitant about 3D printing to take it up yourself.
More Rimfire Report Articles @ TFB:
- The Rimfire Report: Testing Norma’s ECO Speed and ECO Power 22LR Ammo
- The Rimfire Report: The Magnum Research Mountain Eagle – Ahead Of Its Time?
- The Rimfire Report: NEW SIG P322 – 6,000 Rounds Later
The Rimfire Report: How 3D Printing Saved My High Standard Flite King
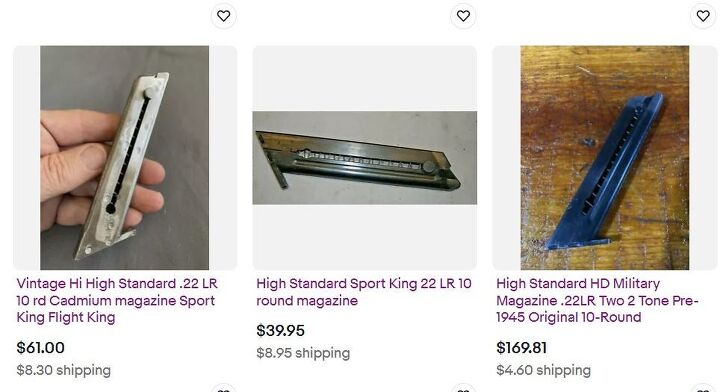
Now the simple answer would have been to just go out and purchase a new magazine for the Flite King. However, just taking a brief look anywhere on the internet where they are available reveals that magazines for the High Standard Flite King and Sport King are absurdly expensive even rivaling the prices of modern centerfire pistol magazines in some cases. In my search for magazines across eBay and GunBroker, I found that prices for used magazines ranged anywhere from $35 all the way up to $150 and beyond. Keep in mind, that these prices are most likely driven by a combination of their rarity and status as collector’s items.
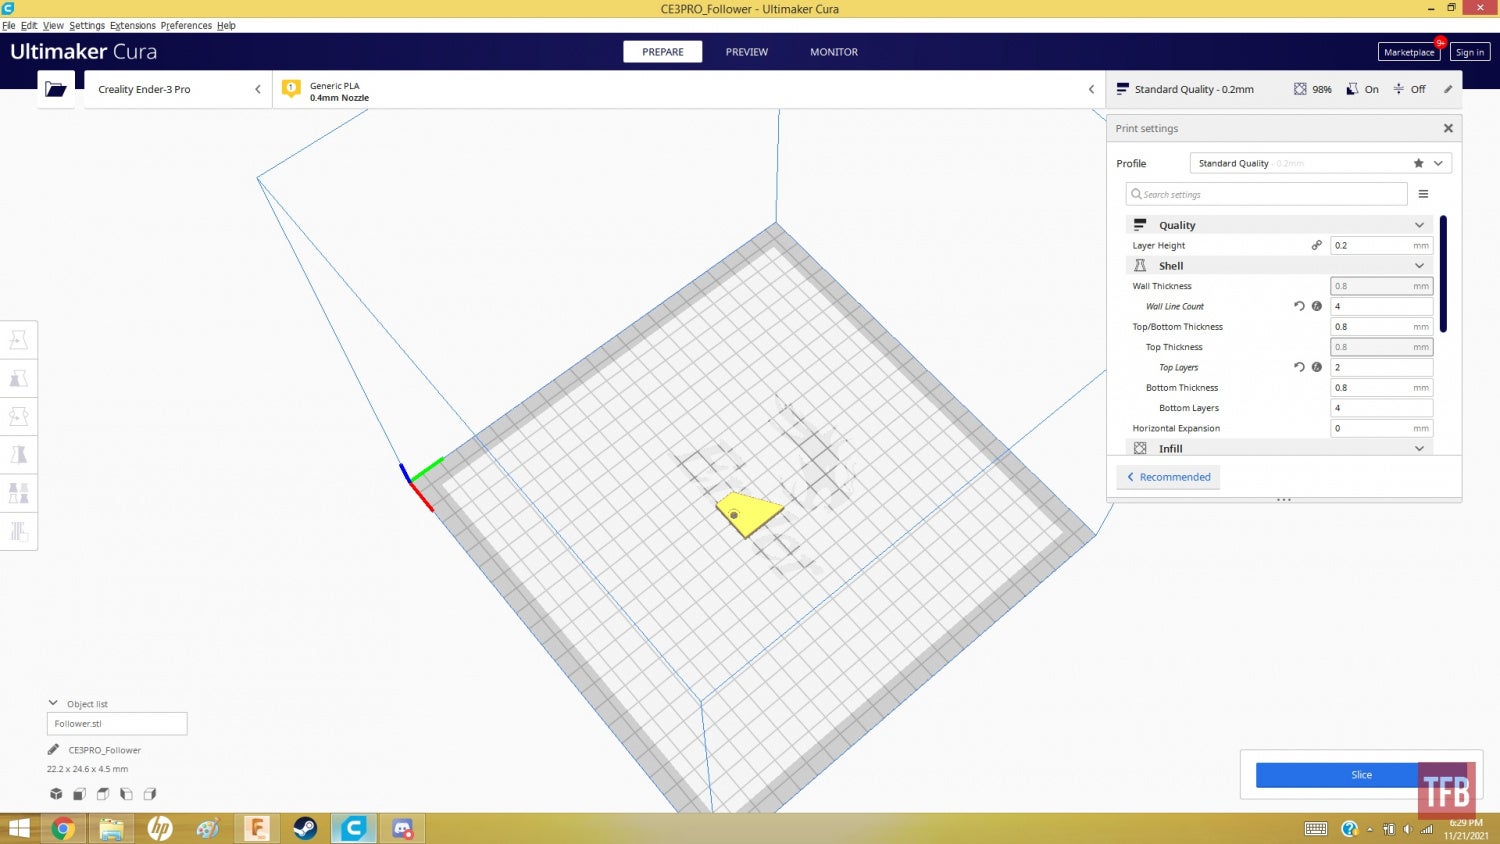
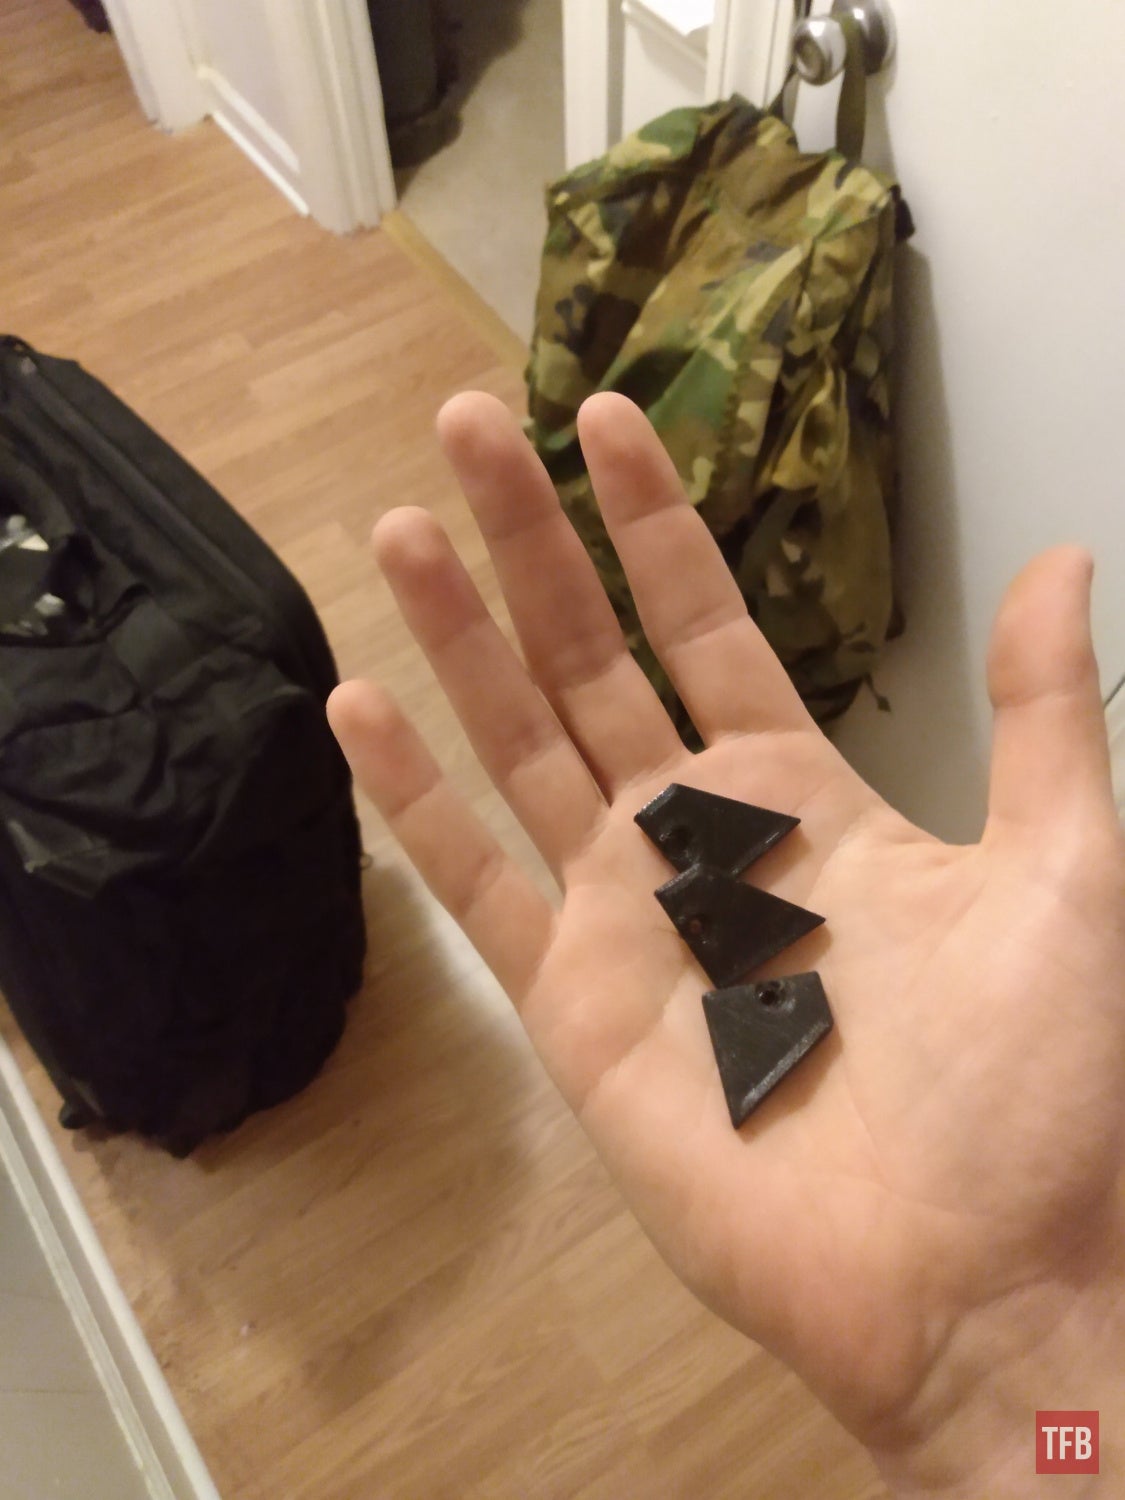
Shocked at the prices of these magazines, TFB Writer Giorgio O, who is a prolific 3D printer, put out the idea that he might be able to generate an STL file (used for 3D printing) which he would then send to me so I could have it printed. I took about 20 minutes sending him various measurements and photos of what remained of the shattered follower and he got to work. In about 20 minutes, I had an STL file. I then reached out to one of the most skilled 3D printers I know, Stubbs. While this wouldn’t be as insane as his other prints, he was more than willing to help me out in my time of great need.
Stubbs decided to print the new followers out of black PETG. I bought him an entire 1KG spool for about $13 shipped and when it arrived he printed several of the followers just in case one of them didn’t work out. In order to get the followers to the right size using the PETG material, Stubbs had to set the print to a 100.5% scale to account for the shrinkage that occurs after the material starts to cool down. Stubbs noted that this size increase has been about perfect for all his other print projects using PETG.
Assembling and Testing the Follower
Once the followers arrived (Stubbs sent me 5 in total), I was able to start test-fitting them. To strip down a Sport King or Flite King magazine, all that is required is to fully depress the follower till the retention stud is able to be pushed out through the right-hand side of the magazine body. After this, the follower, and spring will come out. The followers weren’t an exact fit right off the bat but all that was required to make the stud fit inside of the 3D printed follower was a bit of hand fitting. I used a 1/8″ drill bit to ream the hole to a slightly larger size and then I used a small razor blade to clean up stray bits of PETG material around the small recess that the pin fits into.
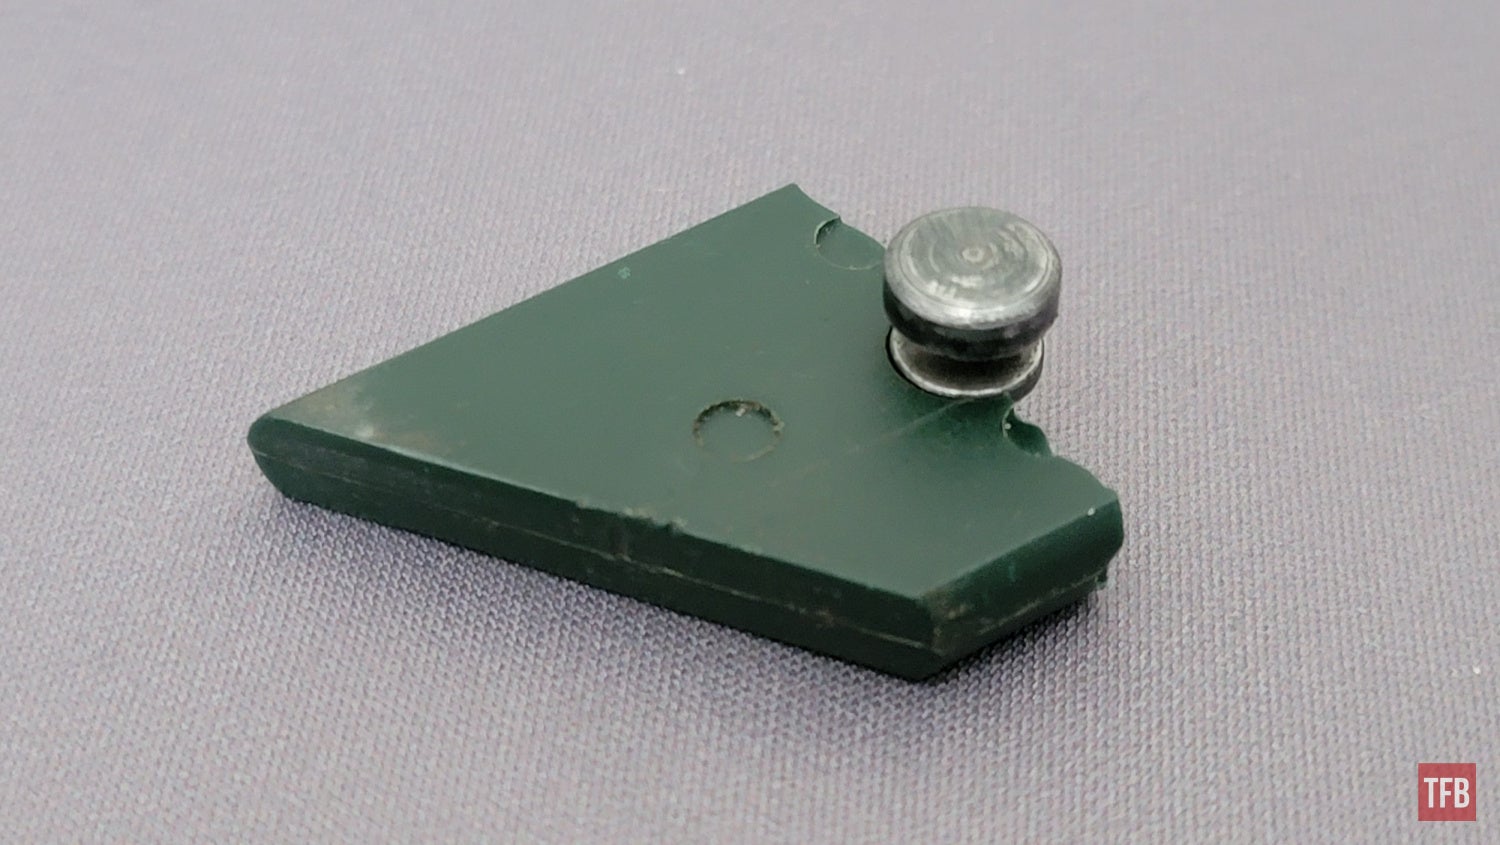
The follower retention pin drops easily into the original follower
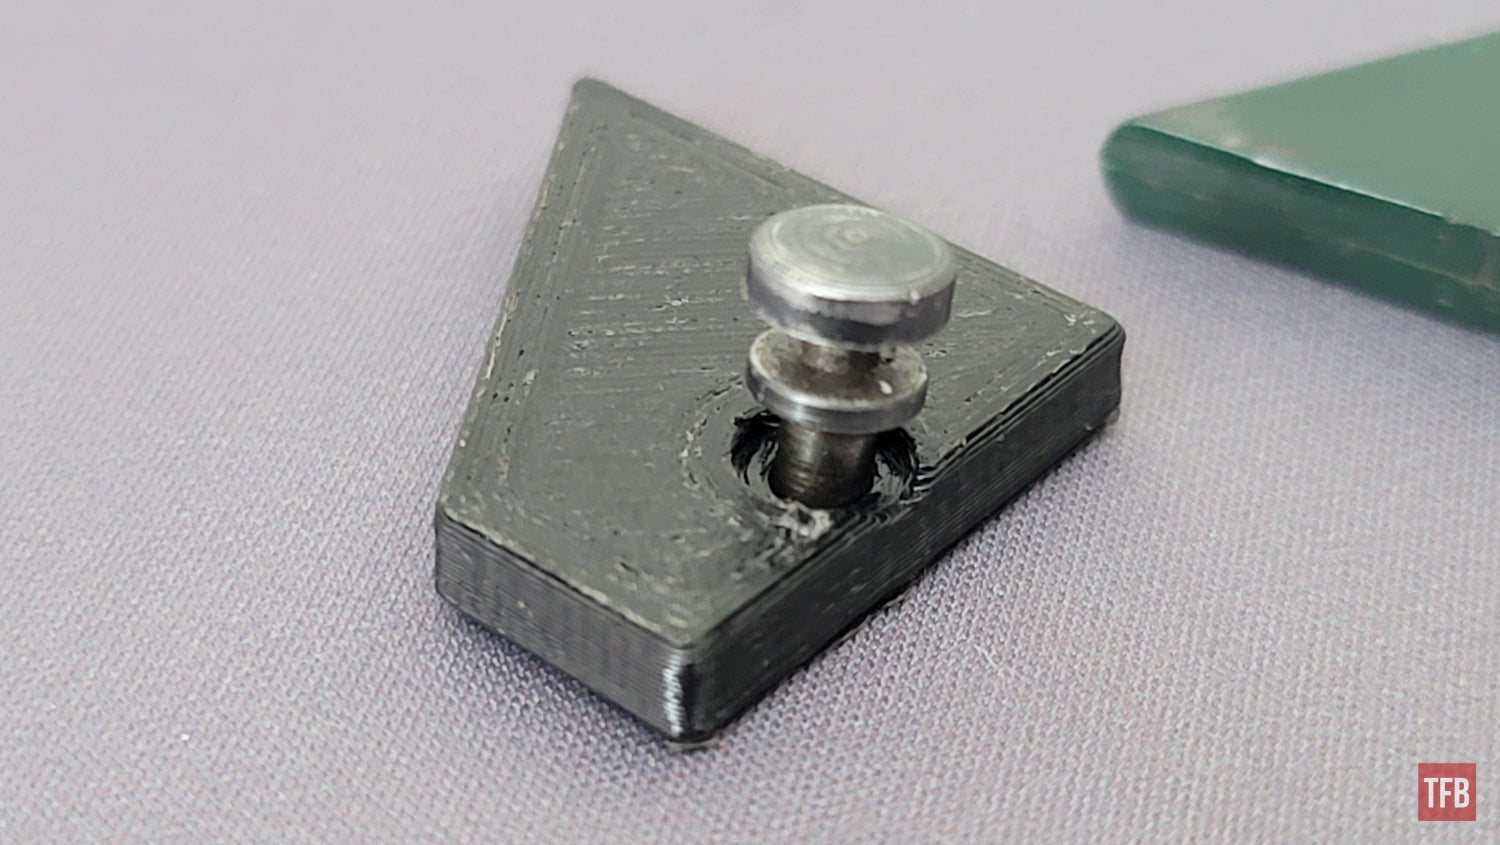
Even with a decent amount of pressure, I could not press the pin into the 3D printed follower without risking breaking it.
Once this was done, the magazine went back together as you would expect and I loaded up 10 rounds to see if the magazine seemed to operate normally enough to be taken to the range. Everything checked out so I grabbed 50 rounds of CCI Standard Velocity, the Flite King, my refurbished magazine and went to the range. The first magazine through the pistol seemed to operate fine but subsequent attempts yielded mixed results.
Several of the fully-loaded magazines had at least one malfunction. One malfunction I encountered was that the round would get stuck “nose down” inside the magazine body and wasn’t able to raise enough to be stripped into the chamber. Another malfunction encountered was that sometimes the next round in line would flip up and stovepipe without entering the chamber. This didn’t happen with every magazine and it wasn’t quite clear what was causing it. I tried rapid-firing the pistol several times and this didn’t seem to make the problem any worse so I’m at a loss as to what is causing the issue. However, as this pistol is more of a range toy rather than something I rely on for competition, defense, or hunting, I’m willing to accept a handful of these types of issues every so often.
Final Thoughts
The High Standard Flite King is a great pistol and this is just the first step in my attempt to restore it to its former working glory. I mentioned in my previous article about it that the barrel might be shot out but I’ve yet to dig deep enough to find a suitable matching 6″ Sport King barrel which I think would be the correct barrel for the frame. The CCI Standard velocity continued to keyhole pretty aggressively even at a 10-yards distance so I’m almost certain that the barrel is beyond saving. The magazine, however, seems to be back in working condition.
In the future, I hope to film slow-motion footage of the gun in operation with the repaired magazine to see if I can address the problem with further hand fitting. So far though, I am very impressed with how simple it was to fix the magazine using 3D printing and it has convinced me that a small 3D printer could wind up being an indispensable tool for most firearms enthusiasts should individual firearms components start to be strictly regulated. In other countries, some firearms parts are indeed heavily regulated or restricted and 3D printing has already helped them tremendously in sourcing affordable firearms parts via the internet.
As always, I’d like to hear your thoughts on this neat little project. Have you ever repaired any of your firearms or firearms parts using 3D printed components? If so, let us know how it worked out down in the comments. Thanks once again for stopping by to read The Rimfire Report! We’ll see you next week!


