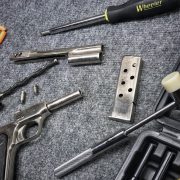
Welcome everyone to the TFB Armorer’s Bench! As mentioned in the little blurb below, this series will focus on many home armorer and gunsmith activities. Today, I decided to do a quick tips and tricks sort of article. I have had an extensive list of article ideas and reminders on my phone and this quick tips and tricks idea has been on the list since day one. More of a fun idea to get people talking and sharing ideas in the comments. Nothing super earth-shattering but hopefully helpful to whoever may need a hand. Let’s dive into this rapid-fire style article with 10 Quick Tips and Tricks!
Other Armorer’s Bench Reading @ TFB:
- TFB Armorer’s Bench: Techniques and Types – Boresighting
- TFB Armorer’s Bench: General Bench Setup – Quick Tips
- TFB Armorer’s Bench: Understanding Auto-5 Friction Ring Orientation
- TFB Armorer’s Bench: Tips and Tricks – AR15 Gas Blocks
- TFB Armorer’s Bench: Straight From My Bench – Gunsmithing Liquids
TFB Armorer’s Bench: 10 Quick Tips and Tricks
Here, we at TFB hope to inform, entertain, and even inspire any would-be gunsmith or armorer out there. Ideally, with the information I provide and with the help of our sponsors, you can have some useful knowledge pertaining to the conservation and improvement of firearms technology while at the same time sharing experiences and teaching each other new tips and tricks along the way in the comments. Digging deep into what it is to be an armorer or gunsmith has significance but what is important is what those people do to show they’ve earned that title. I am happy to share my experiences and knowledge and hope it is informative!
Make your personal safety a priority:
- Practice proper gun safety. Always make sure before the firearm hits your bench that it is unloaded and safe to be handled.
- Wear the proper safety equipment. The main one would be safety glasses (decent ones) since parts are often under spring tension and you may work with high RPM tools. Other honorable mentions would be latex gloves or a respirator when working with potentially harmful solvents and oils. Also hearing protection when working with loud machinery or test-firing firearms.
- Modifications, alterations, and customizations will void your firearm’s warranty 9.5 times out of 10. Please take that into consideration before attempting any at-home gunsmithing.
- If you are unsure about proper safety practices, disassembly procedures, or warranty standards, stop, put down the tools, and consult a competent gunsmith.
Quick Tips and Tricks: Take Photos!
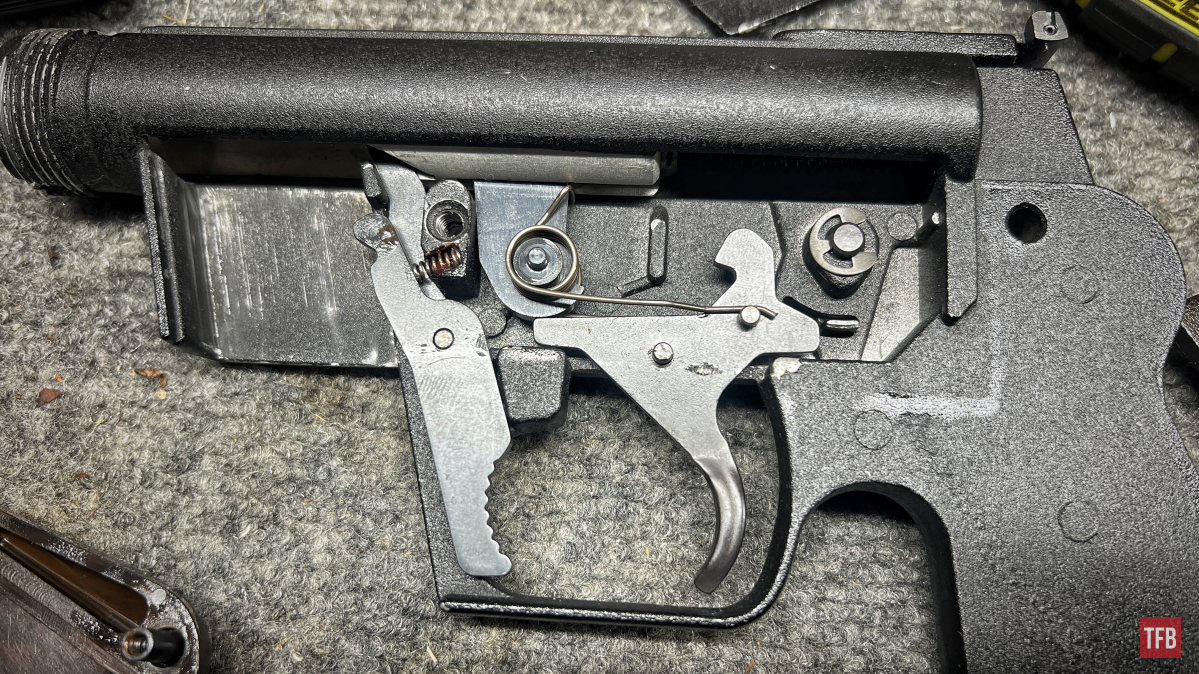
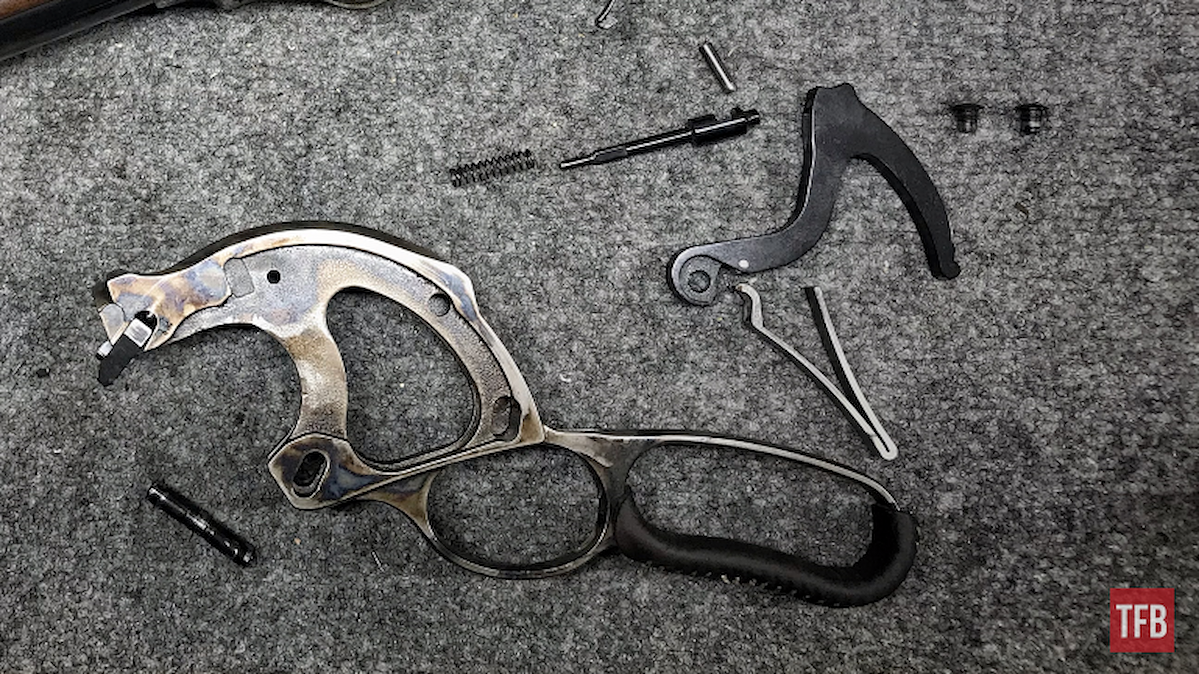
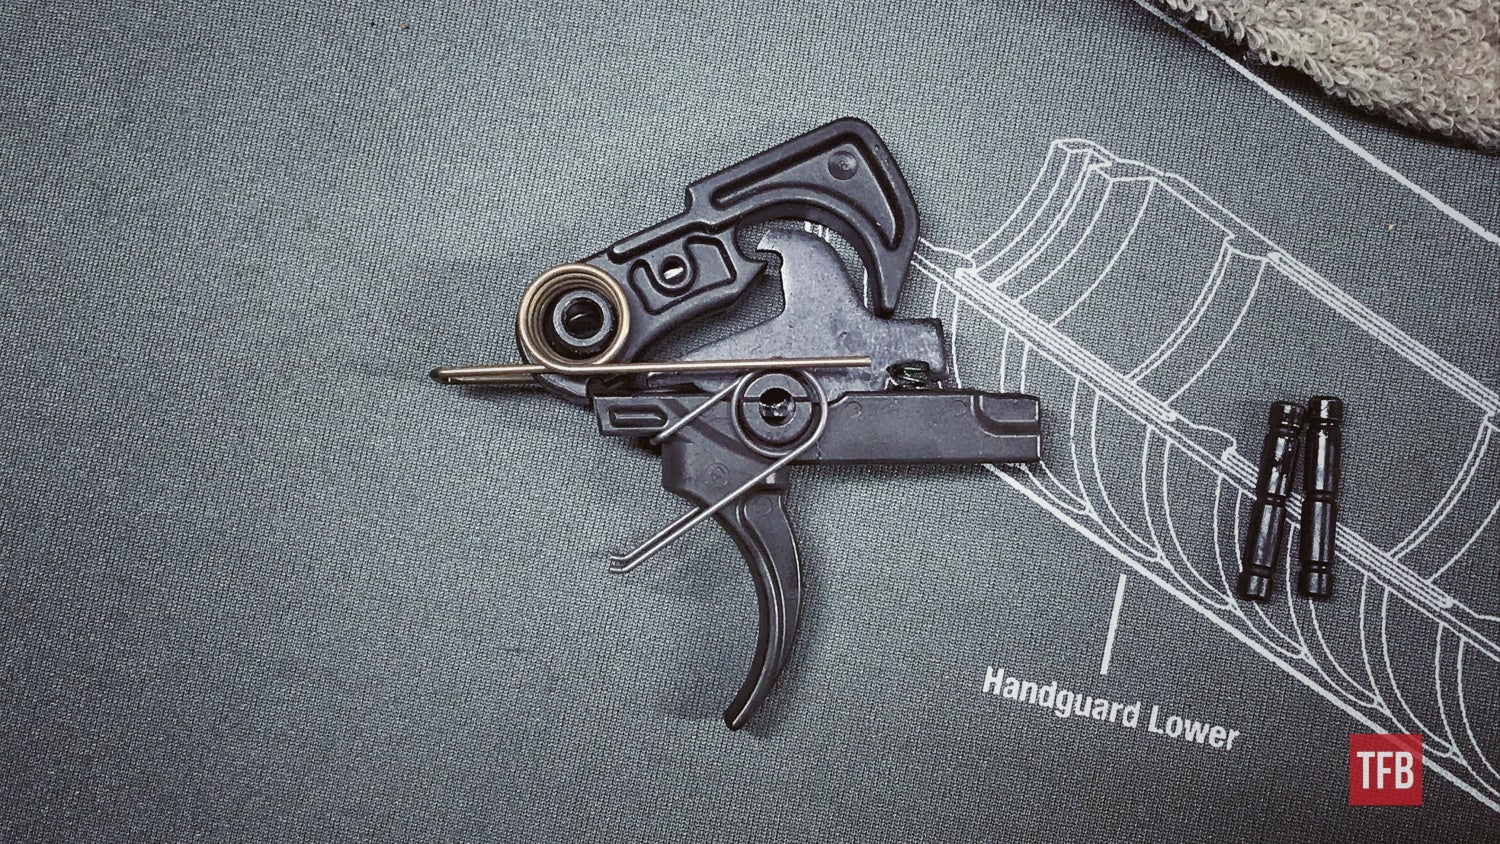
This may be an annoying or surprising tip, but for me, it has always been helpful. Take pictures of what you are taking apart. Reassembly is not simply doing things in reverse. YouTube videos and articles with pictures will only sometimes have the right angles, models, or instructions necessary to put a gun back together, not to mention fix one.
I do these articles as a side job but even in my day-to-day if I am at the bench, and come across a gun I have not taken apart before or am rusty on, I will snap photos as I go. This is especially helpful with trigger assemblies and portions of guns that have lots of springs and pins. Give yourself some peace of mind by snapping a quick photo in case you need it later!
Quick Tips and Tricks: Magnets Are Our Friend
A bit obvious but a good variety of magnets can be a lifesaver. Gun parts can fly across the room if you are not careful. All sorts of springs, pins, and detents are usually the culprits. I actually have my bench set unleveled so parts like screws, pins, and springs have a tendency to roll into rather than off of my bench. Call it a throwaway tip if you like. A magnetic parts tray to place parts during disassembly and a long magnetic parts finder will save a lot of back ache.
Quick Tips and Tricks: Stocks and Sideplates
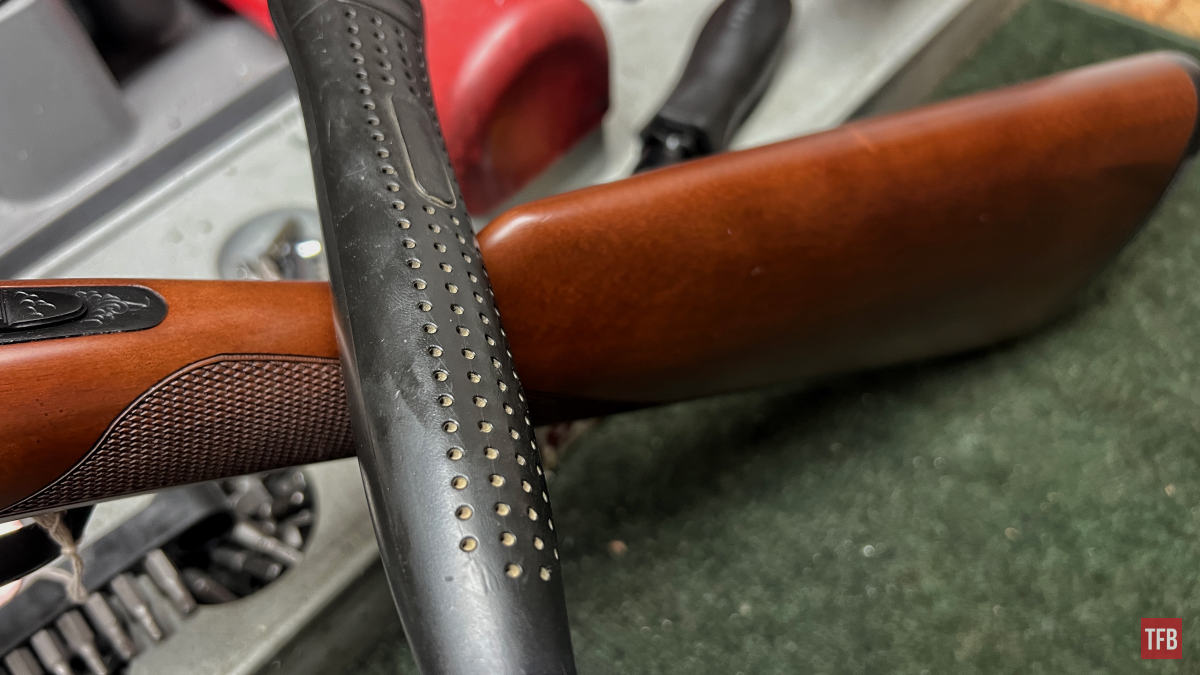
A somewhat normality in the gunsmithing trade but maybe not so much so to someone starting out. Nice wood stocks on guns with tangs like a Browning Auto 5, most side by sides, lever actions, and older school guns, in general, can be damaged if not removed carefully. Usually, the wood swells and constricts according to the temperature and humidity of its environment throughout its life. This can mean that although the stock restraining screws in the tang or through the whole stock itself are removed the stock itself may not be so easily removed. Plainly, it may feel stuck. Light taps with the handle of a hammer or screwdriver on the front of the comb or pistol grip will help persuade it loose. If extremely stuck the firearm may be held stock side facing up and the rear of the receiver or trigger guard (be weary) tapped on with the aforementioned tools in order to have gravity assist you.
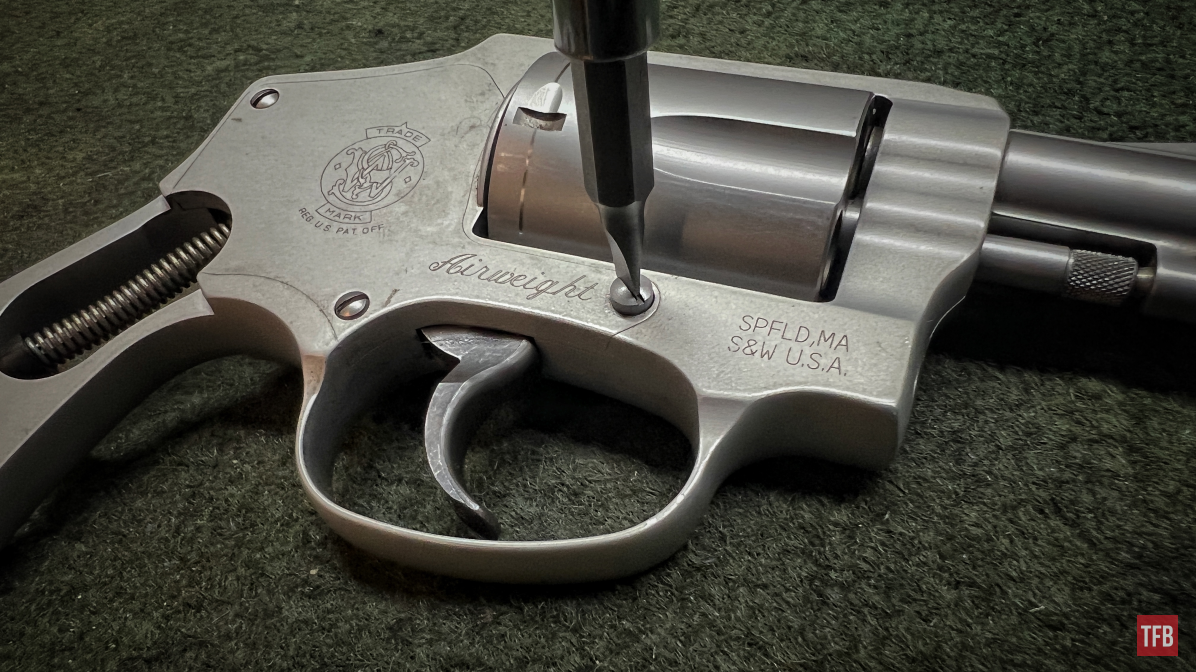
Side plates on revolvers are a similar case. These parts are typically precision machined so much so that there is barely a seam. This can make them tight to the gun. Some are held in with a tab on the inside and pressure from the overlapping grip itself. With the grips and necessary screws removed and a light tap from a hammer handle or screwdriver handle on the grip portion of the frame will usually manufacture vibrations that pop the plate loose. Do not pry these plates loose!
Quick Tips and Tricks: Pins – Which Way?
This one is case-sensitive because it varies from gun to gun and pin to pin. Some guns have literal pins that are intended to be driven out and put back in certain ways in order to avoid damage to a part on the inside (usually springs that are easily bent). The main giveaway for me anyway is when pins have segmented points in order for parts to rest, springs, and otherwise. Sometimes the segments will only be on one half of the pin which usually means that the nonsegmented side goes in first on the side of the assembly that interfaces with the segment that will eventually meet there once fully driven home.
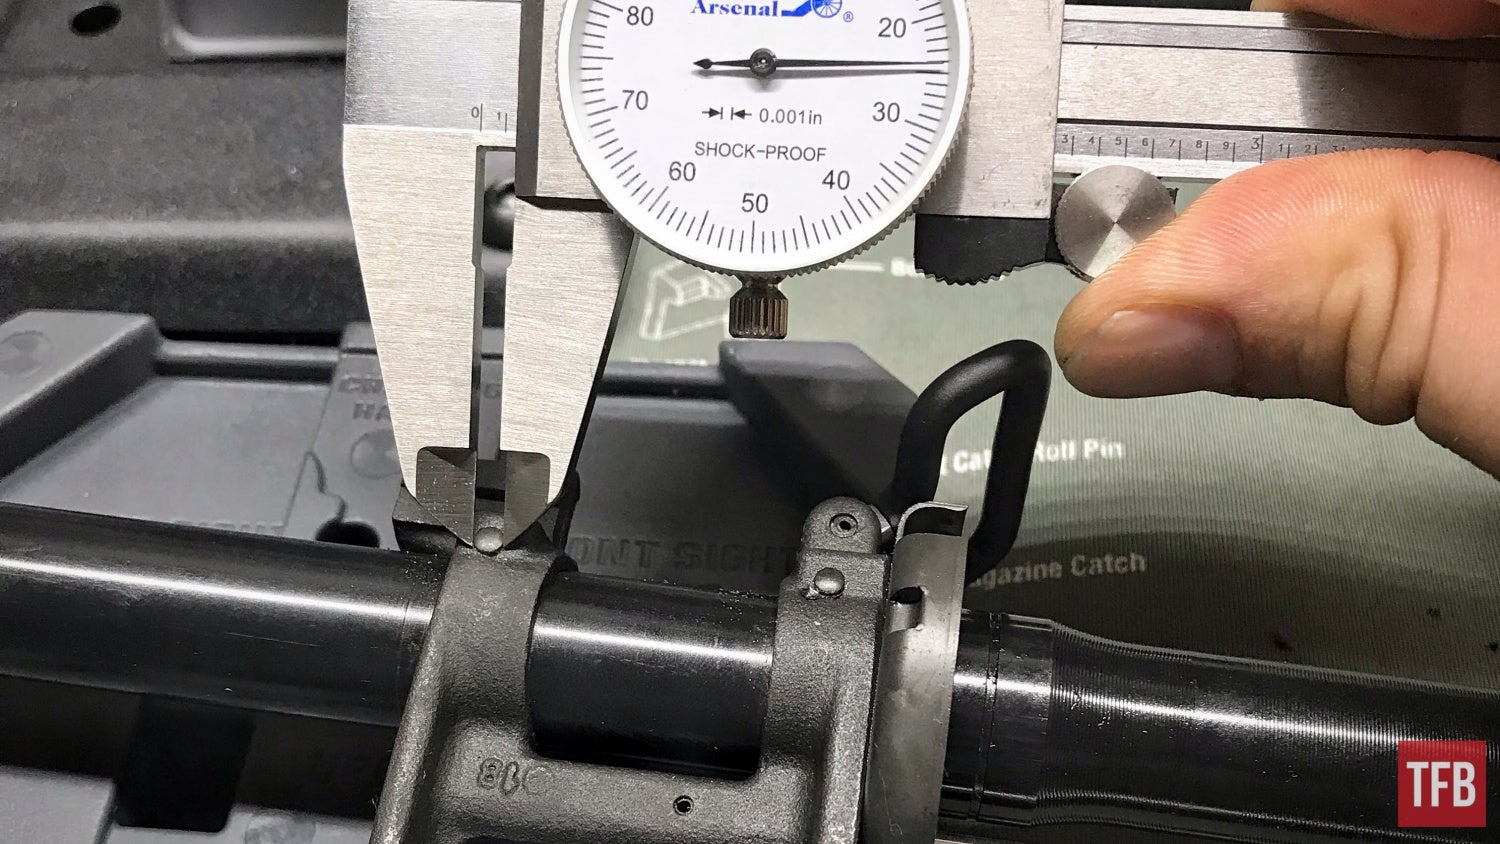
Other segment-less pins have an almost invisible taper to them and one side is simply larger in diameter than the other. The easiest method to find out which side is which is using a tool like a caliper to determine the diameter of each side of the pin and make a determination from there. You will see this commonly in AR15 A2 gas block pins. The ways that they are driven in and out may vary from brand to brand. Make sure to measure first!
Quick Tips and Tricks: Boresight With The Barrel
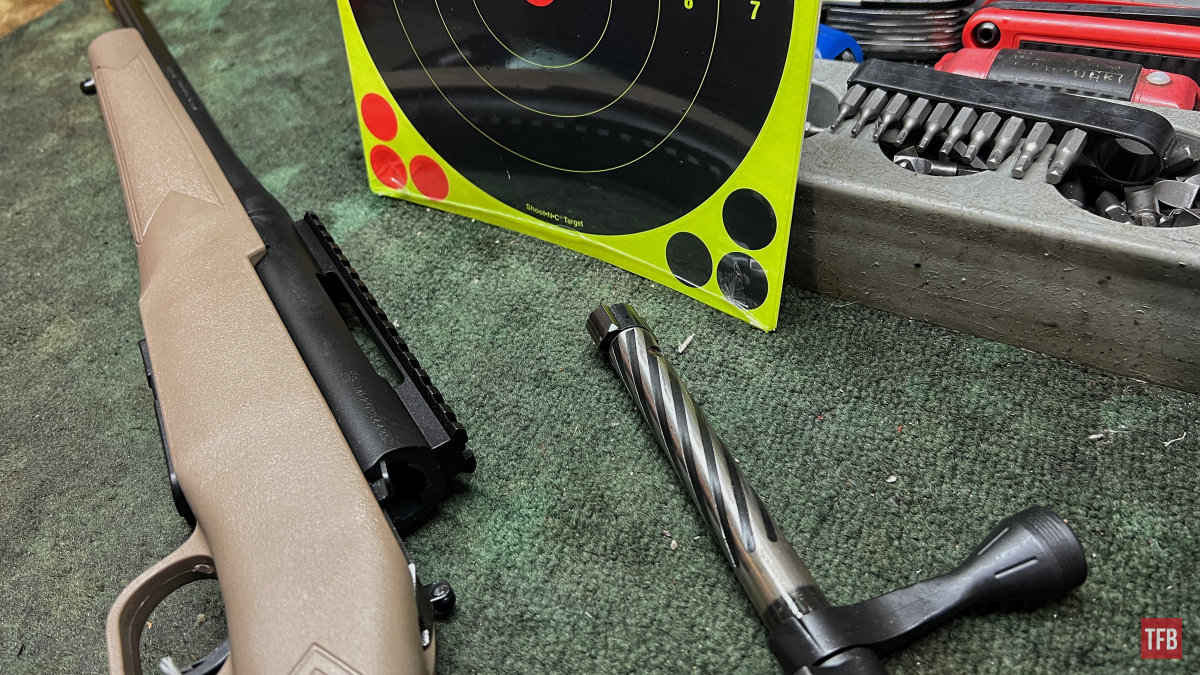
This one I had a hard time attempting to take a picture for so I apologize since my explanation will have to provide a picture in of itself. If you have mounted a scope and are out at the range with a bolt action rifle you can actually bore sight your gun without a boresighting tool (whole article on boresighting here!). With the bolt removed from the rifle, you can look down the bore at your target and adjust the crosshairs of the scope according to where you have the target in (bore) sight. Simple and rather crude. It is not a perfect science but I would argue it is almost as crude as boresighting with a tool.
Quick Tips and Tricks: Buttpad Removal
This is a takeaway from my days of working in the product service center of FN America and I have heard of other gunsmiths doing this so I am glad it was not local to just us. Buttpads on rifles and shotguns are typically held on by two screws going through the pad itself and into the stock. Accessing these screws with a screwdriver or drill can cause a lot of aesthetic damage to the pad. One helpful preventative measure, as weird as it may sound, is vaseline/petroleum jelly. Dunk your drill bit or screwdriver into that and unscrew with an unbothered mind. I have an old jar with a small hole in it so I can just dunk the drill bit into it and zoom a buttpad off quickly without harming the way it looks. It is admittedly a goofy tip but I would not share it if it did not work.
Quick Tips and Tricks: No Vise? Use a Magazine
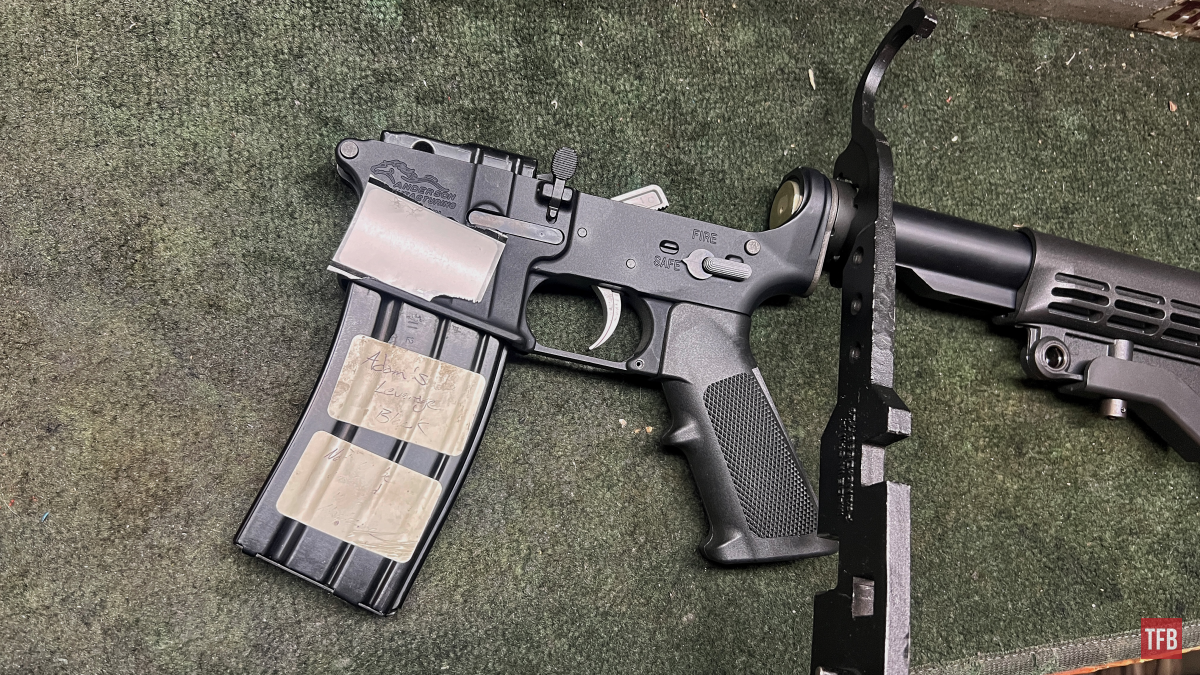
This one I learned while in the trenches of the gunshop workbench. I say trenches because it is not my bench and it is rather ill-equipped for most things which is why this has the potential to be very helpful. My coworker, fellow TFB writer, and Editor of AllOutdoor.com, Adam S gets the credit for this one. Everyone has an AR15 magazine laying around (especially if they are working on one anyway) and better yet they may have a cheap or junky one they do not care about. This magazine can be inserted into the lower in order to provide a leverage point for a large number of AR15 jobs whether it is a muzzle device removal/install, buffer tube removal/install, or barrel nut removal or install.
Quick Tips and Tricks: Tape For Those Loose Pins
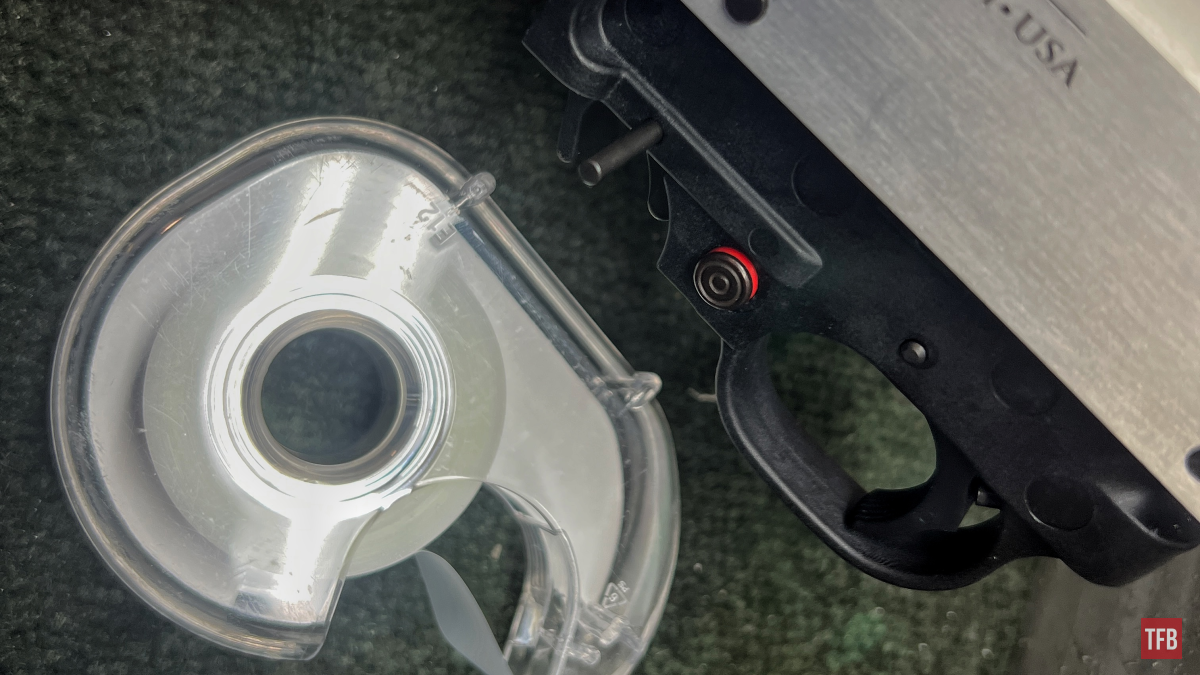
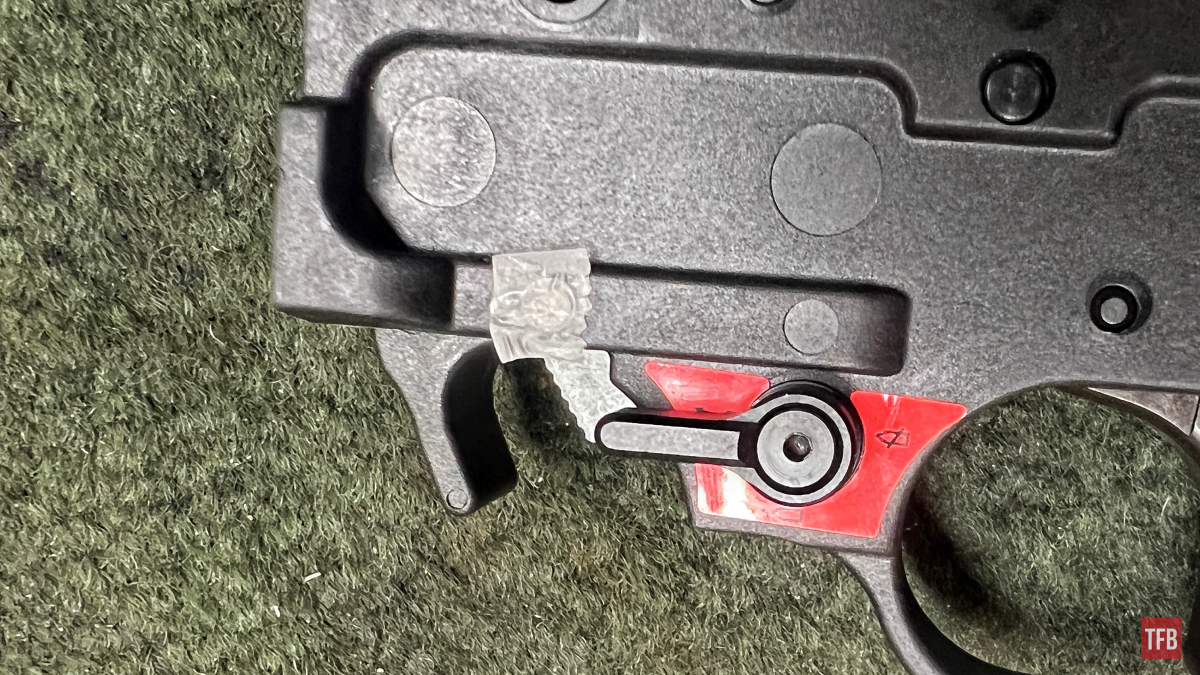
I recently mentioned this one in the Ruger 10/22 Armorer’s Bench article. I picked up this tip more as a necessity in gunsmithing school. The provided firearms had been disassembled thousands of times and as a result, the pins would literally just fall out at random. Small pieces of tape would solve that problem just enough to get assemblies back together in order to get the gun back together as a whole.
A very small piece of tape placed over a pin can prevent it from falling out if it is loose and prone to falling out…Most of the time this tape can stay in place when put back together and not affect the function of a firearm. I do not recommend putting a gun back together with a foreign object stuck to the side of a part but in this instance, it would not change anything at all besides the pin not constantly falling out.
-TFB Armorer’s Bench: Franklin Armory 10/22 Binary Trigger Installation
Quick Tips and Tricks: Rimfire Suppressors and a 12 Gauge Brush
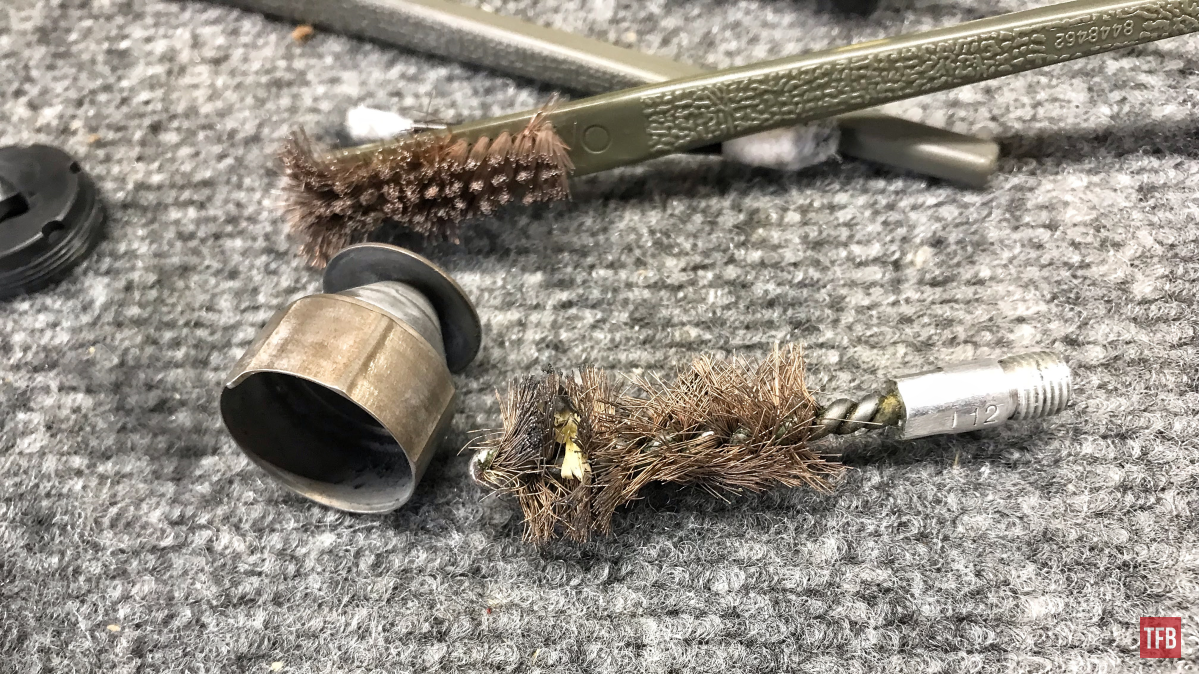
This one does not apply to all rimfire suppressors or only rimfire suppressors but it has been a huge help to me with mine. I have a Dead Air Mask rimfire suppressor (I am sure they do not recommend this) and I get fairly absent-minded about cleaning it on the regular. Let’s call it willful ignorance since it genuinely is not super fun to clean. A 12 gauge bore brush chucked into a drill and spun slowly inside of the baffles does wonders and I have not noticed any sort of wear and tear as a result.
For the inside of baffles such as the ones found in a Dead Air Mask, I use a large 12 gauge or 10 gauge bronze brush chucked into a drill to chip away at the lead and carbon buildup. It works great. Just be very careful of yourself and your baffles.
Quick Tips and Tricks: Lapping Bars and Leopold Rings
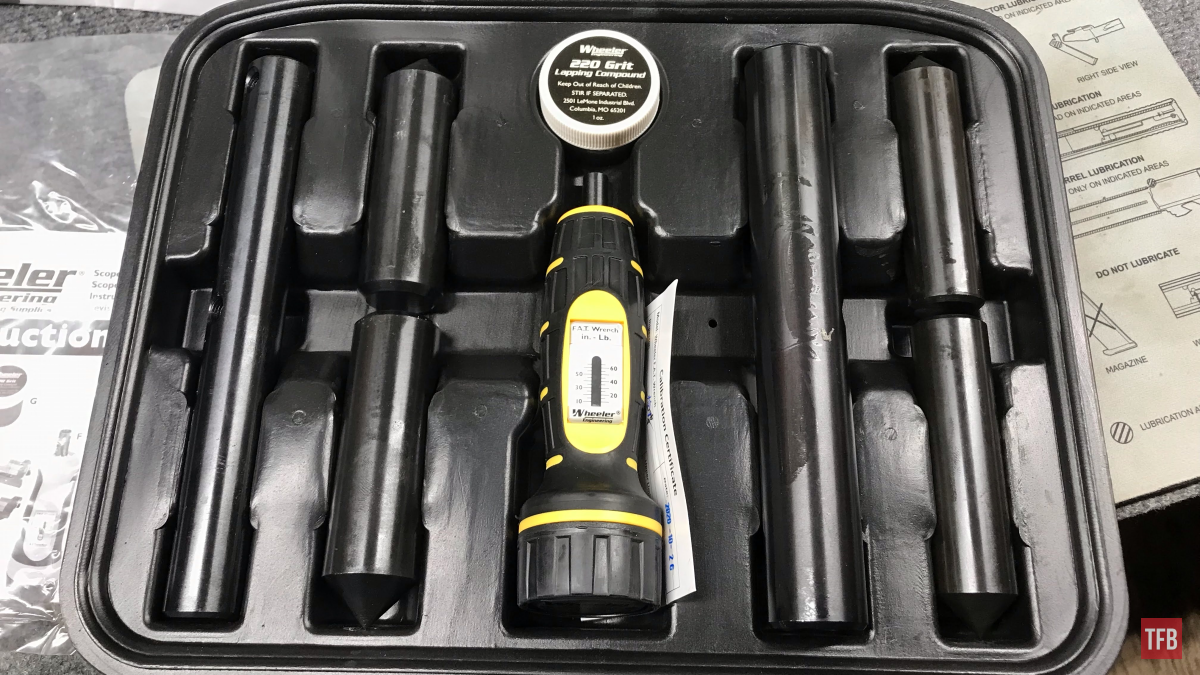
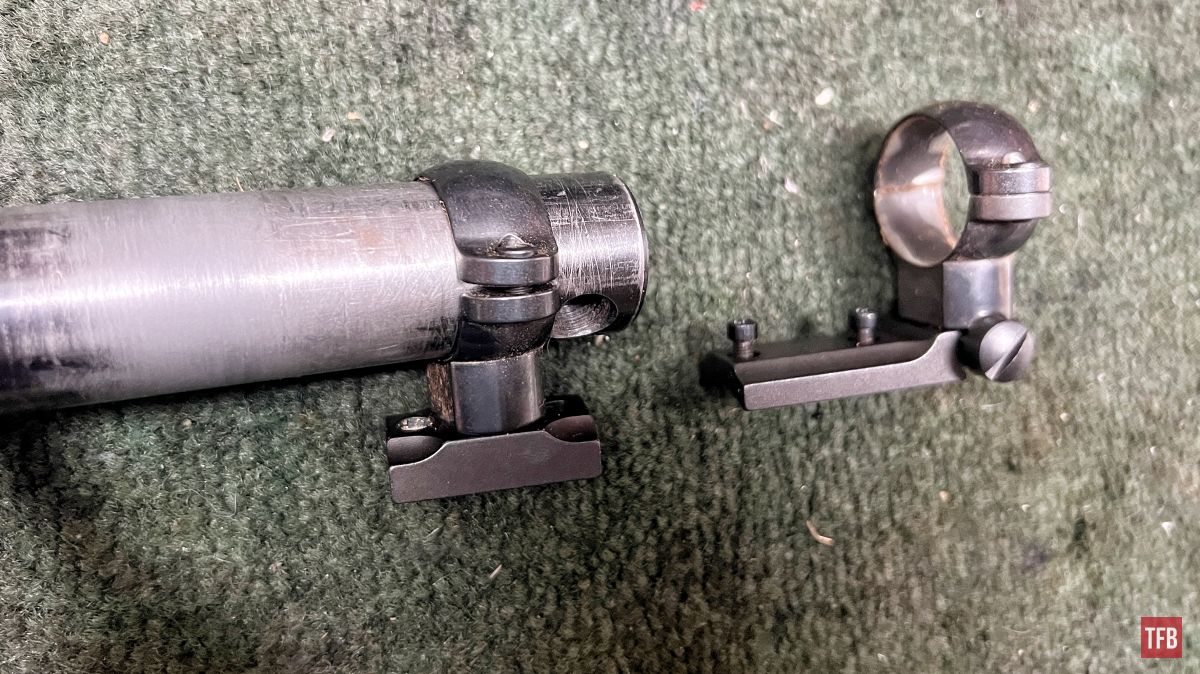
This may be widely known for all I know but it was never taught to me in school. I was always just told to use my hands or even the scope itself to spin the Leupold rings onto their bases. To those of you who may not be familiar Leupold-style rings (specifically the front) have a square peg that fits into a square hole in the front mount. The rings are torqued to the mount by literally spinning the ring onto the mount. This can be tough and if a scope is used it could even damage it. It is unlikely but it is unnecessary.
That is why the above lapping bars come in handy. they are included in scope mounting kits to be used to lap the scope rings so everything is aligned perfectly. A bar can be used to twist that front ring into place. I apologize I did not have a gun to show this with but I had some rings and mounts laying around.
Conclusion: Quick Tips and Tricks
I realize I may have mentioned some of these singularly and deeply in random articles throughout TFB Armorer’s Bench history but I have always wanted to reiterate them or highlight them because to someone starting out they can genuinely be helpful. Another big plus is hopefully some folks will share their own tips and tricks, big and small, earth-shattering and mundane, in the comments below. Thank you to everyone who constructively and politely does! Remember to be kind to one another.
As always, thank you for reading TFB! Be safe out there, have fun while shooting, and we will see you next time for the TFB Armorer’s Bench! Also, let us know what you think in the comments below! We always appreciate your feedback.


