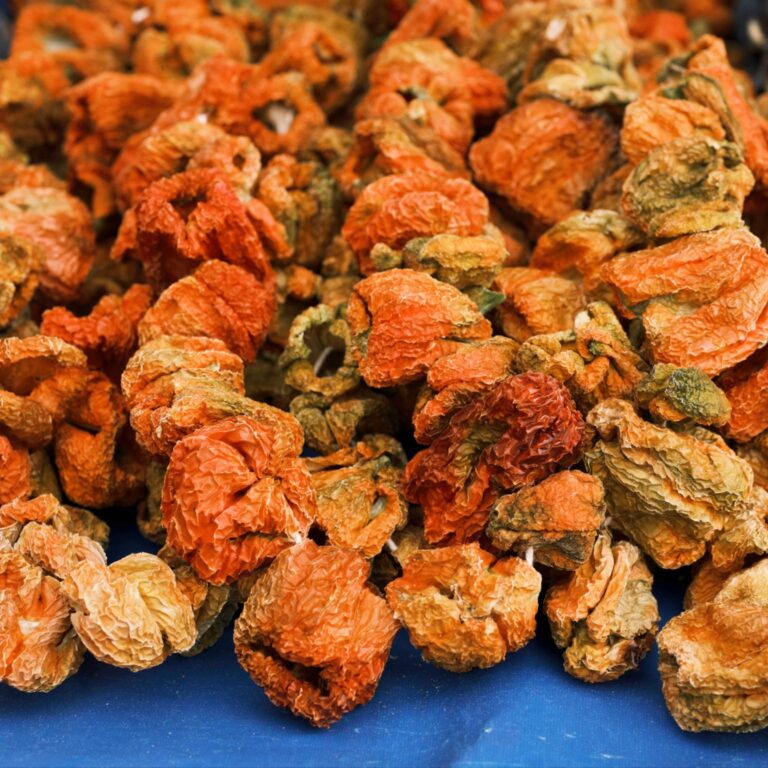
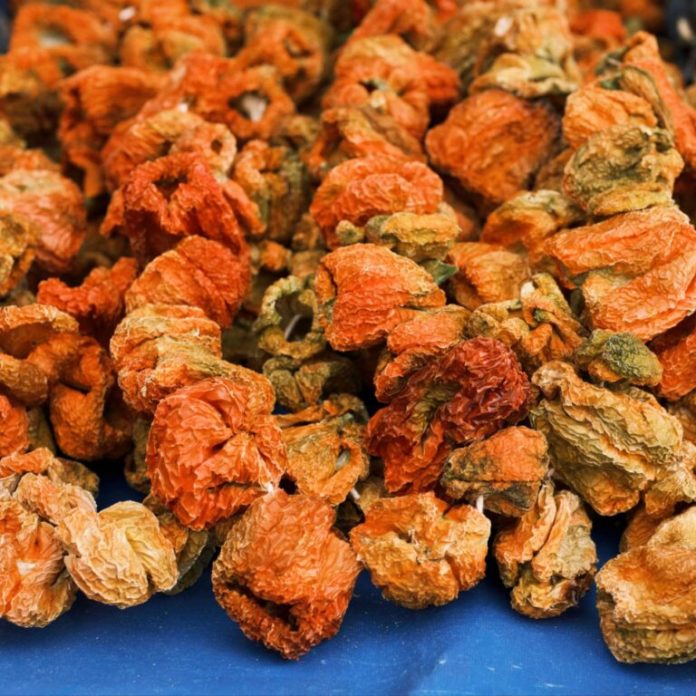
Drying your veggies is an excellent way to preserve your harvest, as well as a great method for making your own long-lasting and nutritious snacks or meal sides.

Dried vegetables are tasty and make for an interesting and sustainable alternative to other methods of preservation.
If you’re a prepper, there’s a good chance you’ve already used air dried fruits or vegetables in some form or another, usually that of a handy snack on the trail or when out in the bush.
While fresh veggies might be more expensive these days, dried vegetables are typically far more costly still, and you have to content with a significantly smaller selection at your local grocery.
It is easy to feel like you are getting taken for a ride when buying dried veggies! Worse yet, you can’t predict when you’ll be able to get fresh veggies in an emergency scenario.
Fortunately, long-term homesteaders and preppers with some old world skills can make their own dried veggies at any time and wherever the opportunity arises. You won’t even need a dehydrator!
Air drying vegetables is a simple process that is as reliable as long as the climate in your area permits it. We’ll show you how to make gourmet dried vegetables whenever you want in this article!
Dried Vegetables Are Historically Popular!
Air-dried veggies may seem unusual, but they’ve been a part of human diets for millennia.
They are now brightly colored, neatly packaged, and readily available in a plethora of snack options, soup mixes, recipe starters, and other contemporary forms, but the reality is that air drying vegetables is an ancient method that people all around the world use to this day.
Our predecessors, like us, dried their veggies for the same reasons we do today: to enhance shelf life, provide vegetables as a portable meal, eliminate waste and provide emergency options when crops just didn’t come in! Now as then, you won’t need any fancy gadgets, either, when you want to dry your veggies.
Vegetables can be dried naturally by using nothing more than air and sun, a straightforward process that just requires good weather and some easy labor on your part.
All you need is some space, time, and attention to detail- nature will do the rest! The following sections will arm you with the info you need to prep your first batch of veggies for air drying.
Are All Vegetables Suitable for the Air Drying Process?
In short, most are, yes. Vegetables can be air dried without using any chemical preservatives or electricity, and it’s a straightforward process that may be utilized to keep most types for a long time.
Every vegetable has its own set of advantages and disadvantages, however.
Beans may turn into delicious snacks easy to eat out of hand, but if not carefully prepped could turn to dust if over-dried! Don’t be hesitant to start over if your end product does not meet your expectations or needs.
The fact is that not all vegetables are created equal when it comes to air drying. The ones that are, all share the following characteristics:
- Low Moisture
- Can Be Sliced Thin
- Firm Flesh
By way of a “for instance”, tomatoes, tomatillos, and okra are three of the edge case veggies you are still capable of reliably drying. Anything more soft and saucy than that and you’ll be dealing with a desiccated husk after you’re done.
Similarly, if you can’t thin your veggies out by slicing, paring, or other prep it will be harder to dry it out properly. As an example of the “best in class” veggie for drying, check out eggplant. Eggplant slices are ideal for air drying!
Some veggies just don’t work well with air drying. The following ones are not great candidates for the drying process:
Cucumbers – Too watery with fragile flesh.
Lettuce – Turns into stringy nothingness.
Cabbage – Same as lettuce.
Broccoli – Crumbles.
Cauliflower – Crumbles.
However, in the end, almost any vegetable may be air dried if the circumstances are correct and you put out the effort. In the following section, we’ll go through what happens step-by-step when you dry your veggies using the classic air drying process.
Air Drying Vegetables Step by Step
The following method is a time-perfected way to air dry any vegetable without the need of specific appliances or equipment.
You’ll require several days of hot, dry weather, a few basic kitchen items, and some patience in your prep as well as some continued attention (but only periodically) throughout the process. If you can manage that, you’ll be eating delectable dried veggies in no time!
Here’s the overview of the process. The step-by-step details are below:
- Wash and Prep: This is a must-do to avoid mold or germs developing. Trim, slice, or dice, or cube your vegetables into pieces no thicker than 1/8th to 3/8th of an inch.
- Boil and Blanch: This optional step can help your vegetables retain their color and flavor. Particularly useful for the tougher veggies. Steaming may be used instead of boiling, but whichever you use make sure you blanch them to stop the cooking process!
- Dry Thoroughly: Blot with paper towels, or a clean cloth towel, to dry your produce. Alternately use a salad spinner if your veggies will stand up to it.
- Rack and Cover: On your drying rack or pan, arrange your veggies in a single layer, separated by at least an inch between each piece. Cover the vegetables with a coarse cloth or mesh to allow air and sunlight through while keeping insects, dust, and dirt out. Place the rack in a sunny spot outside. Direct sunshine will speed up the drying process by increasing the temperature of your produce.
- Flip: Every three hours you’ll need to turn the veggie pieces over. Nothing to it!
- Repeat: Every 3 hours for several days, repeat the flipping process until your veggies appear well dry.
- Check: Once your veggies look dried out, check a piece of them to make sure before you finish up. You can cut or snap them to verify that the interior is thoroughly dry.
- Freeze: This vital food safety step guarantees that any remaining germs are destroyed, and your now-dried veggies will keep for a long time.
- Finished: All done. Place your produce in an air-tight container to keep it fresh.
Air Drying Veggies Requires Appropriate Weather Conditions
Before you go out to start prepping your vegetables, keep in mind that weather conditions are an inescapably crucial component of the process!
In general, the ideal average monthly temperature in your region should be about 95°F (35°C) for at least 5 days at 60% humidity or less. It’s not a good idea to dry veggies at low temperatures or with a lot of moisture in the air.
Mold will grow if the temperature is too low or the humidity is too high, spoiling your product. If the overall climate in your area isn’t cooperative for drying veggies for an extended period, it’s time to consider using a contemporary, electrical method.
Also, this approach flat out will not work if your area is always chilly or damp. Instead, consider smoking or something else to preserve your veggies However, assuming that your region is consistently hot and sunny, or that you have consistently hot seasons, you should not have any issues.
Step #1. Wash and Prep Your Veggies
The first step is to clean the veggies you’ll be drying and then trim them to an appropriate size. This is a crucial step since it removes any dirt, wax, or other contaminants that might negatively impact your finished product or make you sick.
If necessary, use fresh water and mild soap if required. Do not use harsh chemical cleaners since they may also harm the flavor and nutritional value of your produce.
This stage is especially crucial for items with preserved skins because leaving the skin on exposes them to a greater risk of contamination from harmful microorganisms.
After that, it’s time to prepare. Remove the stems and hulls from your veggies if necessary. Some rinds and skins become quite hard and inedible when dried, and so some people like to skin or peel their veggies to make them more appetizing to consume after being dried.
If you wish to use smaller veggies as ingredients in other meals, you may choose to dry them whole, though be advised this will dramatically increase the time it takes to complete the process.
If you choose to remove the peel or seed of the vegetables, do so gently and carefully to prevent losing too much flesh. A paring knife, vegetable peeler, or microplane can usually get the job done.
Take your time and use caution while cutting; if you’re not careful with your knife or peeler, use a chainmail glove for safety.
Step #2. Boil and Blanch
The blanching process is the next stage. This technique does not need to be employed for all vegetables, but it aids in the removal of more difficult varieties. Doing so will soften them and make them more likely to dry evenly.
You may cook your veggies in boiling water for a minute or two, or steam them over boiling water until they are just beginning to cook, but no longer.
Then immerse them in an ice water bath to stop the cooking procedure and help them maintain their texture. Remove them immediately from the bath once they chill, a few minutes at most.
Step #3. Dry Thoroughly
After boiling and steaming your vegetables slices, it’s time to drain and dry them. Allow all of the remaining moisture to drain off first before transferring them to a colander or clean baking rack.
Then, lay them out on a cutting board or work surface covered with clean paper towels. Remove any excess moisture from the veggies by dabbing them with a clean paper towel.
Don’t smash them to release their liquids! All you have to do in this step is gently lift away any surface moisture. This is an essential stage that must not be skipped.
Alternatively, all of the liquid from your veggies may be whisked off using a salad spinner and then immediately carried on to the next stage. Only try drying with this device if your veggies can hold up to it. More delicate veggies might well be damaged in the process!
Step #4. Rack and Cover
The veggies should be set on the rack and ready to dry. Any food-safe pan or tray will suffice: cooling rack, Teflon-coated baking dish, cast iron pan, glass dish. It’s all acceptable.
Arrange the slices in a single layer on the rack with no two pieces touching. Check that your veggies are just one layer thick before you begin drying them. Don’t stack or crowd your veggies as this will result in uneven drying!
Once all of the veggies have been placed on the drying rack, drape a mosquito netting, fine gauze, muslin, or cheesecloth over them to effectively seal your produce.
Any of the above will work as long as it is food safe and allows plenty of light and air to reach your produce. To keep pests and dirt off of your veggies, they must be wrapped in something.
Make sure your cover is safe from insects. Insects are found all around us, and they may scale any surface and are tiny enough to crawl beneath the screen’s edge, no matter how secure it appears.
Keep one eye out for them as a single insect touching your veggies might quickly grow into hundreds or thousands of bugs that will destroy the rest of the crop.
Place the rack outside where it can freely get air and sunshine after it has been packed, covered, and ready to go.
If you can place the rack on a hard surface like a concrete or metal one that will aid in faster drying by reducing moisture levels and increasing sun exposure to your pan’s bottom.
Use anything sturdy that you can to raise your rack off the ground for better ventilation. This will help speed up the drying process.
Step #5. Flip
After three hours, remove the screen and turn the veggies over. Simply flipping each slice from one side of the rack to the other ensures uniform drying and prevents sticking or mold growth on the vegetables. Replace the screen tightly when you’re done.
During this time, I use a clean tool or a nitrile glove to avoid germs from taking hold of my vegetables.
Given enough light and near total dehydration, any harmful germs should be hard-pressed to survive, but I’ve heard of many people getting sick even off dried veggies due to unsafe handling practices.
After that, be sure the cover is secure and leave your vegetables out for an additional 3 hours before flipping them over once more.
Step #6. Repeat Process
The drying process will take two days or more of bright light and high temperatures. During this time, you should check your veggies every three hours or so.
Bring your vegetables in before the sun goes down at night because condensation and falling temperatures are likely to put moisture back into your produce, ruining your efforts!
On the next day, when it has warmed up again, put the rack where you originally placed it and repeat the flipping process every three hours. Depending on the kind and weather, your veggies should be nearly dry and ready to eat or store after two days of this process or more.
Step #7. Check
After your veggies appear ready, it is critical that you inspect them:
- Open a slice to see whether it’s still wet within.
- Bend them: if they snap or break apart, the are probably done enough.
- If they flex and flex without breaking, they’re still too wet.
- If the vegetables aren’t yet cooked, return them outside and turn them more frequently.
- Make certain your vegetables do not fall apart as soon as you touch them. That’s probably a bit too dry!
Even after drying is done, your veggies should still have some texture and firmness to them. This is because the moisture level in the vegetables has been drastically reduced, rather than totally eliminated.
If you can reduce the amount of moisture in any vegetables to or below 15%, it will keep for a long time. To be clear, if you do want your veggies crunchier or want them to last as long as possible, go ahead and dry them out as much as you believe is necessary!
Step #8. Freeze
Almost done! Once your veggies have been fully dried, bring them inside and refrigerate or freeze them.
This is a crucial phase that eradicates any remaining germs on the outside of your vegetables, similar to pasteurization.
Even a brief snap freeze of this duration should be enough to destroy any remaining pathogens while improving the quality of your produce.
Step #9. Finished
All done! You may keep your veggies in an airtight container or bag now for long-term storage and dispensing. Be warned that, due to a lack of circulation, too many vegetables packed in a single container might spoil.
I prefer to store them in smaller, separate bags so that if one batch spoils, it doesn’t affect the others. Vegetables dried this way will keep for many months, but because they are so delicious, I tend to consume them quite quickly. You probably will, too!
Air Dry Vegetables for Convenience and Longevity
Drying your own produce is a fantastic way to save money, enjoy the health benefits of more vegetables in your diet, and have control over where your food comes from.
This article contains simple, step-by-step directions for air drying your veggies. You’ll be able to eat home-dried veggies in no time if you follow these suggestions!


