We unquestionably live in a disposable society. Half of us recycle a tenth of what we should and almost none of us make complete use of our food. Take chicken for example. A few carcasses can make a broth that makes store bought undrinkable in comparison. Combine a solid broth recipe with a pressure canner and you can put up gallons that will keep for months or years. This article will combine the two concepts (cooking and preserving) into the best pressure canned chicken stock you will ever have.
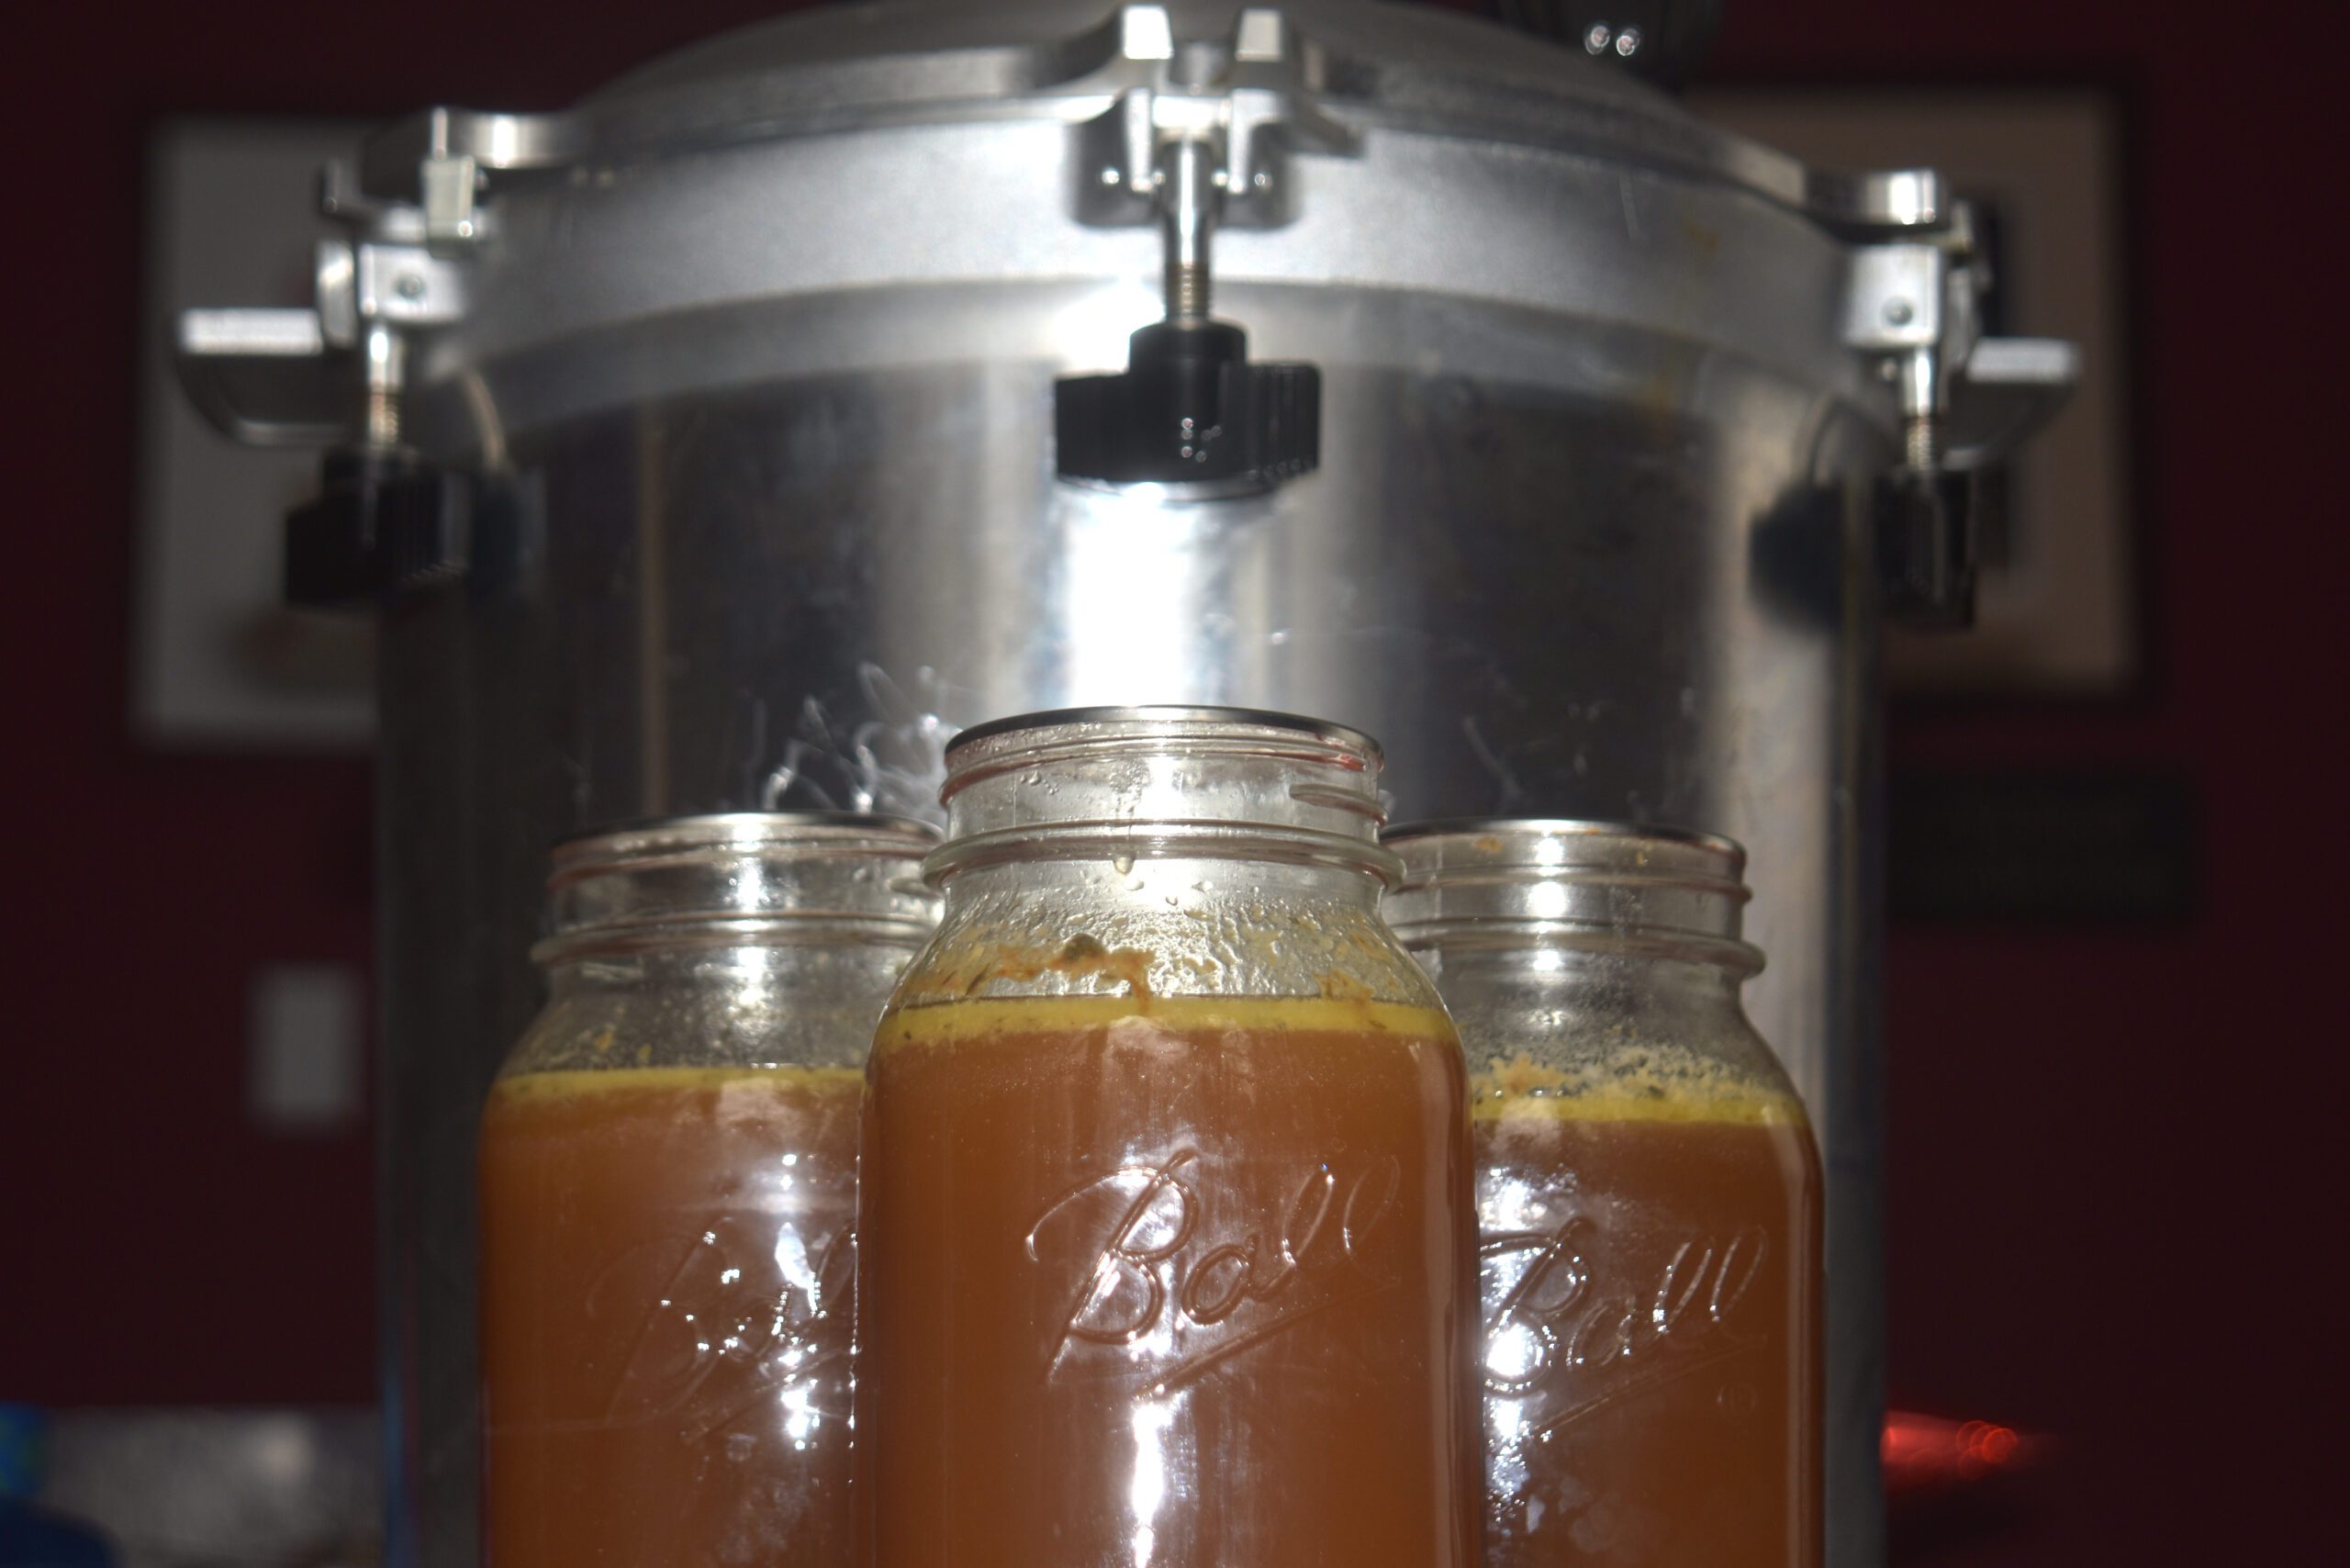
Several quarts of pressure canned chicken stock
Making The Most Of The Least With Pressure Canned Chicken Stock
Broths and stocks are one of the best ways to make the most of the least. By the least, I mean all the bits that are either not edible (bones) or we consider scraps (celery roots and onion tops). Specifically, in times of need, such as grid down events, we need to make use of every resource available. This includes those little bits that would otherwise go in the trash.
First, chicken bones, as well as beef bones, are loaded with flavor, minerals, and other nutrients. The current rage of bone broth is centered around use of this very resource! Hidden inside of every chicken is a wealth of goodness that should never be tossed aside. Keep your scraps and bones in a freezer bag.
Second, broths and stocks are best accompanied with vegetables and spices. The traditional mirepoix of carrots, onions, and celery build body and flavor in your stock. Don’t stop here. Feel free to add garlic, parsley, or anything that suits your fancy. The best part is you don’t have to use the best of the best. Start a freezer bag for your carrot tops, onion parts, and garlic cloves that are too small to spend time cleaning. Once the bag is full it’s time for the stock pot.
In short, get in the habit of saving the little bits. Once you have a freezer bag or two break out the stock pot and get boiling.
Basics Of Pressure Canned Chicken Stock
In general, a stock has three main ingredients bones, vegetables, and water. The result of the boil is a richly flavored liquid that contains collagen. Collagen is the magic ingredient that creates body in the stock. You know your stock is loaded with it when it cools. A collagen rich stock is firm when cool and jiggles.
Specifically, the more bones, connective tissue, and skin, the more collagen. More collagen equals more flavor and that is your goal. Building flavor on top of the basic bone broth comes from cooking the carcass and adding vegetables.
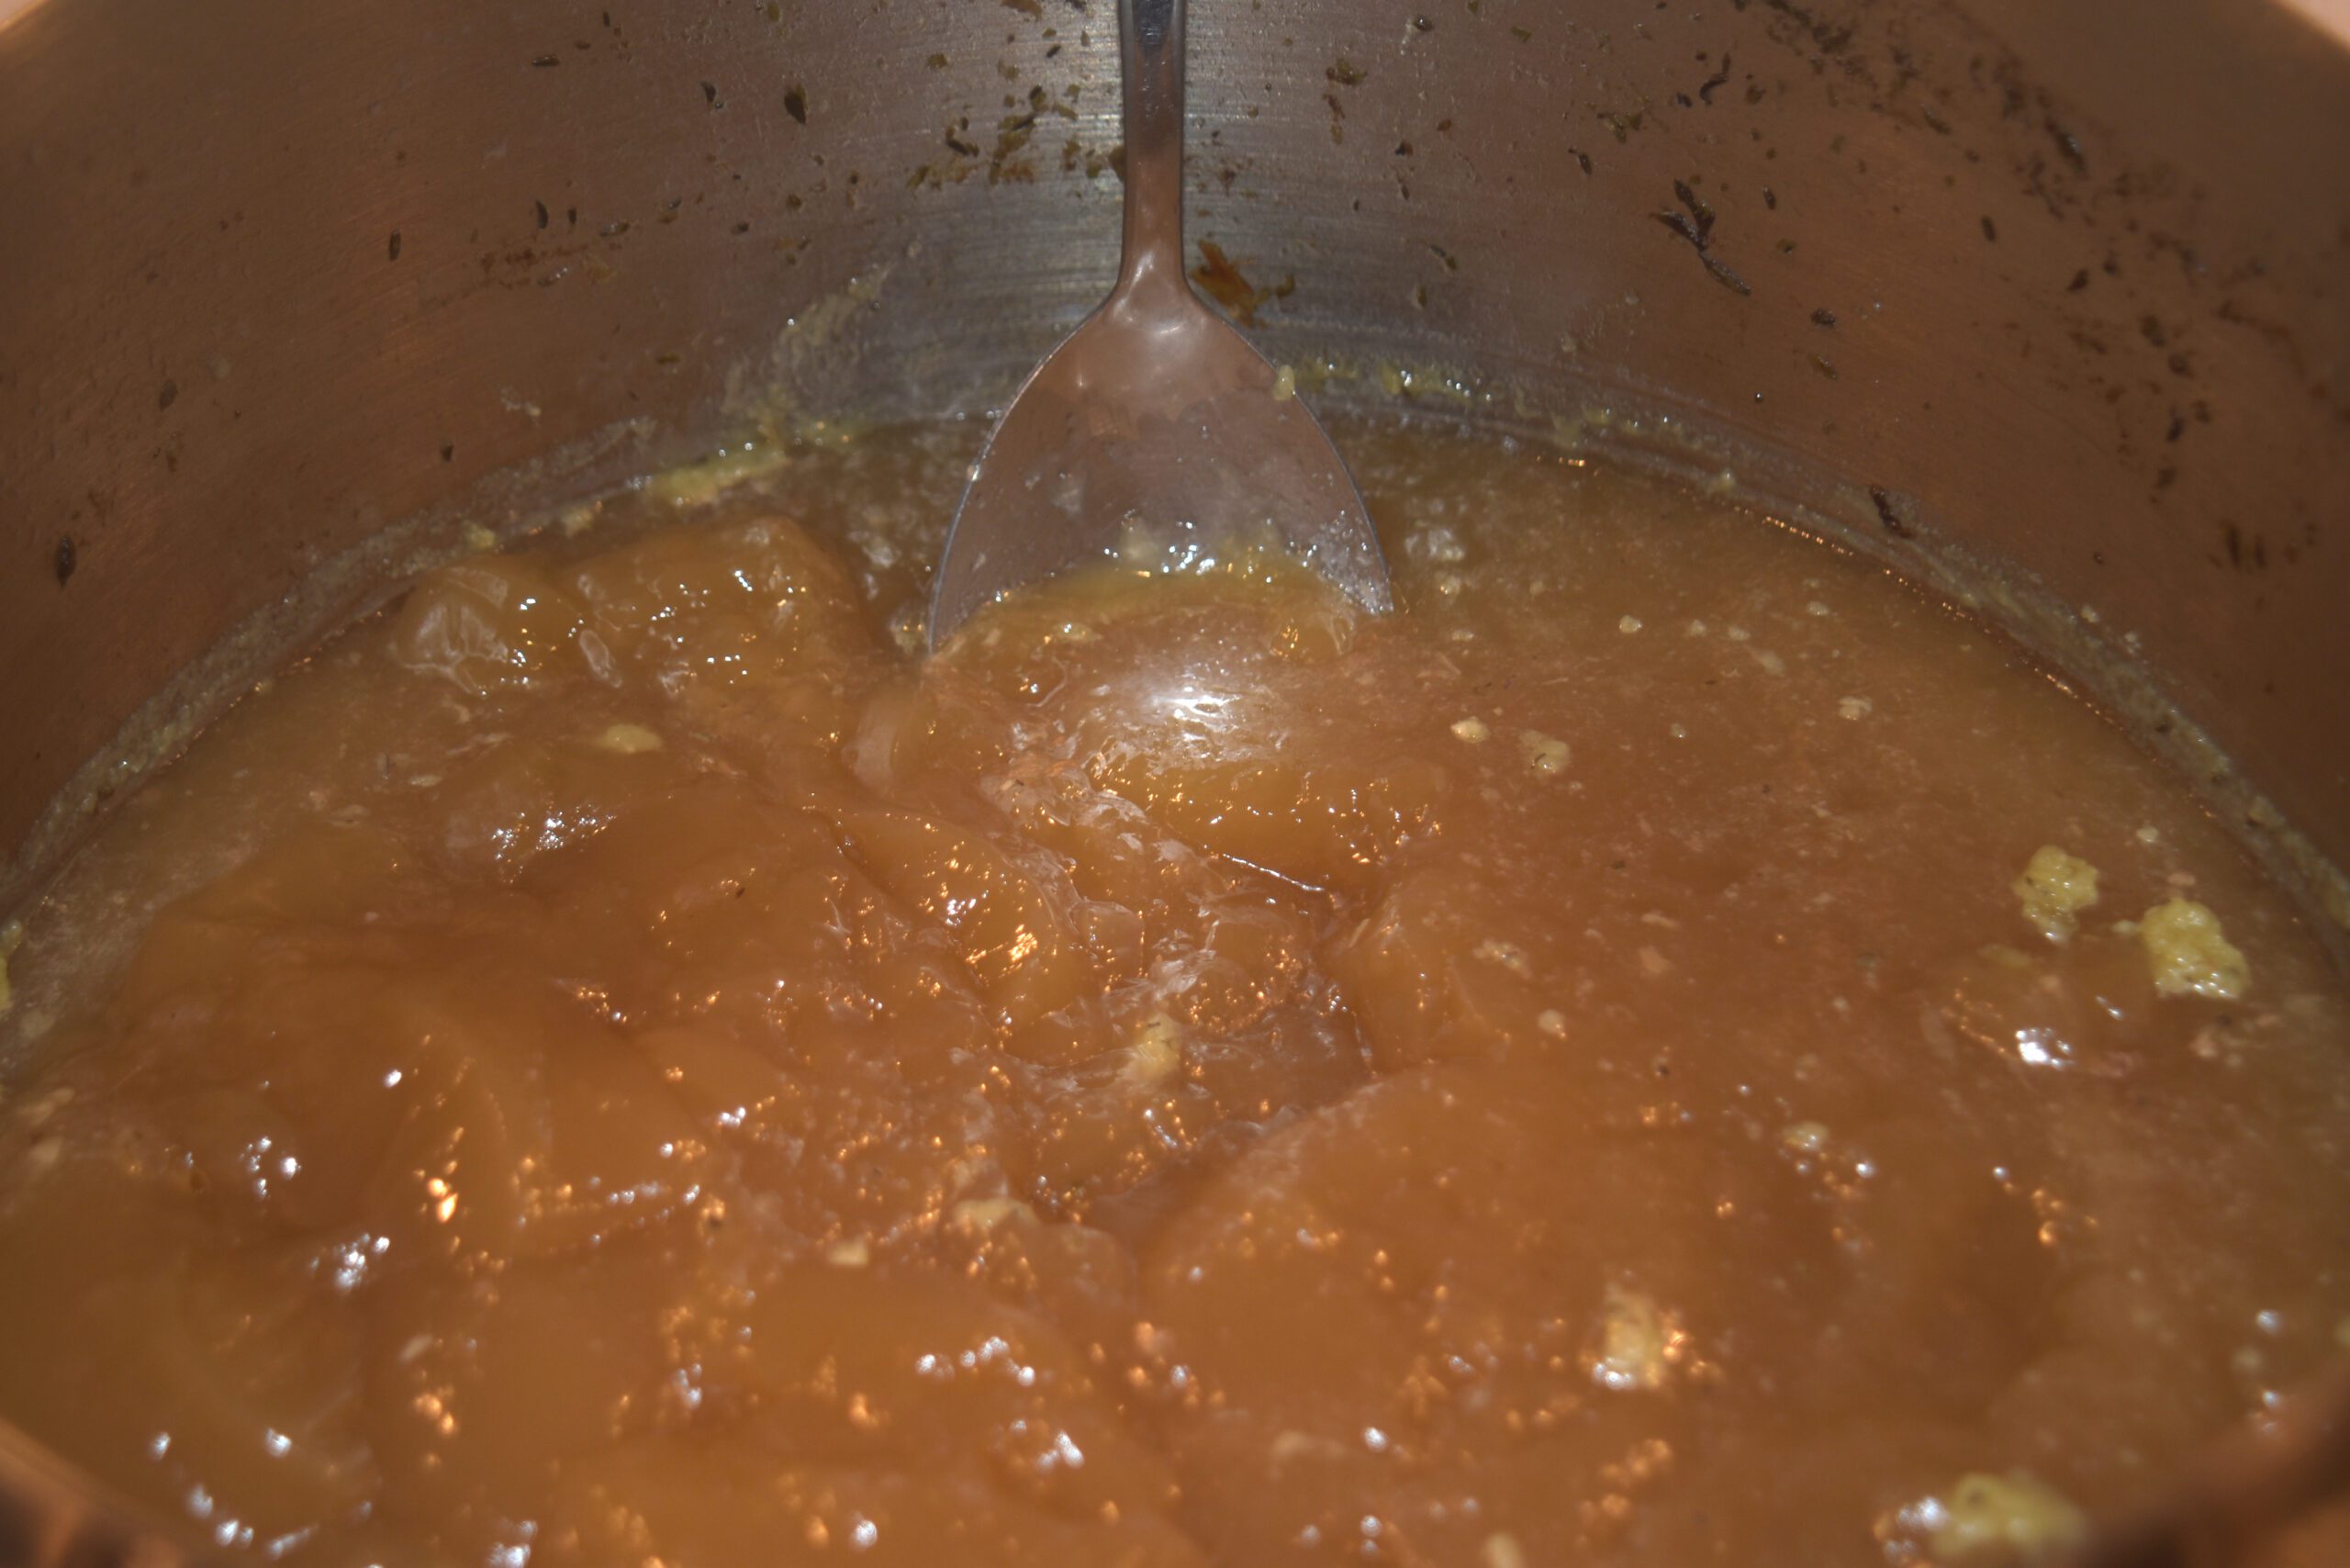
Chicken stock filled with collagen, once cooled it gels up like jello
Next, roasting caramelizes sugars and secondly intensifies flavor. This happens in both your vegetables as well as your meats. In fact, my favorite chicken stock comes from roasting a chicken twice. First, I’ll cook the chicken and strip the meat from it, then I’ll roast the bones, skin, and other cast offs. This deepens the flavor. You can also strip a raw chicken, preserve the meat, and then roast the raw bones. This works equally well.
To that end, give your vegetables the same treatment. It’s often easiest to roast them with the chicken. Get them good and brown caramelizing the natural sugars.
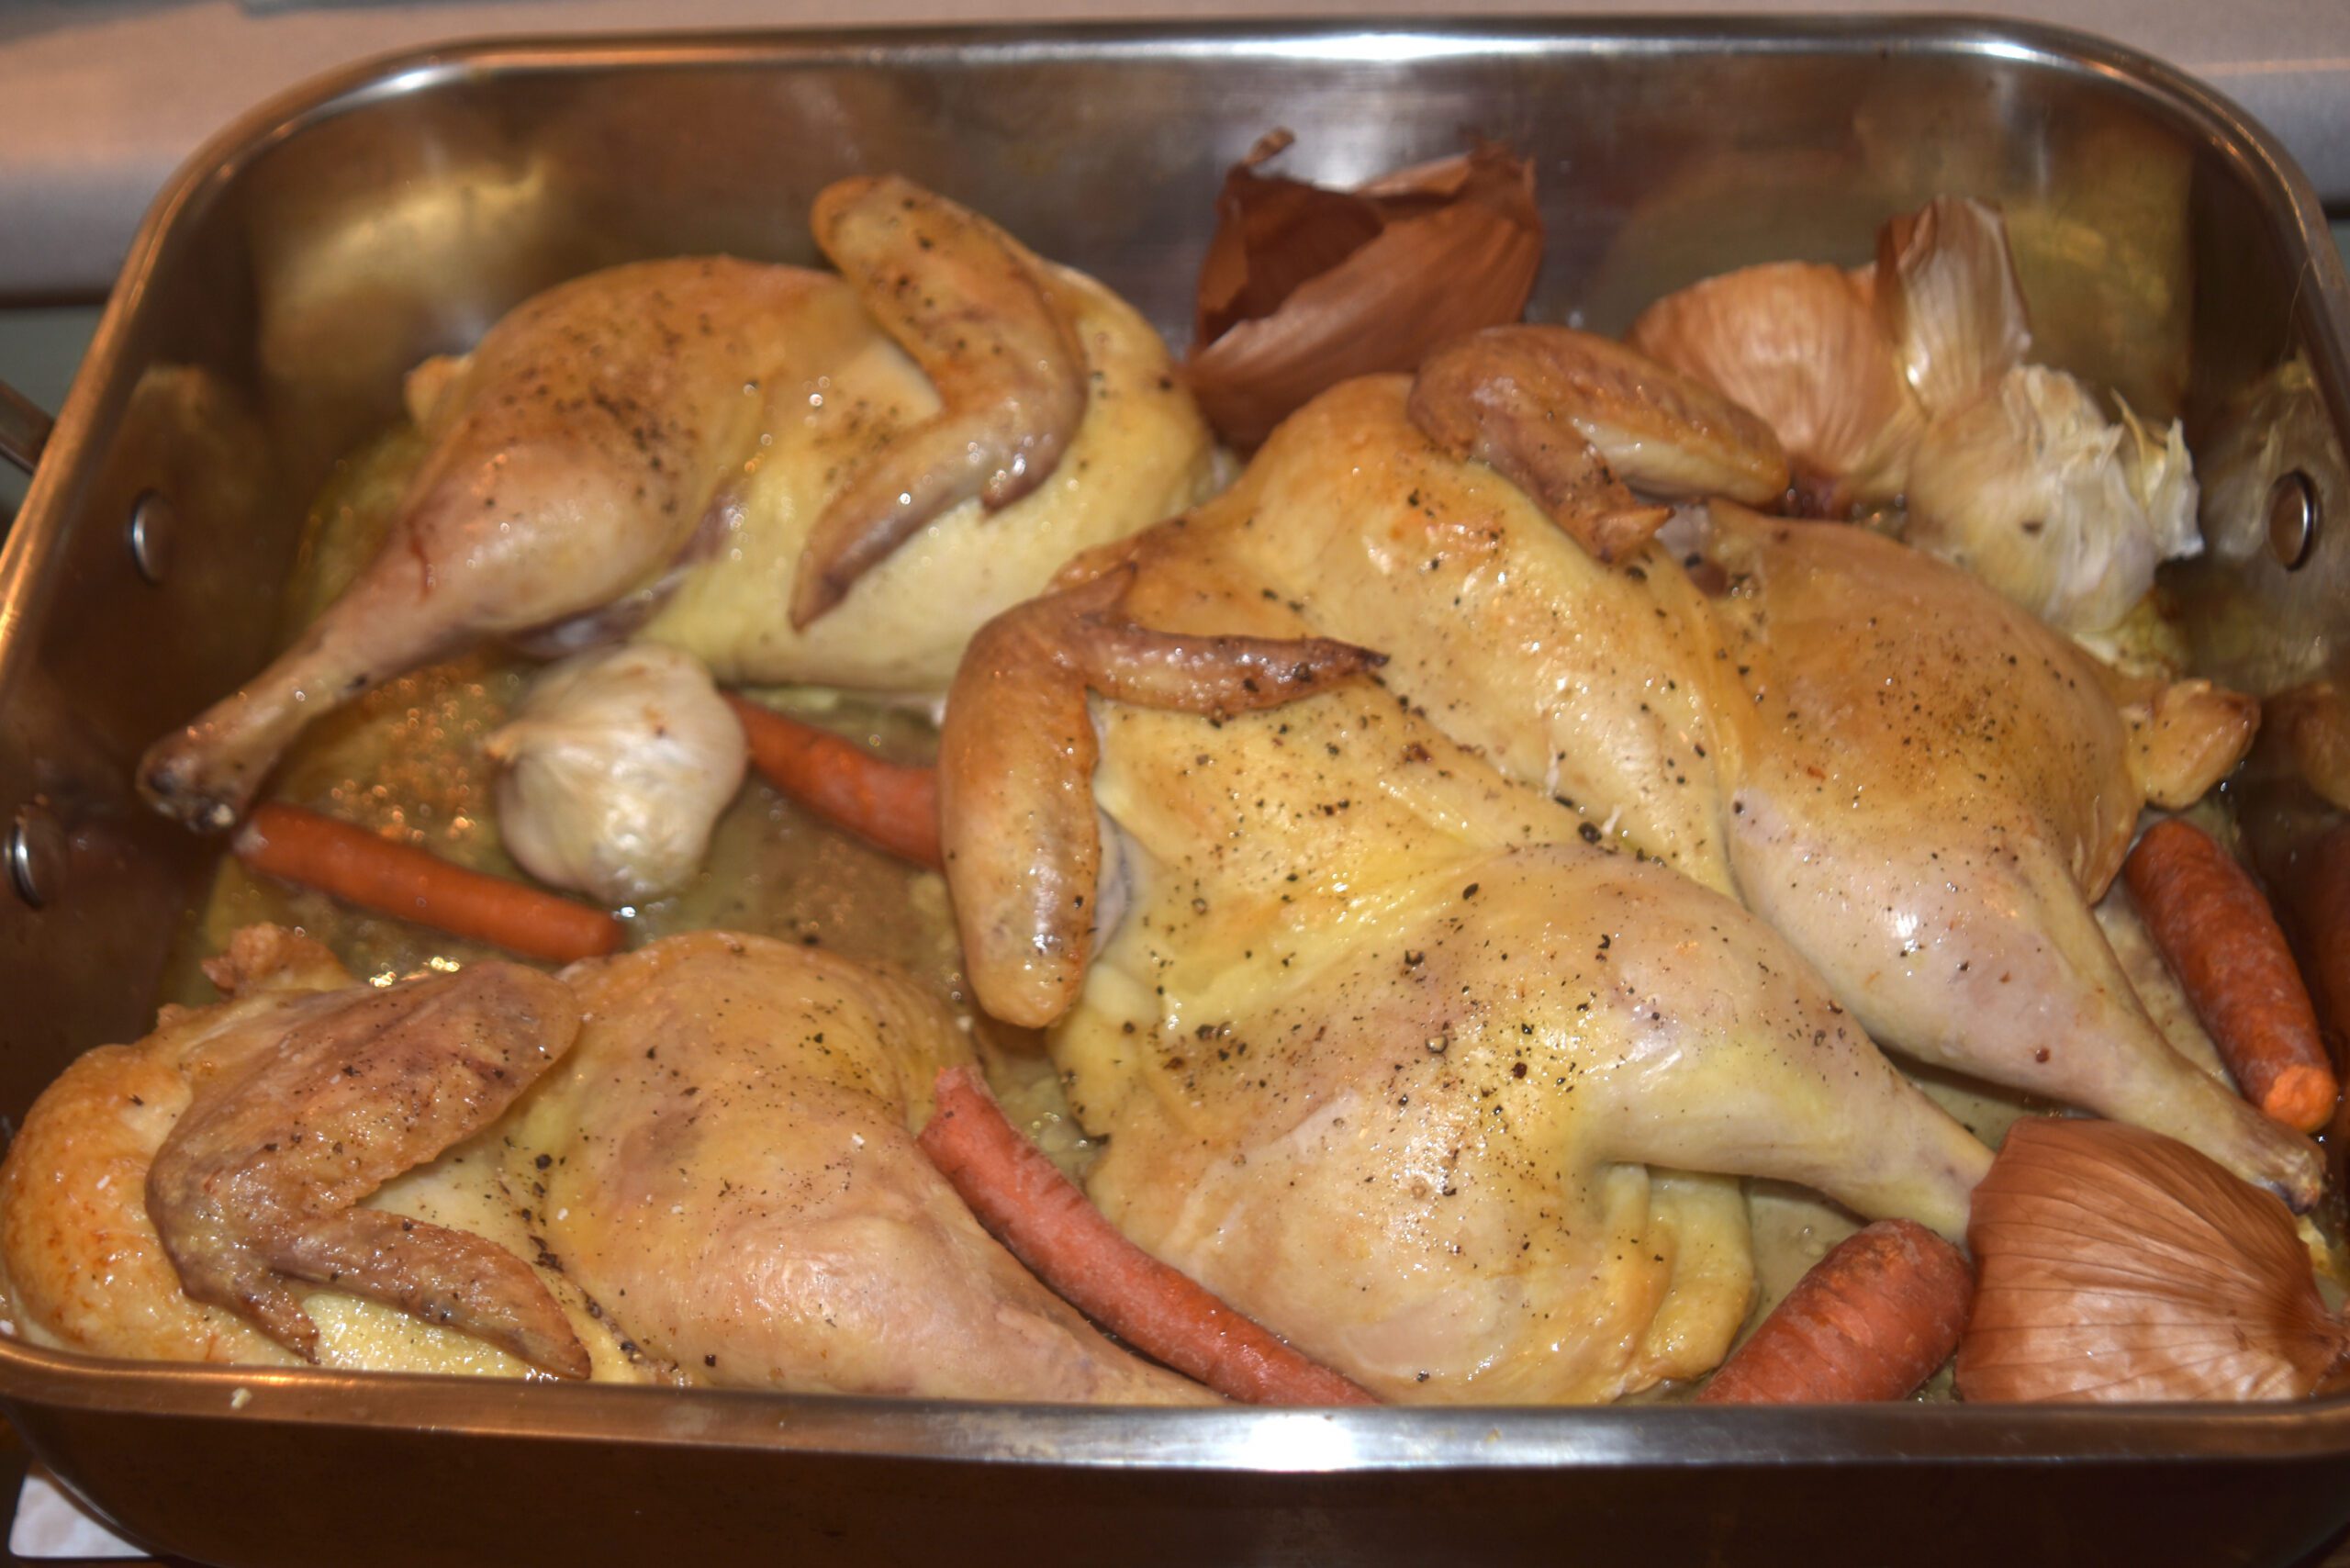
Roasted chicken, onion, and garlic
Finally, don’t worry about the skin and fat. Include it now as fat adds flavor. Once we have boiled out the flavor we will discard the now flavorless fat. The chilling process makes it easy to strip of all the fat from your stock.
Canning Basics
The goal of canning is to preserve food. This is done by killing of any bacteria and then creating an environment that inhibits further bacteria growth.
Common to both canning methods are the jars and lids. During cooking the air inside the jar expands and upon cooling the contracting air and the lid for a vacuum. The low oxygen environment is the first barrier against bacteria growth.
Basically, water bath canners bring their contents up to a maximum of 212 F. Further, this preserving method relies on an acidic environment for preservation. Most water bath canned fruits rely on either natural acidity or added, in the form of sugar or vinegar. Unfortunately, acid flavor will ruin the broth. Therefore, we must use pressure canning.
In contrast, pressure canning raises the temperature above boiling (212 F) to around 245 F to preserve low acid foods. To accomplish this you need a special canner that is capable of raising pressures and therefore temperature. Pressure canners have thicker walls, locking lids, and several safety features that allow them to safely build increased pressure.
Regardless of the method used it is imperative that you use trusted recipes and follow them exactly. Canning depends on the material canned (meats vs fruits vs vegetables), the environment (acidic or neutral), and the temperatures. Variabilities such as food density can alter a recipe rendering caning instructions difference for sliced apples vs sliced pears.
Therefore, always use recipes from reliable sources such as the local cooperative extension and well-respected books such as the following.
- Ball Home Canning Test Kitchen ( (Author)
- English (Publication Language)
- 368 Pages – 05/31/2016 (Publication Date) – TI Inc. (Publisher)
Pressure Canning Equipment
Previously stated, pressure canning requires a little bit of specialized equipment. This includes jars, rings, lids, and a pressure canner.
All things considered, jars are the best part of canning. They are re-usable across the generations. Some of the jars I use today were first used by my grandmother. When purchasing jars new make sure that they are specifically for canning and not decorative. Decorative jars will not survive the canning process.
- Ball wide mouth quart jar
- Ideal for preserving jams, jellies sauces, mustard & flavored vinegar
- Custom time tested ceiling compound help ensure a quality seal with each lid
- New brushed silver design on the outside lid matched kitchen designs
- Refrigerate up to 3 weeks, fresh preserve and store up to 1 year
As stated, jars can be re-used over and over again. This makes flea markets, garage sales, and the local Goodwill all targets for picking up a few extra cases. For jars with an unknow origin always inspect them for cracks and chips. Discard any that aren’t 100% clear of chips and cracks.
The next requirement are jar lids. If you purchase jars new they will come with a set of lids. Lids are one use only and you’ll eventually have to buy a new set. Buy in bulk when possible, they come in handy!
- 72-Pieces Total. LIDS ONLY. Does not come with the bands. Made in the USA
- Designed for preserving food, you can seal in the freshness and enjoy freshly made foods tonight or tomorrow
- They’re easy to wash clean. When canning, lids are for one-time use only
- Use these lids for preserve, jelly, salsa and more. This product is BPA-free
Specifically, lids are a single use item. While there are re-usable “Tattler” lids, normal canning lids are to be used once only. After a use they won’t hold a seal and will lead to spoilage.
The final piece of equipment for your pressure canned chicken stock is a pressure canner. This is definitely a place to “buy once, cry once.” In light of this, I highly recommend you purchase new for your first canner. Then, once you have a few batches under your belt then look at the secondary market.
- The only method recommended safe by the US Department of Agriculture for canning vegetables, meats, poultry, and seafood
- Doubles as a boiling-water canner for preserving fruits, jams, jellies, pickles, and salsa; Handy as a large capacity pressure cooker
- Constructed of warp-resistant heavy-gauge aluminum for fast, even heating; Works on regular and smooth-top ranges; Extended 12-year limited warranty
- Deluxe pressure dial gauge registers the complete range of processing pressures; This precise measurement is especially important at higher altitudes
- Extra-large size is great for big canning jobs; Includes canning/cooking rack and complete 76-page instruction and recipe book
- PRESSURE COOKER + CANNER – All American Pressure Cookers/Canners offer an easy solution for home canning. The USDA recommends pressure canning as the only safe way to can meat, vegetables & fruits. Holds approximately 19 pint jars or 7 quart jars.
- METAL-TO-METAL SEAL – Only All American Pressure Cookers/Canners feature an exclusive, precision machined, metal-to-metal sealing system. Positive action clamping locks form a steam-tight seal without any costly-to-replace gaskets.
- EASY TO USE – Since our seal doesn’t use a gasket, the cover can be easily opened & closed. Each model also features an easy-to-read steam gauge, an easy-to-clean satin finish, and a precision machined regulator weight for accurate pressure control.
- DURABLE – From the sturdy phenolic top handle to the double-thickness edges that provide additional protection on points of heaviest wear, this pressure cooker/canner is built to last.
- FROM OUR FAMILY, TO YOURS – Established in 1909, All American is a family-owned company focused on quality manufacturing above all else. We take pride in casting high-quality products that families can cherish for generations to come.
Regardless of the make and model that you purchase, always read and follow the directions. Pay particular attention to the pressure required at your altitude. Just as adjustments for time are taken into consideration for water bath canning, pressure must be adjusted. In general, weight is increased for altitudes above 1,000 feet above sea level. Check your manual for specific use at your altitude.
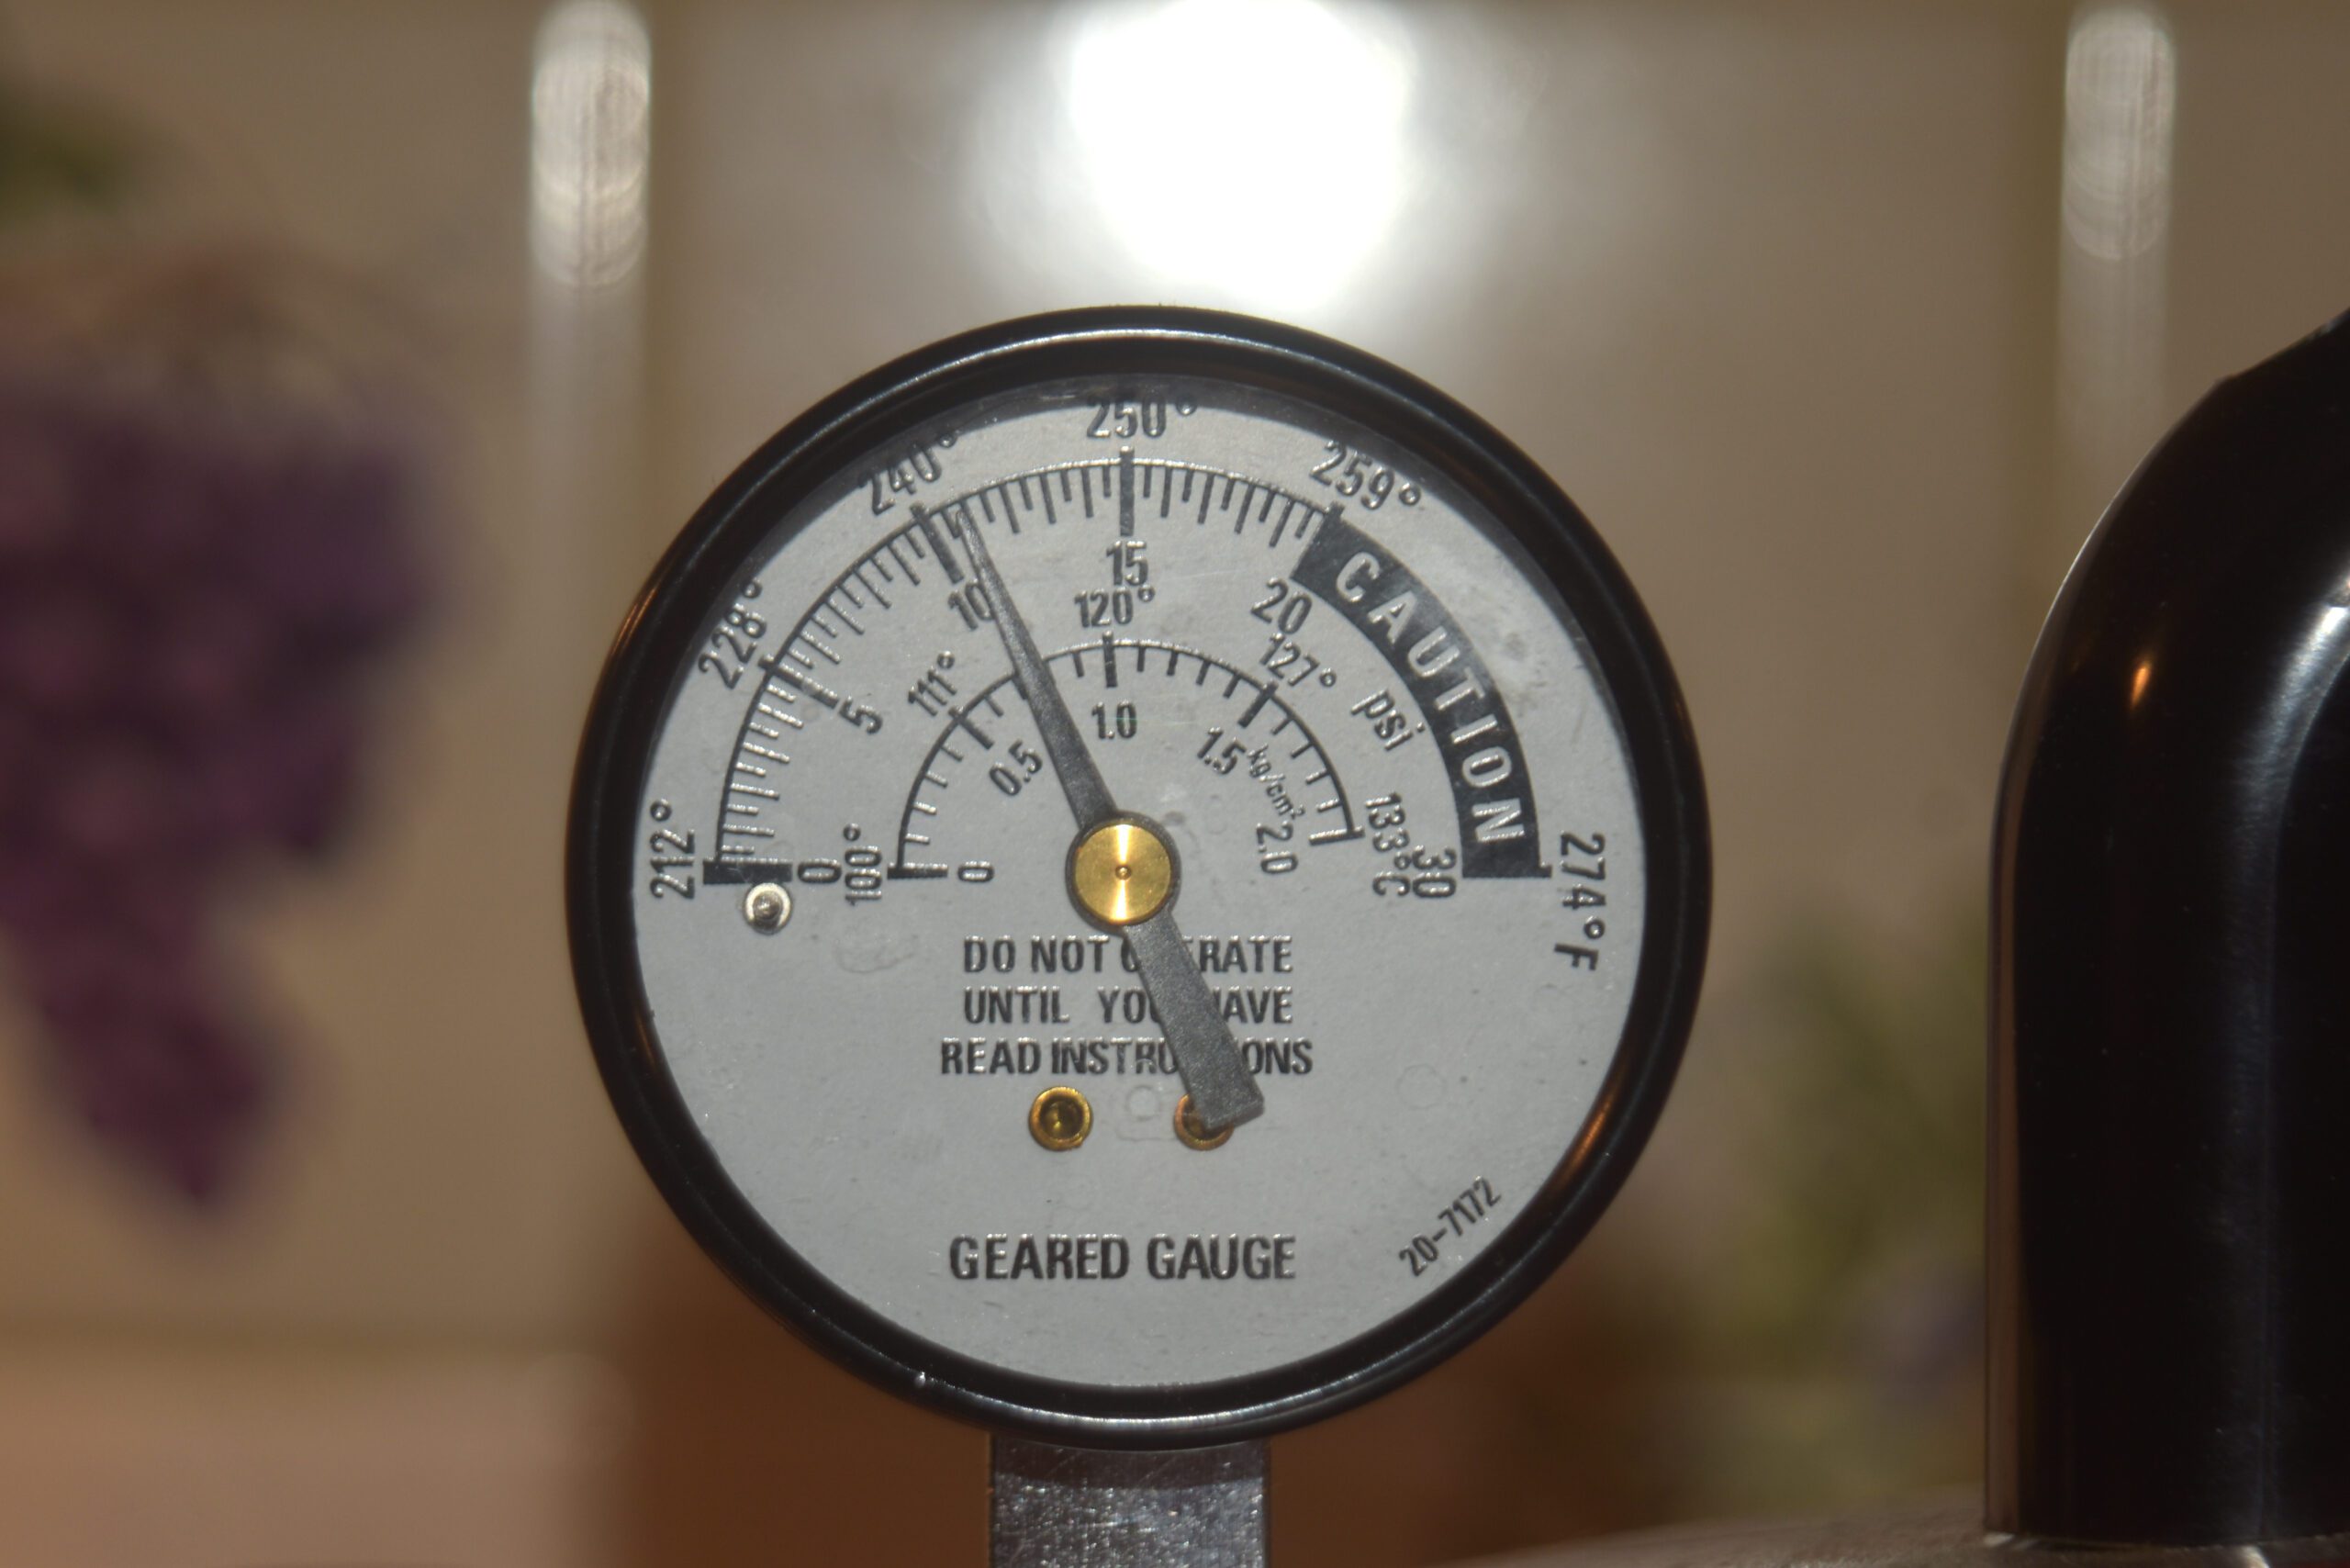
Pressure canner up to pressure and temperature
How To Make Chicken Stock
This is the first part of our pressure canned chicken stock recipe. The result of this half will be a full bodied and favorable stock. Finally, once you have the basics down feel free to experiment with your own additions.
- Yield: Approx. 8 quarts
- Description: Chicken Stock
- Prep Time: 10 minutes
- Cook Time: 6-12 hours
- Additional Time: NA
Ingredients
- 3 whole chickens or 8 leg quarters
- 2.5 gallons water
- 3 medium onions
- 6 carrots
- ½ a head of celery
- 2 heads of garlic
- 4 bay leaves
- Salt (or chicken bullion) to taste
- Pepper
- Spices (Parsley, thyme, sage, etc.)
Instructions
- Preheat the oven to 350 F degrees
- If using whole chickens, quarter them, if using leg quarters, no further cutting is needed
- Put chicken parts in a roasting pan
- Add the carrots (coarsely chopped)
- Chop up and add the onions (cut in half)
- Coarsely chop and add the celery
- Add the garlic (whole is fine)
- Liberally salt and pepper the entire contents of the roasting pan
- Place in the oven and roast until the skin is golden brown, about 1.5 hours
- Remove the chicken from the oven and allow to cool enough to handle
- Strip the chicken meat from the bones and reserve for another use
- Add the vegetables, bones, skin, and any rendered fat or juices from the roasting pan to a large pot
- Pour in 2.5 gallons of water to the pot
- Add the bay leaves and spices to the pot
- Bring to a boil
-
A pot full of roasted vegetables and chicken scraps ready for a 12 hour boil
- Simmer for 6-12 hours
- The stock should reduce to about 2 gallons
- Turn off the heat and let the stock cool
- Remove the bones and test the stock for flavor
- If it needs salt, add a little bouillon and taste again
- Set the stock in a refrigerator or freezer and allow to cool over night
- The fat will settle to the top and congeal, it can now be easily removed
-
Once chilled, the fat comes easily off the stock
- Warm the stock and taste and make any final adjustments for flavor
How To Pressure Can Chicken Stock
Now that you have two gallons of beautiful stock, it’s time to preserve it.
- Yield: Approx. 8 quarts
- Description: Chicken Stock
- Prep Time: 10 minutes
- Cook Time: 75-90 minutes
- Additional Time: NA
Ingredients
- 2 gallons of chicken stock
- 2 tablespoons vinegar (for cleaning the rims of the jars)
Instructions
- Bring the broth to a simmer
- Add the lids and rings to a pot of water and bring to a boil
- Clean and inspect the jars, reject any with chips or cracks
- Add hot water to the pressure canner (according to the directions)
- Ladle the stock into the jars, leaving 1” between the liquid and the rim of the jar (headspace)
- Wipe off the rim with a vinegar soaked paper towel
- Add a lid and a ring to the jar
- Finger tighten the rings
- Place the jars in the pressure canner
- Attach the lid and process according to the directions of the canner
- In the case of our All American canner, this is as follows
- Secure the lid to the canner
- Turn on the heat
- Allow the water to boil, steam will escape via the vent
- Allow the canner to vent for 10 minutes
- Place the weight on the canner
- Once it jiggles, time the canner for 90 minutes (quarts) or 75 minutes (pints)
- After the required time turn the canner off
- Allow the temperature to come back to 212 degrees
- Remove the weight and allow the canner to vent for 10 minutes
- Remove the lid and remove the jars
- Allow the jars to cool to room temperature
- Check that each of the lids have dimpled (listen for the “ping”)
- Remove the rings and rinse off the jars
- Enjoy
How Long Does Pressure Canned Chicken Stock Last
The USDA recommends using home canned goods within a year. Foodborne illness is nothing to mess with. Botulism is colorless, odorless, and can ruin your life. Any home canned good you open should be inspected before use.
First, Visually inspect the contents through the jar. If the color is off or the liquid is unnaturally cloudy discard it. Second, inspect the lid. Canning lids should be dimpled as the vacuum pulls them into the jar. Any sign of bulging and the contents of the jar get trashed.
Third, open the jar. There should be a hiss as lit pops. No hiss – no good.
Finally, use your nose and tongue! Give the contents a good sniff and look for any off smells, likewise, give it a small taste. Any bad smells or taste and you’re better safe than sorry.
That being said I have always tested every jar I’ve opened and have only lost two jars. They both failed all the above tests. First, they looked wrong. Next, the liquid was discolored. Third, there was no hiss on opening. Finally, the smell was overpowering.
Specifically, of those jars that have passed the test, and there have been hundreds that we’ve canned and eaten, most of them have been much older than 6 months. A few have even been more than 5 years! These we checked and double checked and they all passed.
Final Thoughts on Pressure Canned Chicken Broth
There are a few pleasures as great as making, preserving, and enjoying your own homemade food. To enjoy quality food above and beyond the meager offerings of store bought is a special treat.
Especially rewarding is knowing that you made use of every scrap of food in the house, wasting as little as possible. Finally, being able to store your efforts for a long time is a special trifecta.
Give this pressure canned chicken stock a try with this great recipe. It’s easier than you can imagine and well worth the effort!
via SHTFPreparedness


