The Daily Mail exclusively reported that Joe Biden had $5.2 million in unexplained income.
The Daily Mail also obtained an email revealing Joe Biden paid for Hunter Biden’s legal bill for a deal with Communist China.
Joe Biden has repeatedly claimed he was never involved with Hunter Biden’s foreign business dealings.
This of course is a brazen lie.
Hunter’s former business associate Tony Bobulinski met with Joe Biden and was thrown under the bus before the 2020 Election when he discussed Joe Biden’s role before the 2020 Election.
Tony Bobulinski is the CEO of Sinohawk Holdings which was a partnership between the Chinese operating through CEFC/Chairman Ye and the Biden family.
Bobulinski in 2020 came forward and stated he met with Joe Biden at the Beverly Hilton in 2017 to discuss Hunter Biden’s deals with the Chinese Communist Party.
Tony Bobulinski confirmed Joe Biden, AKA “The Big Guy” received an equity split of Hunter’s earnings.
A newly released email from 2019 shows Hunter Biden’s assistant Katie Dodge telling book-keeper Linda Shapero and Biden aide Richard Ruffner that Joe Biden agreed to pay Hunter’s legal bills that amounted to more than $730,000.
“I spoke with Hunter today regarding his bills. It is my understanding that Hunt’s dad will cover these bills in the short-term as Hunter transitions in his career,” Katie Dodge wrote.
The Daily Mail reported:
In January 2019, Hunter’s assistant Katie Dodge wrote an email to book-keeper Linda Shapero and Biden aide Richard Ruffner, saying Joe had agreed to pay his hundreds of thousands of dollars of bills.
‘I spoke with Hunter today regarding his bills. It is my understanding that Hunt’s dad will cover these bills in the short-term as Hunter transitions in his career,’ Dodge said.
The assistant attached a spreadsheet of bills with the email, totaling $737,130.61.
One of the last items was $28,000 in legal fees for the ‘restructuring’ of Hunter’s joint venture with the government-controlled Bank of China.
The spreadsheet listed the bill as ‘Faegre Baker Daniels: BHR Restructuring’ costing $28,382 and due ‘ASAP’.
BHR (‘Bohai Harvest RST’) is a private equity firm and one of Hunter’s two major Chinese business ventures. The joint venture was co-owned by the state-controlled Bank of China.
Hunter’s personal attorney, George Mesires, is a partner at Faegre Baker Daniels, now called Faegre Drinker.
A separate October 2018 invoice from the law firm shows Hunter spent a total $68,933.41 on the ‘restructuring’ beginning in September 2016.







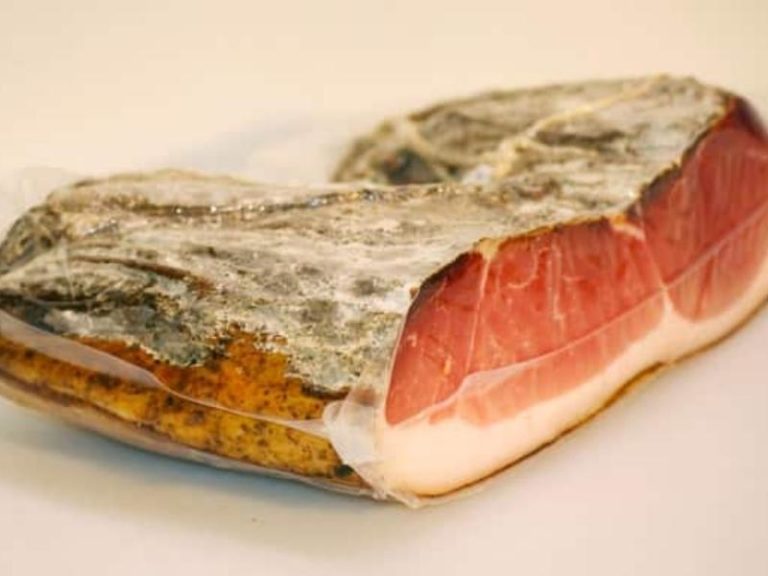
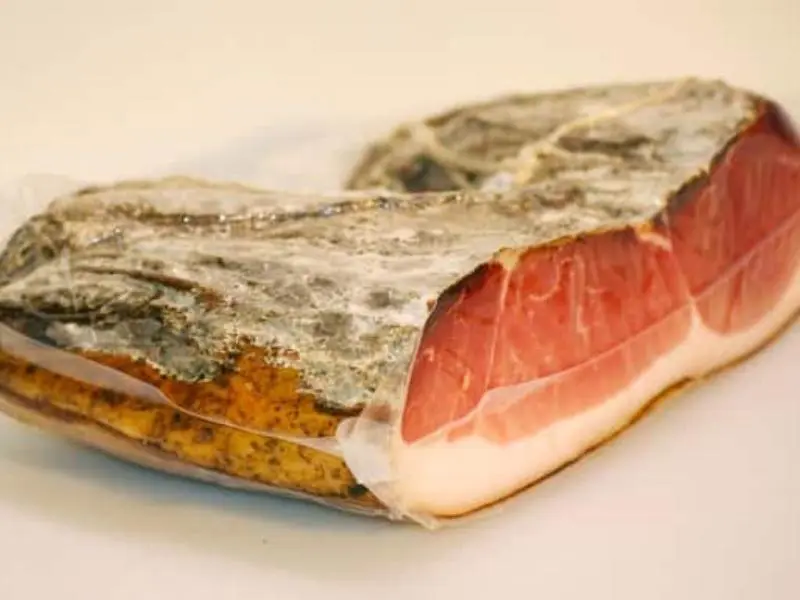 Salt has been extremely valuable throughout history and that came from its ability to preserve food. It stopped the need for us to be dependent on seasonal foods and allowed food to be transported over long distances without spoiling. This method is still valid today.
If you salt cure your meat it can last 2 weeks unrefrigerated for the average cured meat but an option like salt pork can last 4-5 months if prepared and stored correctly. Curing works by the salt drawing out the moisture from the meat making it less likely to spoil as it becomes inhospitable for bugs.
Some common cured meats you may be used to seeing in the shops including prosciutto and parma ham. These meats are cured using curing salt and then they are hung to dry out. These options will not last too long without refrigeration so they may not be the best long term solution.
A good option for living off grid is salt cured meat like salt pork. This option is much longer lasting. It is achieved by packing the meat in salt and adding some other herbs, spice and brown sugar. This method helps keep air out while it is going through the process of curing.
Once the curing is complete the meat is preserved. If you find the coldest area in your home or bug out location to store it you can keep it for a good period of time.
 Brining is another method for storing meat in a liquid form. This is seen as a pickling substitute that allows you to keep meat for at least a month if the method is properly followed. The brine solution and meat will need to be kept in a cool and dry area to avoid getting too hot.
It is also important to use a properly sterilized container to store the meat and solution in to make sure no microbes can affect your meat and spoil it.
The brine solution is traditionally made with salt, sugar and water. The meat is stored in the solution for several weeks. It requires monitoring and if the solution starts getting stringy then the solution needs to be replaced in order to prevent the meat going bad. When using the meat it may need to go through an unbrining process where the meat is soaked to remove some of the salt before cooking.
 Depending where you are in the world you may have heard of jerky or biltong which are both forms of dehydrated meat. The preparation methods of these dehydrated meats are slightly different but they both achieve the end result of preserving your meat for a longer time.
Biltong is made by marinating your meat in vinegar and spices in order to cure it then add extra flavoring for taste. The meat is then air dried to the texture of preference. Biltong of the drier variety can last a long time if stored correctly in cool conditions.
Jerky if made by putting your meat in a type of wet marinade with spices, it is then dehydrated to preserve the meat. Without access to an electric dehydrator you can still make some form of solar oven or solar dehydrator to assist with this process. As with biltong the dry variety of jerky can keep for a long period of type and it is another good storage method to do off grid.
 This option takes a bit more investment in the form of specialized equipment but if you already have the canning equipment then it is a great choice. Pressure canned meat can last from 2 to 5 years which is ideal if you are living off grid.
Meat needs to be pressure canned since it is a low acidity food. Canning prevents bacteria and germs from spoiling the meat. It is possible to can your meat raw or hot or partially cooked depending on your preference. Jars need to be properly prepared and then the pressure canner can be placed over your heat to begin the process.
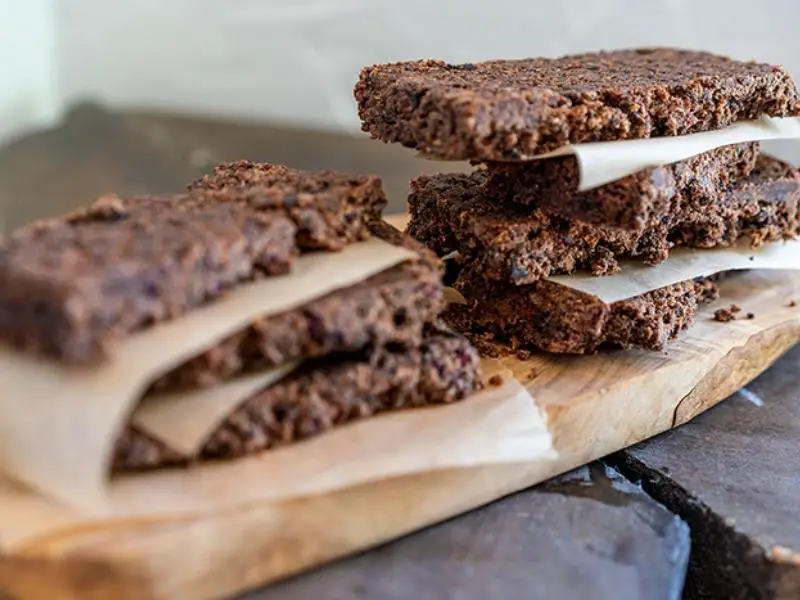 Pemmican is a popular meat storage option among preppers due to its ability to keep for a number of years and through extreme temperatures as well. Pemmican was originally used by Native American by making a mixture of lard, dried meat on hand, and dried berries on hand as well to make a high-calorie, high-energy ration.
It is still a great option for off grid meat storage today.
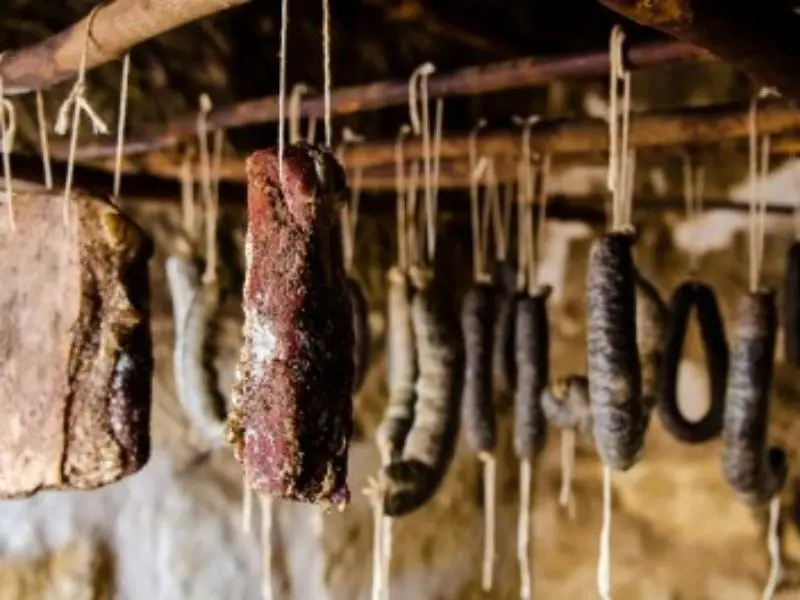 We have given some details on the more popular meat storage methods that are used off grid but there are a number of other options that can be mentioned. Some of these include confit meat, rillettes or potted meat, pâté, terrine and smoking your meat.
One big overall tip is using the cold to your advantage. If you stay in a colder climate then you could be able to store your meat for much longer just by sheer virtue of the natural temperature. In general there will be at least one room in your house that is cooler than the rest.
This could be a basement or room with no windows or insulation. This is the ideal storage space for your meat. Another option is to make a temporary cold cellar or permanent root cellar for cold storage of meat and other options.


