


Welcome everyone to the TFB Armorer’s Bench! As mentioned in the little blurb, this series will focus on a lot of home armorer and gunsmith activities. In this article sponsored by Wheeler, Tipton, Caldwell, and Frankford Arsenal, I had a chance to take some time with a customer firearm and I figured it would make a fun sort of diagnostic article. The last time we did an article like this was with light strikes on a Chiappa 1887 lever-action shotgun and also investigating the lockup on a reproduction Remington 1858 revolver. Most of the time I don’t have a chance to stop and take pictures for articles when working on stuff for customers or friends. I am not the type of person to stop in the middle of a project for fear of forgetting something. It is always better to give the workpiece my full attention. In this situation, however, it was a simple fix paired with a mystery of sorts. Let’s dive into diagnosing a Smith & Wesson Airweight and its disappearing cylinder!
TFB Armorer’s Bench: Diagnosing and Assessing an S&W 642 Airweight
Welcome to our recurring series of Armorer’s Bench which is made possible and brought to you by Wheeler, Tipton, Caldwell, and Frankford Arsenal who are our sponsors. Here, we at TFB hope to inform, entertain, and even inspire any would-be gunsmith or armorer out there. Ideally, with the information I provide and with the help of our sponsors, you can have some useful knowledge pertaining to the conservation and improvement of firearms technology while at the same time sharing experiences and teaching each other new tips and tricks along the way in the comments. Digging deep into what it is to be an armorer or gunsmith has significance but what is important is what those people do to show they’ve earned that title. I am happy to share my experiences and knowledge and hope it is informative!
Make your personal safety a priority:
- Practice proper gun safety. Always make sure before the firearm hits your bench that it is unloaded and safe to be handled.
- Wear the proper safety equipment. The main one would be safety glasses (decent ones) since parts are often under spring tension and you may work with high RPM tools. Other honorable mentions would be latex gloves or a respirator when working with potentially harmful solvents and oils. Also hearing protection when working with loud machinery or test-firing firearms.
- Modifications, alterations, and customizations will void your firearm’s warranty 9.5 times out of 10. Please take that into consideration before attempting any at-home gunsmithing.
- If you are unsure about proper safety practices, disassembly procedures, or warranty standards, stop, put down the tools, and consult a competent gunsmith.
The Issue – Diagnosing and Assessing an S&W 642 Airweight
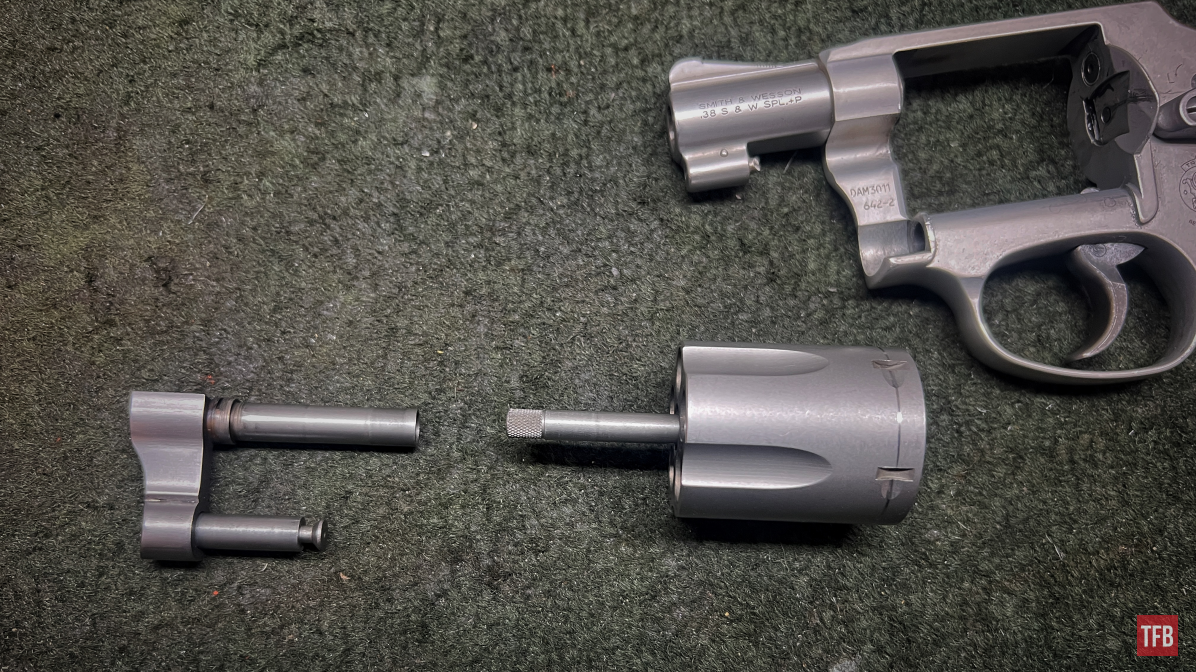
This Smith and Wesson 642 Airweight came in with its yoke and cylinder removed. The grip was a laser grip I had already removed before thinking to take pictures. As I mentioned in the introductory blurb, this is a pretty short and simple fix but I wanted to share it because I can explain how something like this 642-2 Airweight’s Yoke system is retained just for fun but also the weird and potentially false story I was told regarding it.

Smith & Wesson Airweight
The Story – Diagnosing and Assessing an S&W 642 Airweight
So this Smith and Wesson 642-2 Airweight came in with its cylinder and cylinder yoke removed from the frame. The customer seemed nice enough and honest so you can form your own observations on the story I was told. The story went somewhat as follows:
“So, I was at home working with my gun and I dropped it. When I dropped it the cylinder fell out and fell apart. It took me a while to find the cylinder because it rolled under a piece of furniture.”
Very short and sweet and definitely not verbatim what was said but just to give you an idea there you go. So, I know what you are thinking if you know how most revolvers work; can this happen? My personal/professional opinion: maybe. It is highly unlikely anyway. I believe this could happen with this specific type of revolver but the situation would have to be so perfect. If it was so easy for something like this to happen it would happen all the time. At the end of the day, it is much more likely a scenario that which this person was too embarrassed to admit they just put their gun back together out of order. I do not really go into it thinking about it one way or another. My mind is geared towards looking to see if anything is wrong with the gun.
Initial Diagnostic Look
In this mysterious case of the detached cylinder and yoke, it is important to point out two things. One is that the cylinder itself is not directly attached to anything but rather it is retained on the yoke by way of the frame preventing it from sliding off.
When the yoke is removed from the frame, the cylinder is free to slide off. It is a smart way of keeping things simple and easy to perform maintenance on.
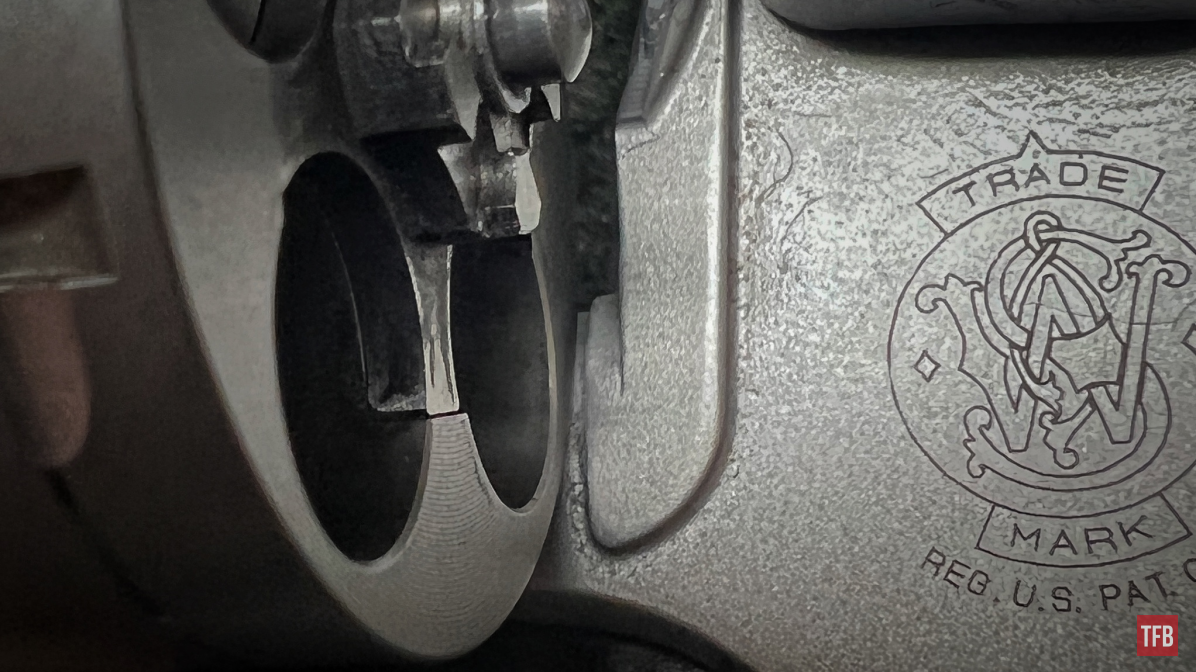
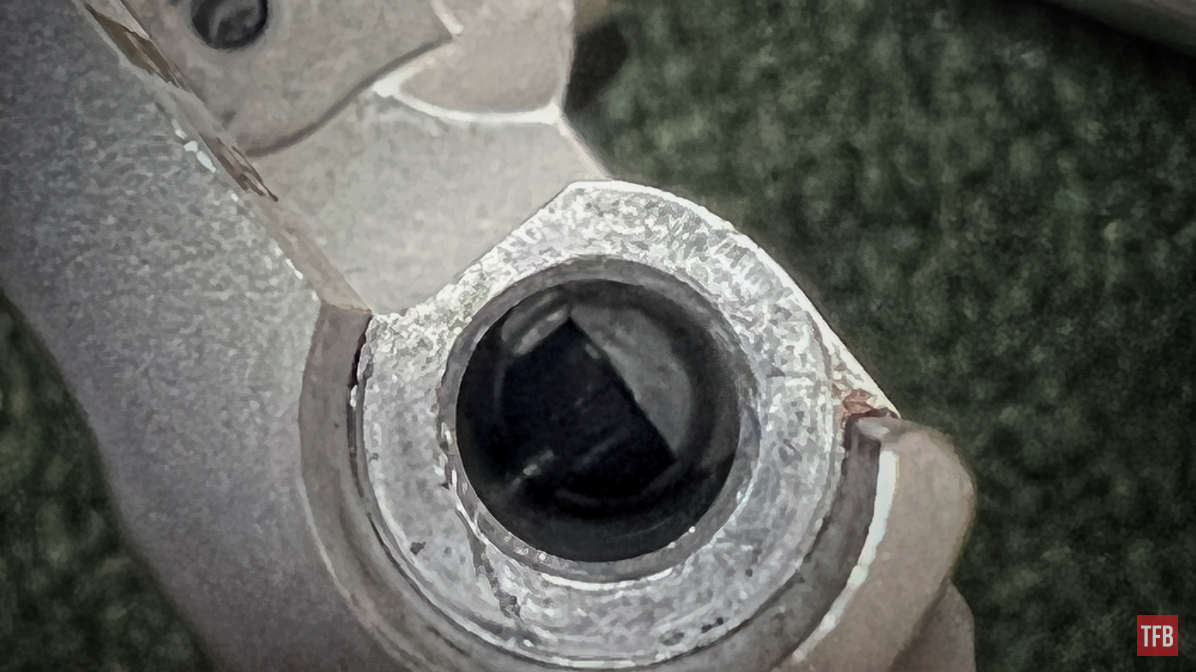
The second point is how the yoke is attached to the frame. In the slot that the yoke rests in, there is a screw (called the yoke screw) with a spring-loaded point that protrudes into the yoke recess at the front-most portion that slides into the frame.
Note the protruding peg on the lower lefthand side of the hole
Looking at the yoke and cylinder there are no clues or signs of heavy wear or damage. The recessed portion of the yoke rod looks new. No signs of breakage or wear in sight. Peeking into the hope in the frame where the rod portion of the yoke rests you can make out that spring-loaded tip protruding perpendicular to where the rod would sit. I inserted a small screwdriver and pushed on it to make sure it still had spring and bounced to it which it did. The next step would be removing the screw for a closer look.
Closer Inspection
On the right-hand side of the gun, the yoke screw is the forward-most screw.
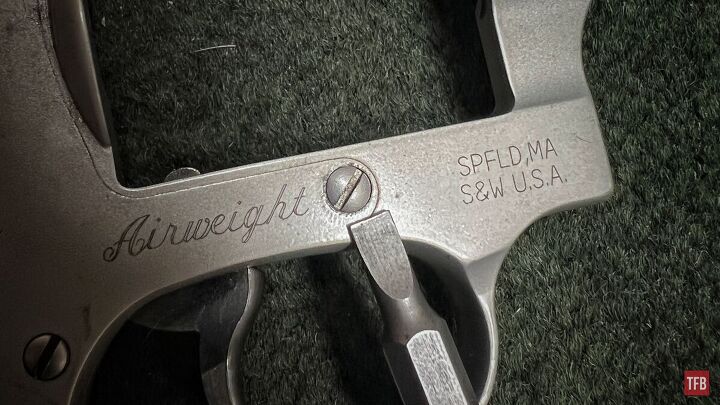
Smith & Wesson Airweight and its yoke screw location
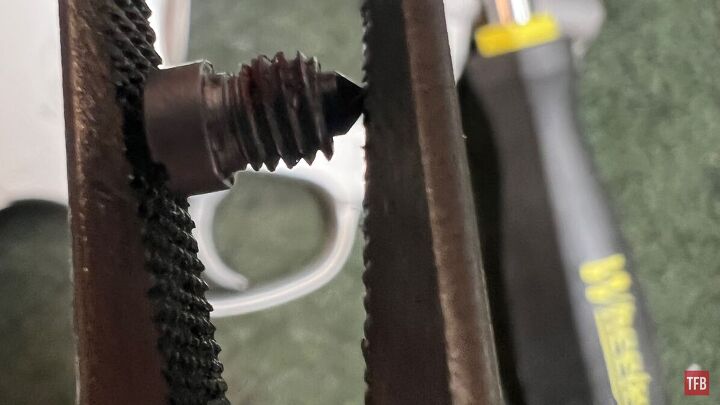
Although it has very few threads, it is held in with red Loctite. I observed that although the screw did not look like it had been recently removed or removed with the wrong size screwdriver, the screw did not noticeably break free from the Loctite. This could be pure happenstance but to me, that means it has either been loose from day one or it had been removed.
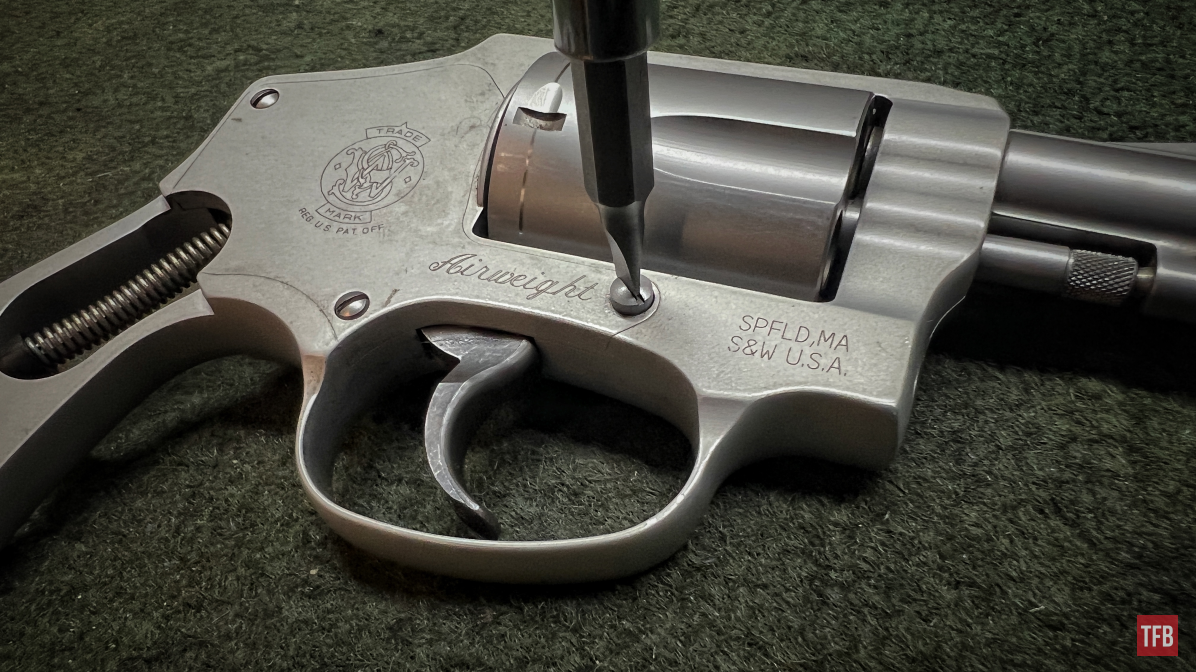
Smith & Wesson Airweight and its yoke screw location
When I removed the yoke screw, I tested its spring tension once again and it was very good, like new. The red Loctite looked rough and patchy so it could have made contact with the frame threads and stuck and torn or at least did not adhere.
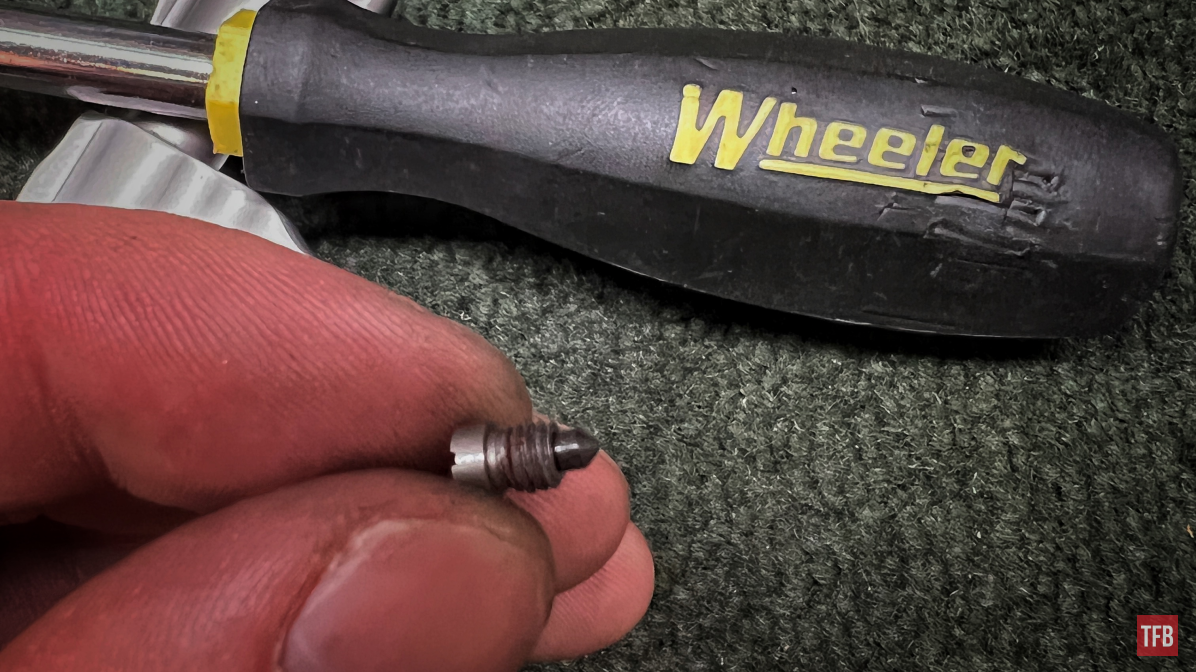
Smith & Wesson Airweight yoke screw
Regardless, after reinstalling the cylinder and cylinder yoke into the frame and replacing the yoke screw, the revolver was back in action. This still leaves the question was the customer telling the truth?
Conclusion
I will stick with my original statement that I believe this could totally happen but it is HIGHLY unlikely and the circumstances would have to be perfect. Potentially, if the revolver’s cylinder/yoke was in the open position and then dropped just right on the right-hand side, the yoke screw plunger could have momentarily gone flush enough for the yoke to be released with the inertia of the impact. Or this guy took his gun apart. I honestly do not know nor do I care really but I wanted to share because weird things like this come up and it is fun to talk about. I would love to hear what you folks think in the comments below! See you next time!

As always, thank you for reading TFB! Be safe out there, have fun while shooting, and we will see you next time for the TFB Armorer’s Bench brought to you by Wheeler, Tipton, Caldwell, and Frankford Arsenal! Also, let us know what you think in the comments below! We always appreciate your feedback.

Caldwell Pro Range Glasses, Clear

The Caldwell® Pro Range Glasses feature a stylish wrap-around design and are a great choice for all shooters. They feature an adjustable nose piece and temples for all day comfort. The scratch resistant lens meets ANSI Z87.1 standards and offers 99.9% UV protection.
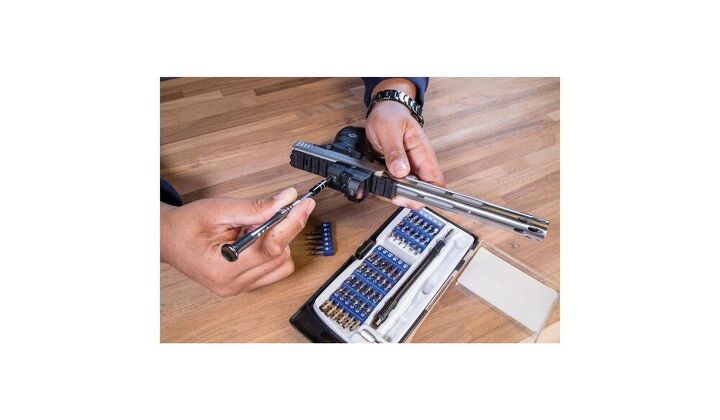
72 Piece Professional Gunsmithing Screwdriver Set
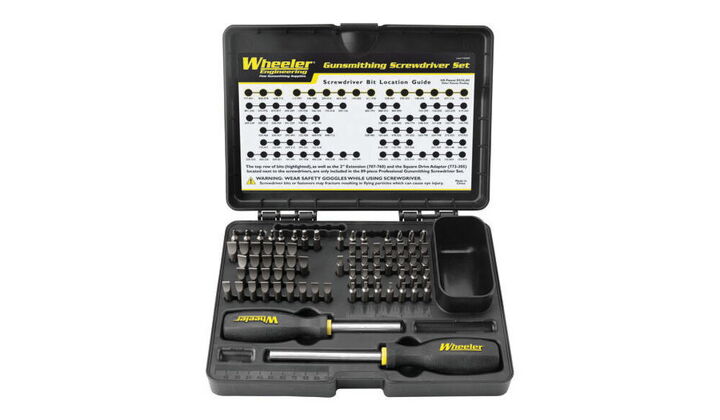
The Wheeler 72 Piece screwdriver set features 54 hollow-ground flat bits, 4 phillips, 3 torx, and 8 specialty bits all made from durable S2 tool steel with a 56-58 Rockwell “C” hardness rating. The precision-engineered bits have a concave shape that allows for insertion all the way into the screw slot of rmaximum contact to prevent burred, buggered, busted up screw slots. The kit also includes 2 non-slip, overmolded plastic handles that come in a convenient hinged storage case whcih includes a bit location guide.
Universal Bench Block
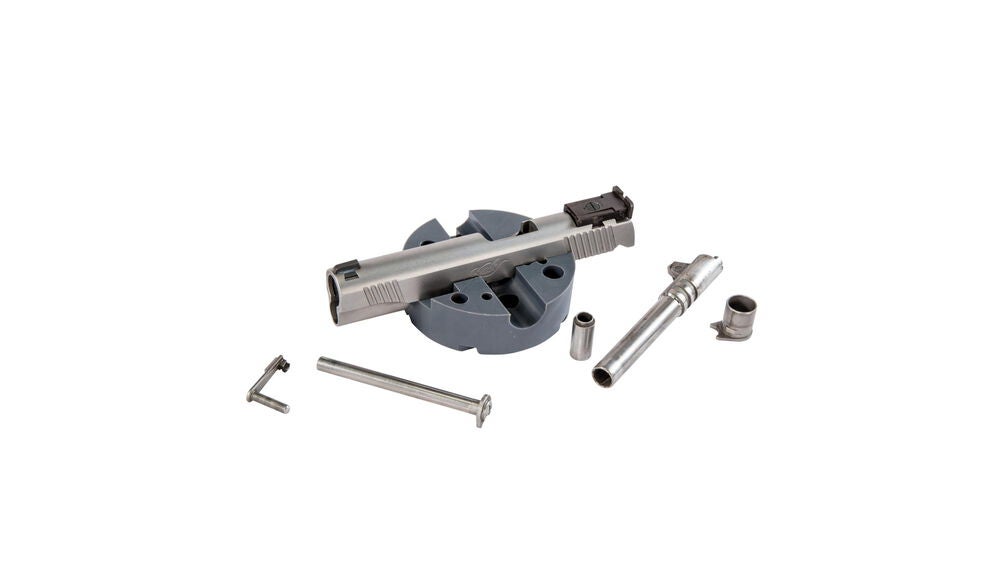
Made of non-marring urethane, the Universal Pistol Bench Block is perfect for use on M1911 pistols as well as other firearms such as 10/22s.
Tipton ULTRA GUN VISE
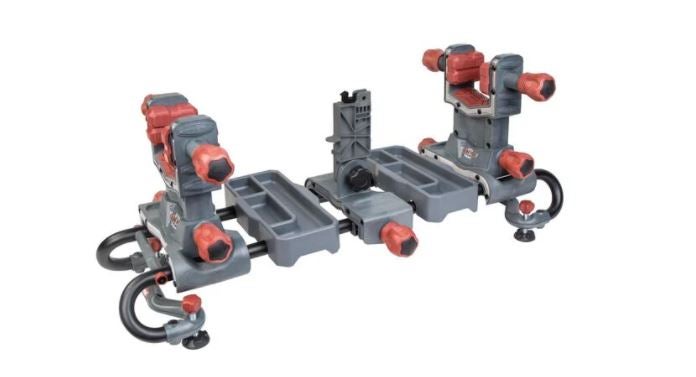
The Tipton® Ultra Gun Vise features a completely modular interchangeable design to allow virtually any shape firearm or crossbow to be cleaned and worked on with ease. The ball and socket articulating clamp pads allow for the pads to adapt to any surface. The dual clamp technology rigidly holds any firearm shape in place, while the rigid steel tube frame structure allows for complete access to your firearm or crossbow. The front and rear clamps are both height and length adjustable, and feature fast-turn knobs allowing for quick clamping. The solvent-resistant accessory and tool trays are movable and removable to stand up to even the toughest jobs.
Precision Micro Screwdriver Set
Frankford Arsenal Stainless Steel Dial Caliper
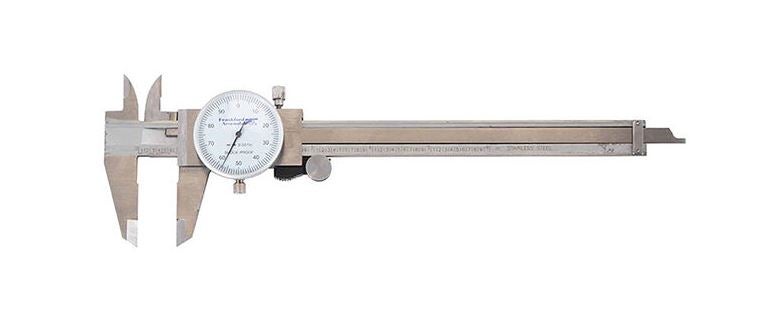
Reloading ammunition requires attention to many critical cartridge dimensions, including case length, neck and base diameters, overall length, primer pocket depth, etc. Verifying these dimensions is quick and convenient with the Frankford Arsenal® Stainless Steel Calipers. These calipers are accurate to within .001″. The calipers allow you to measure inside and outside diameters, plus depths. You will find them useful for many measuring tasks on and off the reloading bench. Packaged in a convenient and protective case.