


Thank you for joining us this Friday evening. Here at TFB’s Friday Night Lights we showcase night vision and thermal-related topics. Often they are equipment reviews or articles highlighting certain aspects of night vision or thermal technology. Last week we took a deep dive into the surplus German-built Fero D-51 night vision binoculars. Well, this week’s topic was a request by some people over the past year. How do you photograph night vision?
Capturing Night Vision @ TFB:
How To Photograph Night Vision With A Camera
Earlier I wrote a review about the NightStalker II. It was a MUM-14 with the objective lens and eyepiece removed and installed into a camera mount for Canon cameras. A Nikon variant of the NightStalker exists but I have never seen one. The NightStalker II places the night vision device and image intensifier in-between the lens and body of a camera. This works but you are limited by the camera lens you mount onto the NightStalker. The NightStalker is rather uncommon and costs a couple thousand dollars just for the system without an image intensifier.
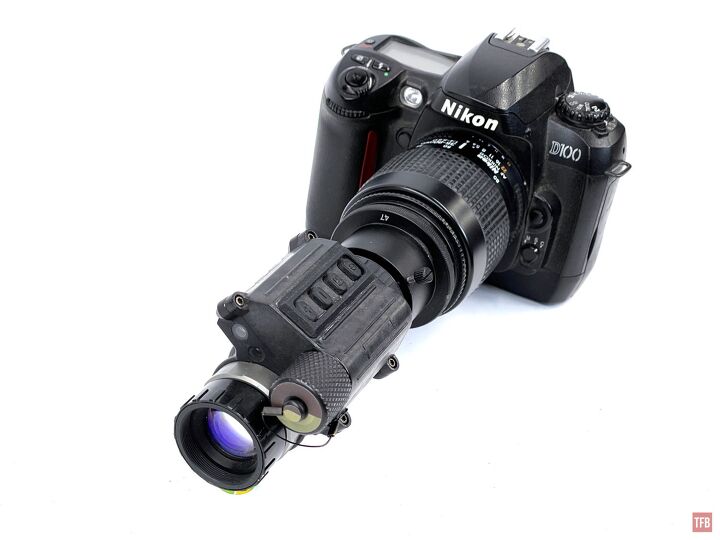
However, there is a simpler adapter you can get. It is a mount to attach a PVS-14 onto the front of your camera’s objective lens.

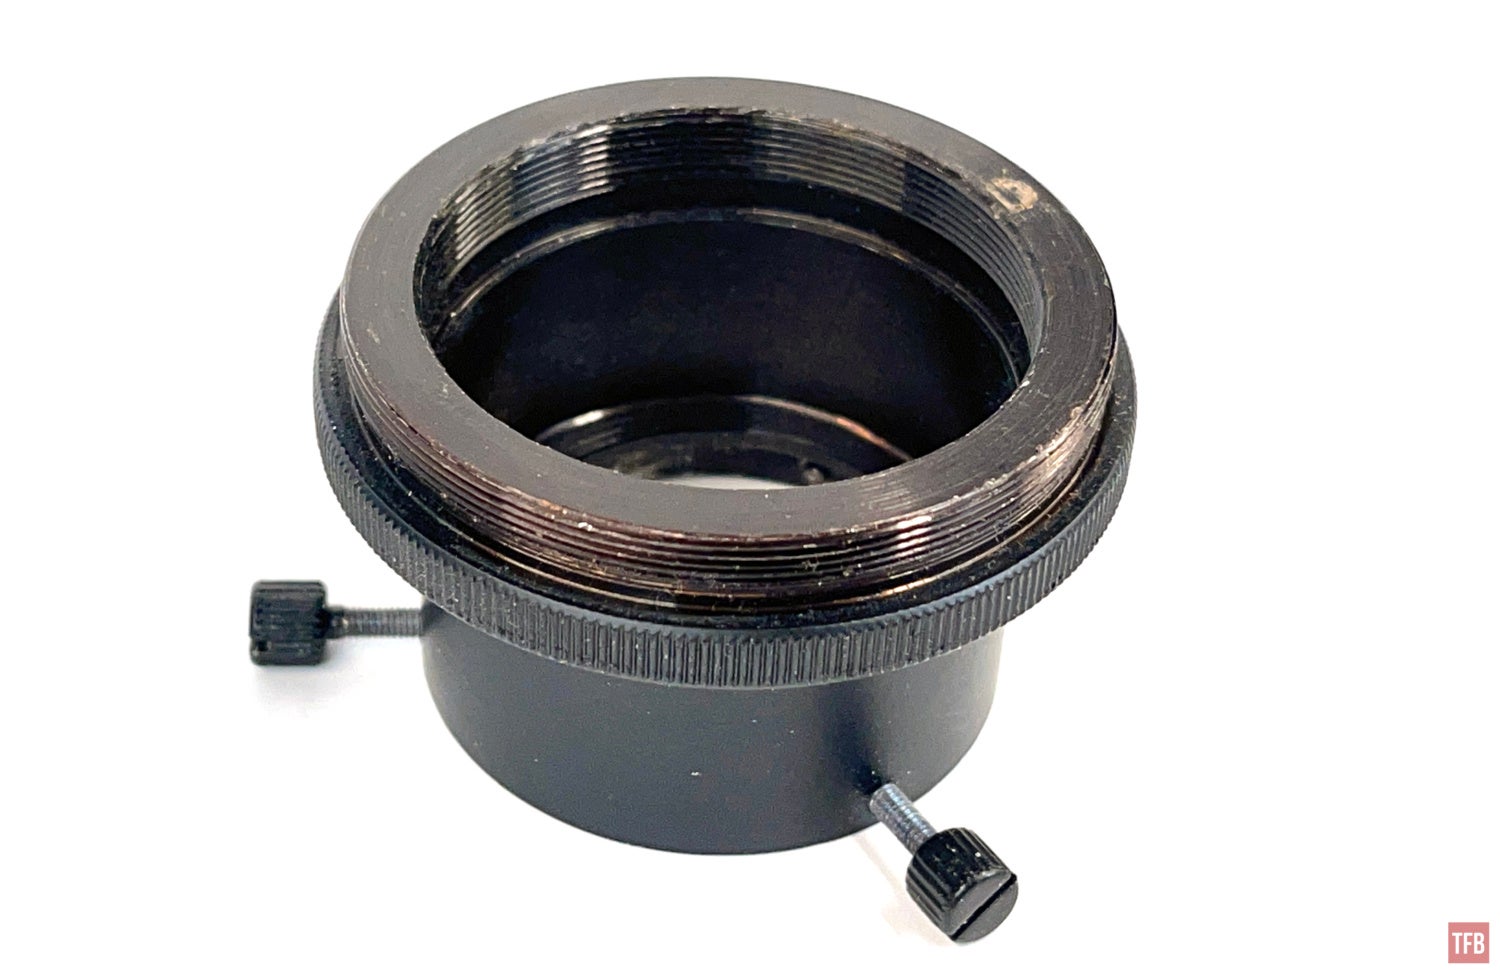
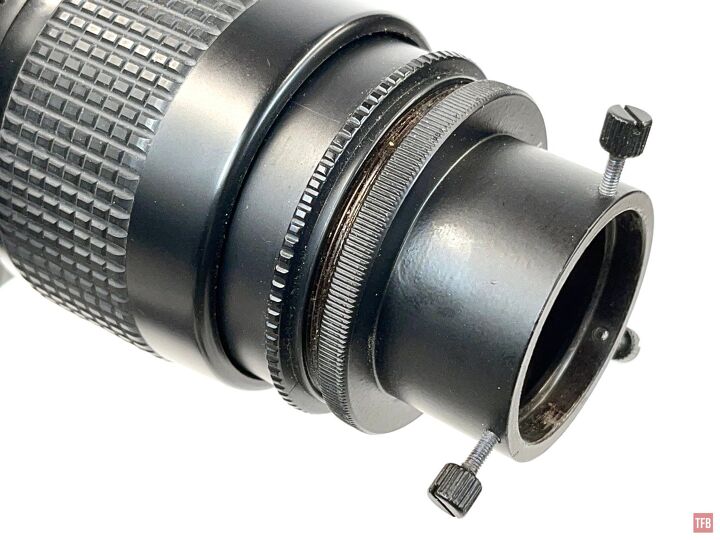
This adapter is very simple. One end is a simple cylinder with a step. There are three set screws that you loosen to install the eyepiece of the PVS-14. When inserted, you tighten the screws.
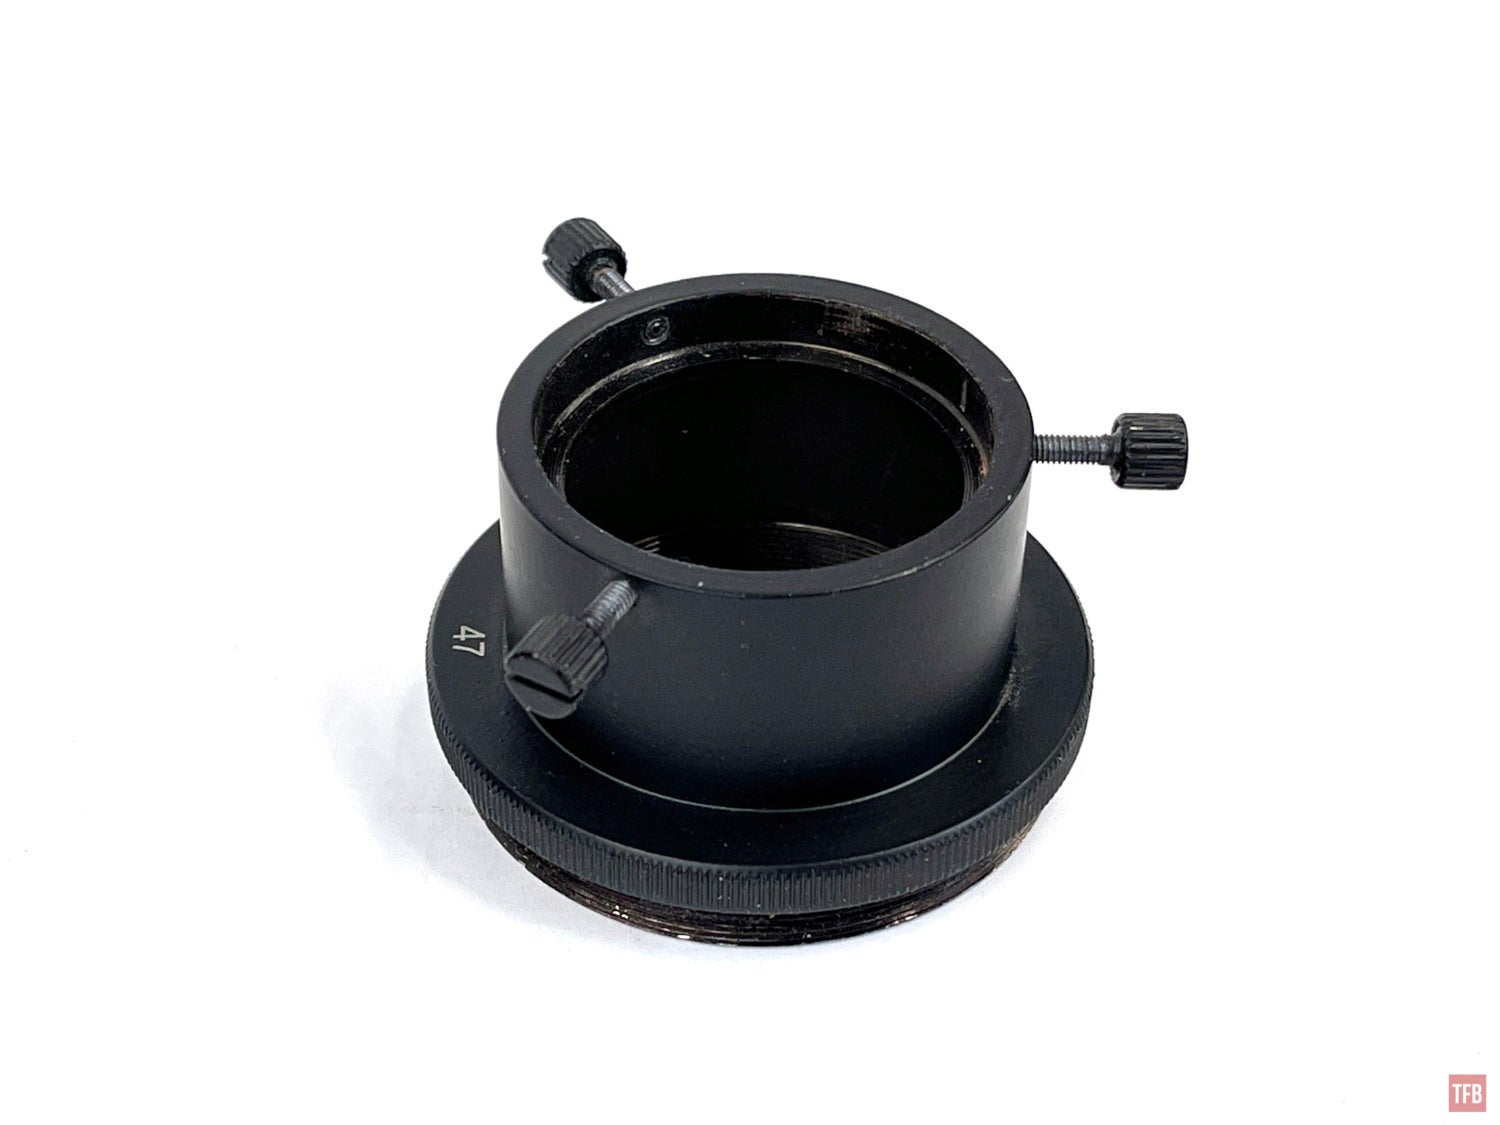

This adapter relies on the eyecup retaining ring of a PVS-14. That lip/brim is what the screws hold onto to keep the PVS-14 into the adapter.
The other side of this adapter is threaded. This one is 47mm and fits kit lenses of Nikon DSLR like the 18-55mm lenses you get when you buy an entry-level Nikon DSLR.
The problem with this setup is now you have a multitude of lenses to focus. You have the camera’s main lens and you need to focus on the eyepiece which has a diopter. Then you have the objective lens of the PVS-14 itself. Plus you have the weight of the PVS-14 and this metal adapter hanging off the end of your kit lens by some very thin threads typically used for mounting lens filters, not night vision devices. I do not have the highest confidence this setup is robust.

Compare the picture above with the picture below. The lens and camera body are attached by solid bayonet lens mounts.
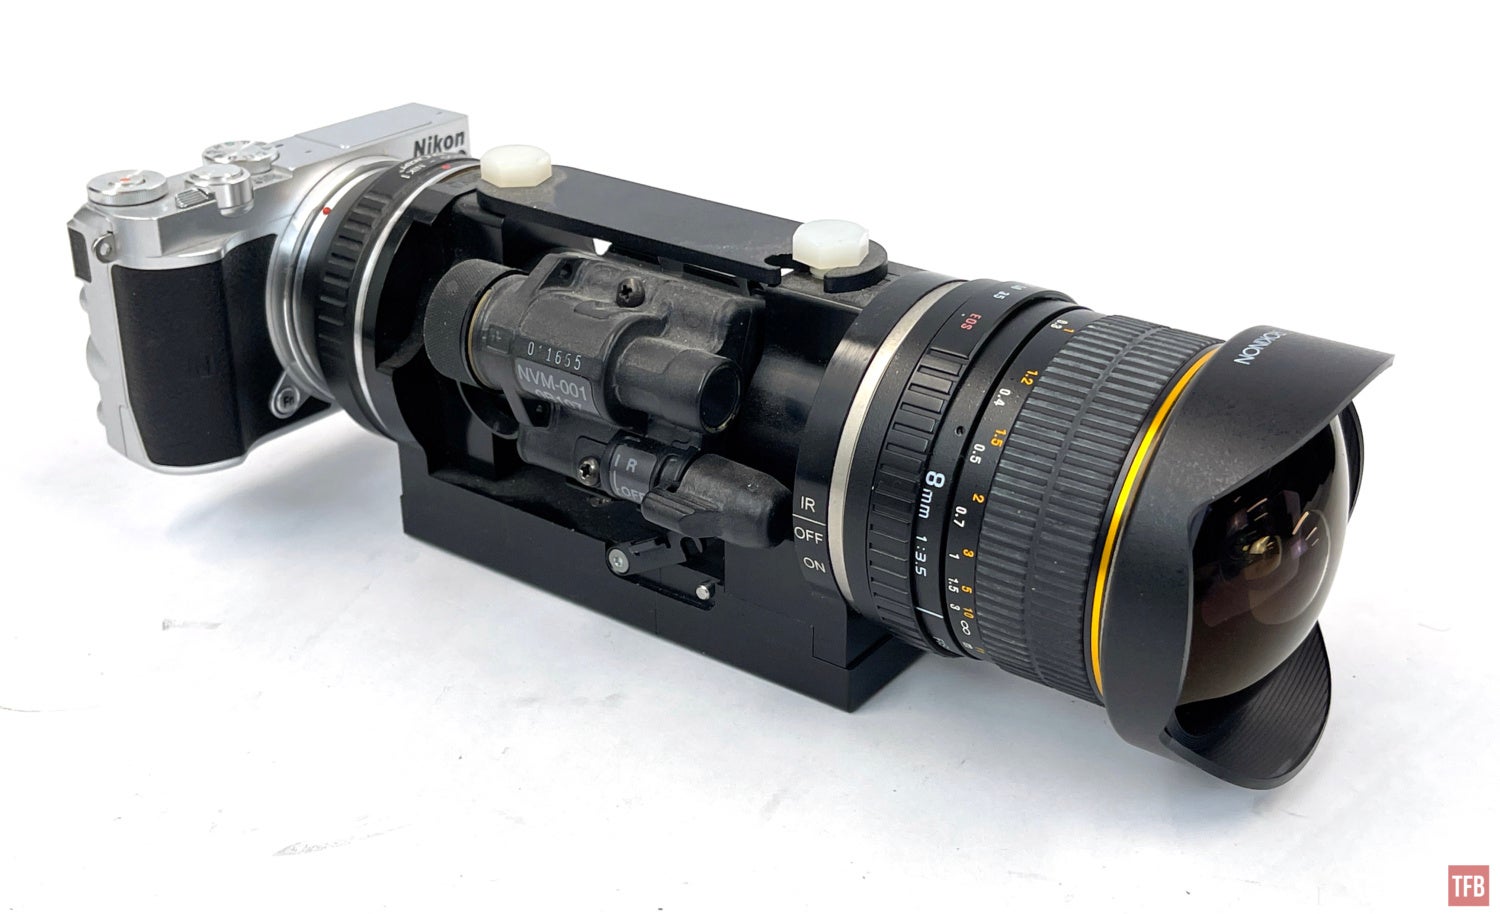
The lens adapter gets around the camera lens problem with the NightStalker system since you are relying on the PVS-14 objective lens. However, the images captured with a DSLR are not that much better than sticking a smartphone behind a PVS-14. In fact, I prefer using an iPhone to capture images through night vision.
Film and Photograph Night Vision with Smartphones
Capturing images through night vision is relatively easy and you don’t need a DSLR to do it. Most night vision users have smartphones. These pocket supercomputers have pretty decent cameras built into them so it is pretty simple to take a smartphone and hold up the camera lens right up to the eyepiece of a night vision goggle. PVS-14s are perfect for this as you don’t need the added weight, bulk and complexity of binocular systems.
You can try holding your smartphone up to the eyepiece and you will be able to photograph night vision but the image won’t be as good as it can be. You have to juggle manipulating your phone in one hand while holding the night vision device in the other. Then you need to line up the lens just right to get the best possible image. This becomes more complicated if you have to move and/or track a moving subject. The other issue is it becomes nearly impossible to adjust the objective focus while still photographing or filming. Luckily for you, there are digiscoping adapters that you can get to alleviate some of these issues.
Gosky Digiscoping Adapter
The entry-level setup is an inexpensive adapter you can get from Amazon. The Gosky digiscoping adapter is designed to quickly attach a smartphone to a binocular or spotting scope. It works with eyepieces that have shallow eye relief. PVS-14 eyepieces have a short eye relief so these work well.

Photo by John Gaspar
The one pictured above is by Bebang but if you search for Gosky Smartphone Adapter you will find it. Make sure you get one that fits around the objective lens. You place your smartphone in the cradle and shift the position so the camera lens lines up to look through the PVS-14. This is a quick and dirty setup that works but the only thing holding the phone in place is the tension of the adjustment screws. It is easy to bump the camera alignment off which requires you to readjust to get the best image.
Phone Skope
For a little bit more I prefer the Phone Skope to photograph night vision. Before Phone Skope I used to use a Meopta digiscoping phone case. They had cups that would twist onto the case and I had one that would slip over the eyepiece. This was a great way to quickly get my phone behind a PVS-14. The digiscoping cup lines up the camera lens quickly and almost perfectly inline. Since the eyepiece is lined up and nested in the cup, the phone cannot shift sideways like the Gosky adapters.
I also use this same setup to film and photograph through my normal binoculars. The Phone Skope is a phone case that has a universal bayonet-style attachment point. Phone Skope makes a variety of digiscoping adapters to fit all sorts of eyepieces for spotting scopes and binoculars. I have found the right Phone Skope adapter for the PVS-14 eyepiece.

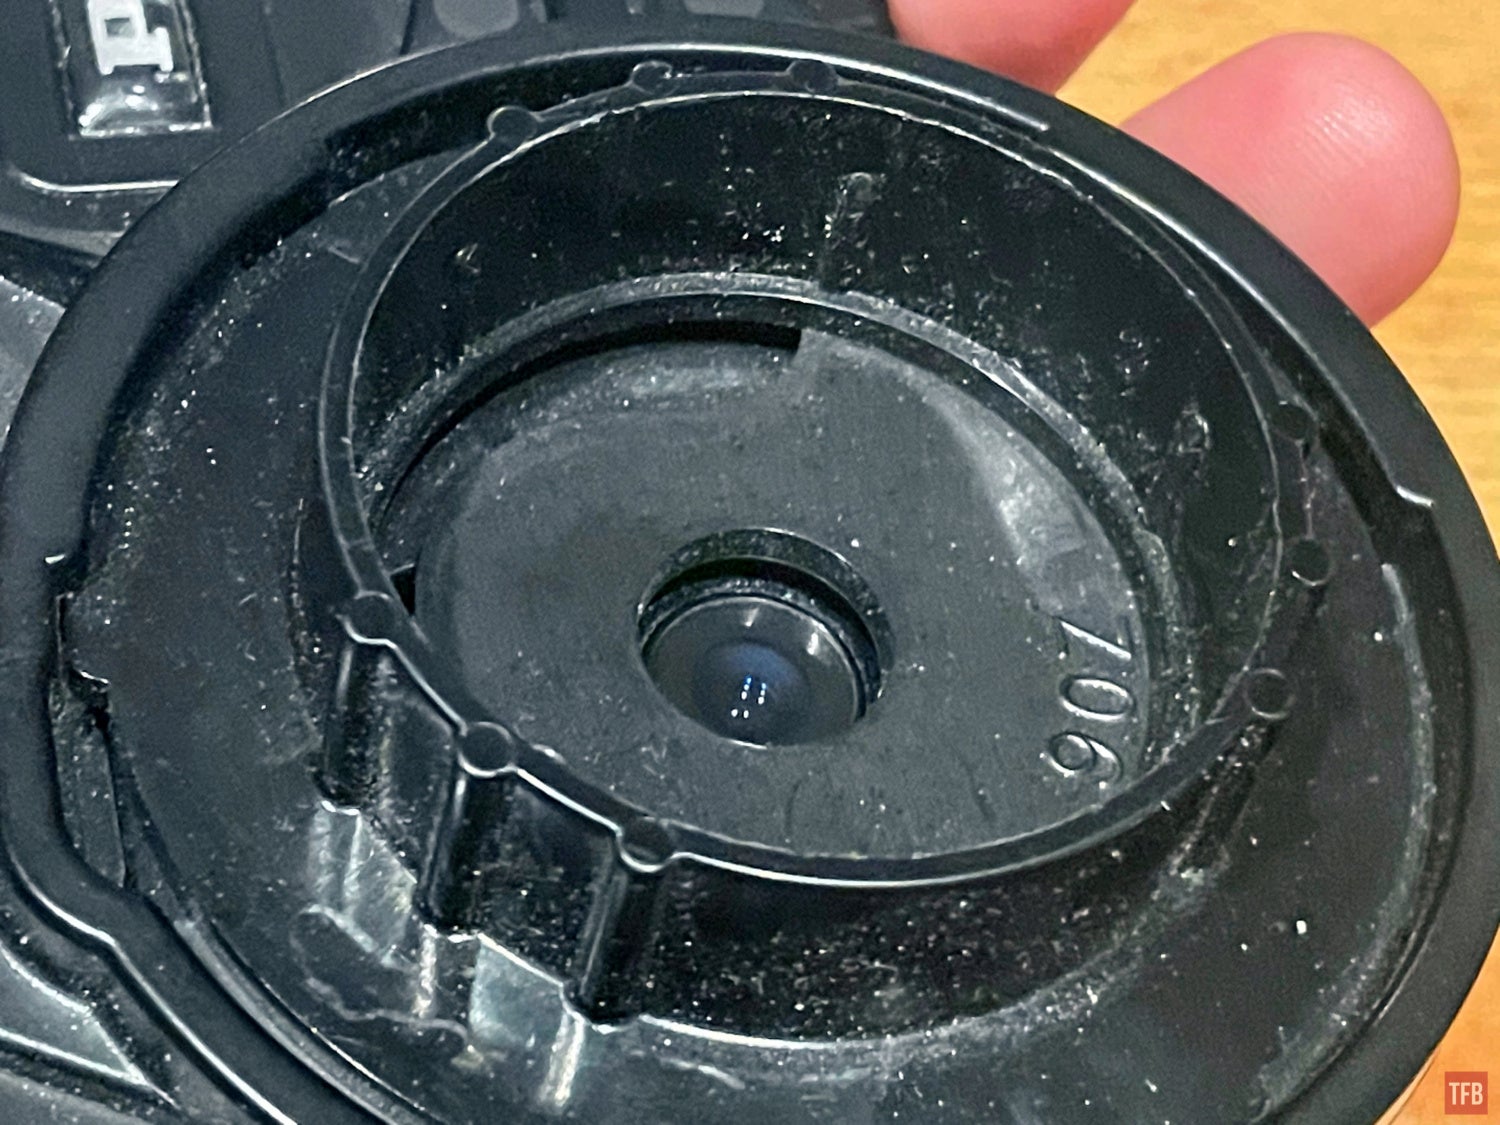
First, you need to get a Phone Skope case that fits your phone.

Next, you need to find this specific adapter ring. Shown below.
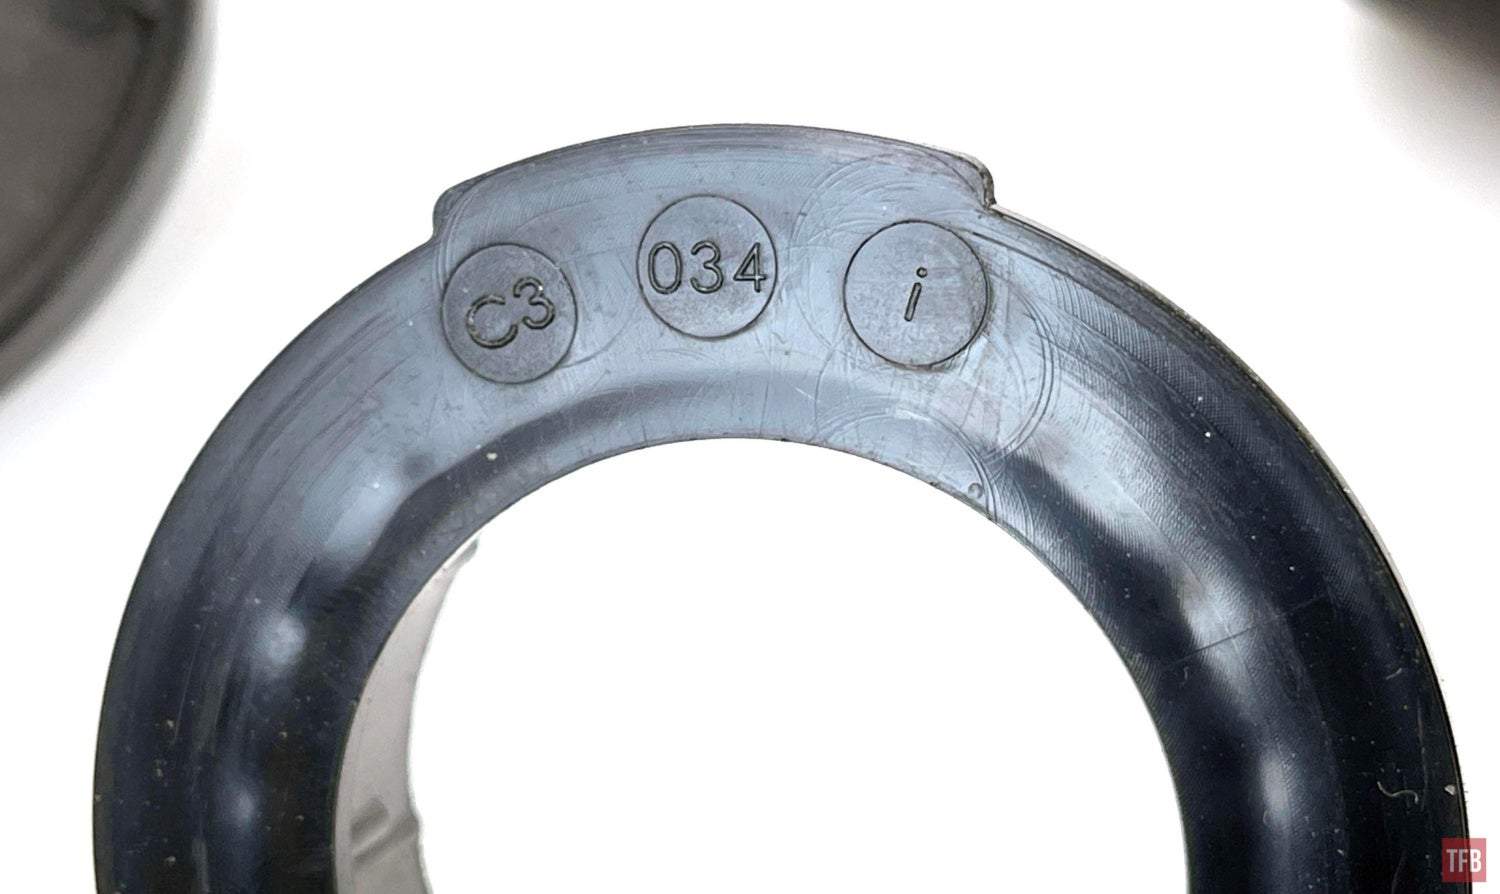
It is hard to see but this adapter has plastic ridges inside the adapter ring.
These ridges happen to line up and index into the grooves around the diopter ring of the PVS-14 eyepiece.

When it is Iined up, the Phone Skope is a snug fit.

You can hold your phone or PVS-14 with one hand. I prefer a beer can grip. I grab the PVS-14 body with my left hand while my index finger reaches around that large disc protrusion on the Phone Skope case. This helps prevent the phone case from sliding off the PVS-14. Now my right hand is free to operate the phone and adjust objective focus.


The downside to this setup is that the phone is attached to the diopter of the PVS-14. So when you film or photograph night vision, the weight of your phone can cause the diopter to spin.
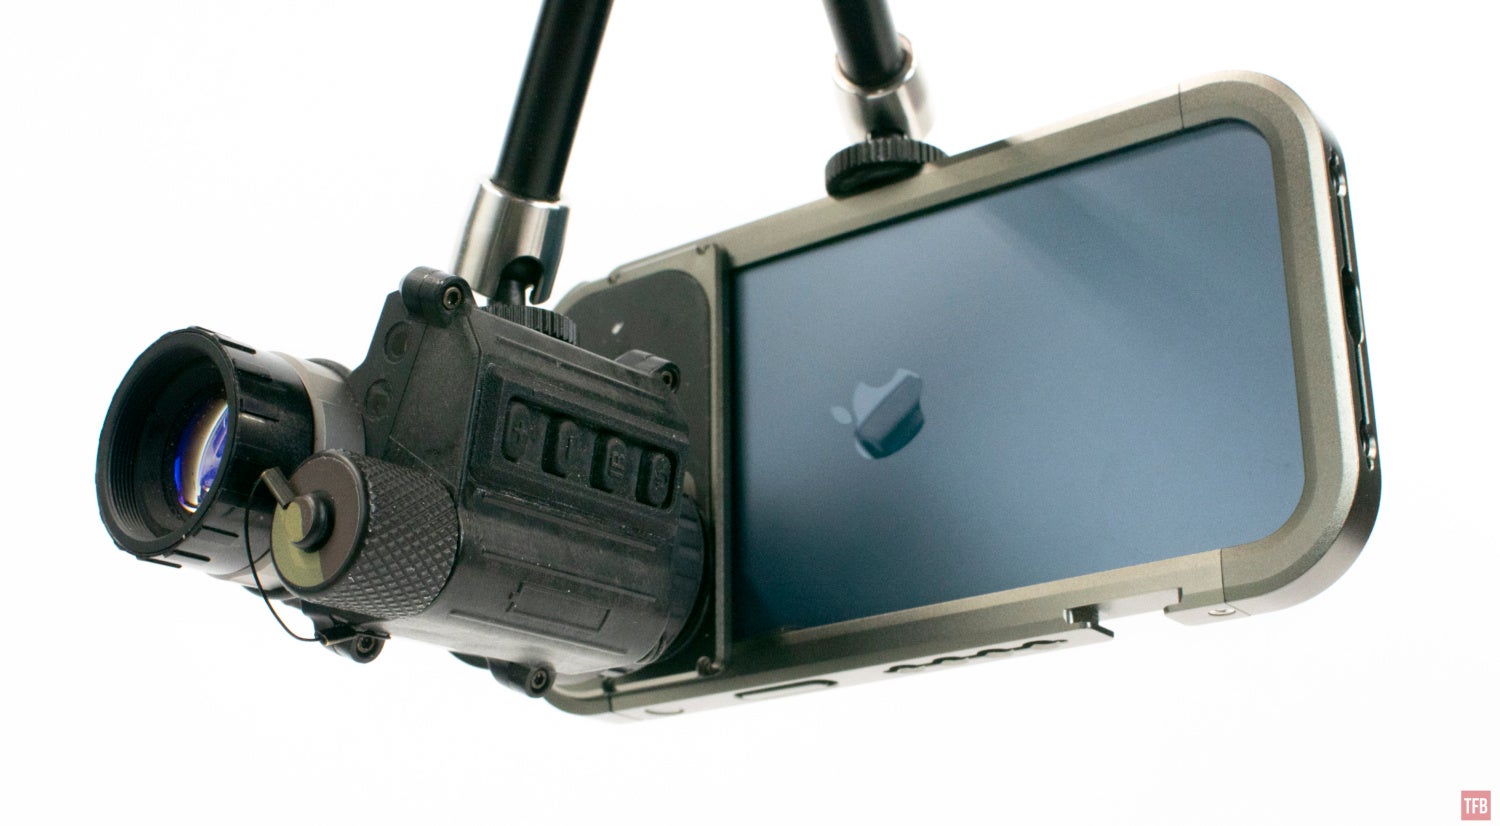
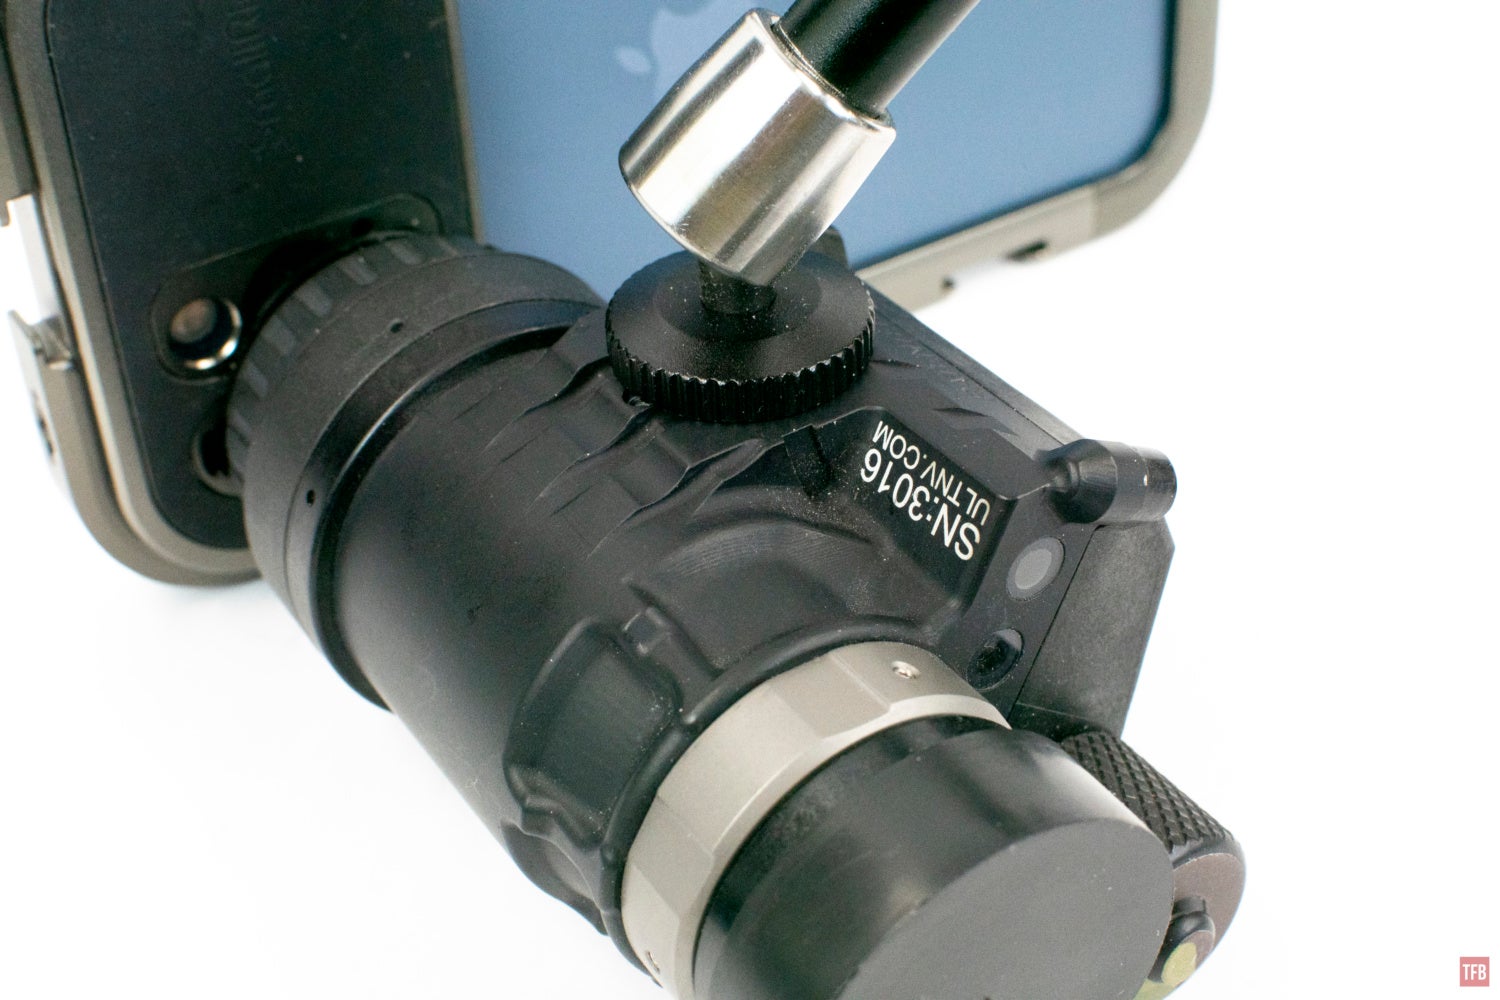
SmartPhone Cage And Magic Arm
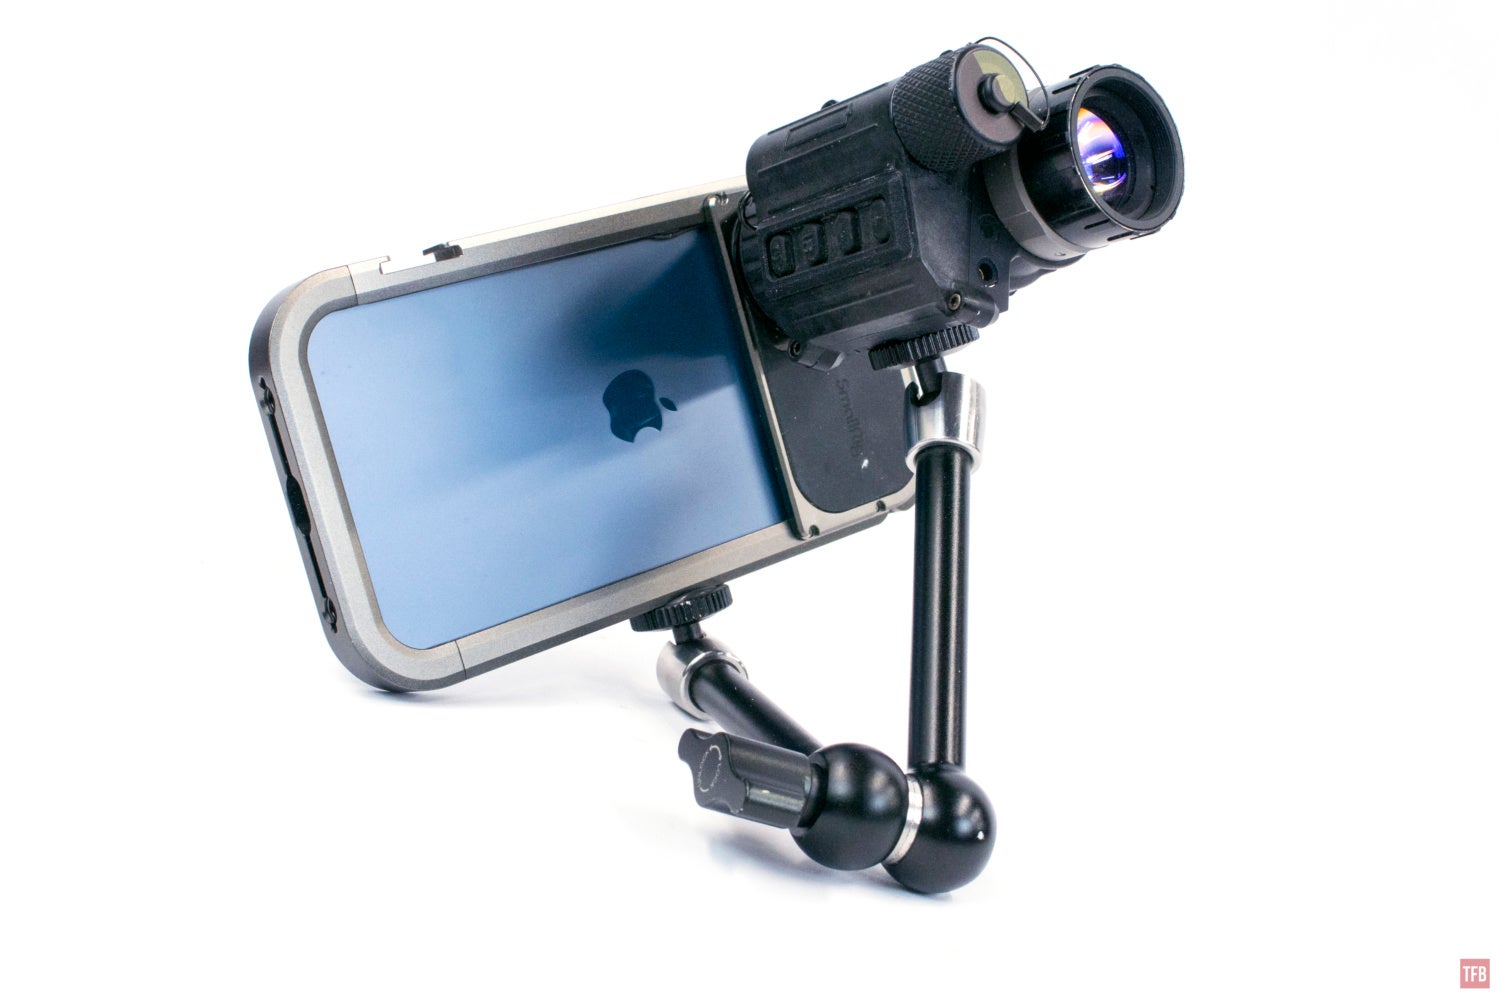
When dabbling in accessories for my high-speed camera, I came across the Small Rig Magic Arm. Small Rig is a company that makes affordable camera accessories. They make a cage for my iPhone 12 Max and it has a bunch of mounting points all along the edges of the cage. I then use a Magic Arm to hold a PVS-14 in front of the camera lens to photograph night vision. The J-Arm screw hole in a PVS-14 is actually 1/4-20 just like a tripod screw. Which the Magic Arm is designed to screw into. The Magic Arms has a tension knob at the hinge between arms. This pseudo locks the arms into position. It isn’t perfect but it works. The PVS-14 can still rotate around the tripod screw. Due to tolerance stacking, the Magic Arm has a little bit of play in it so the PVS-14 is not truly locked into position. It is better than the Gosky but only slightly.


It is stable enough to hold one-handed.

Vision Pro Shop SSAHD Adapter
The Vision Pro Shop adapter is my favorite method to film and photograph night vision. Vision Pro Shop makes the SSAHD for the military and it is a solid system.
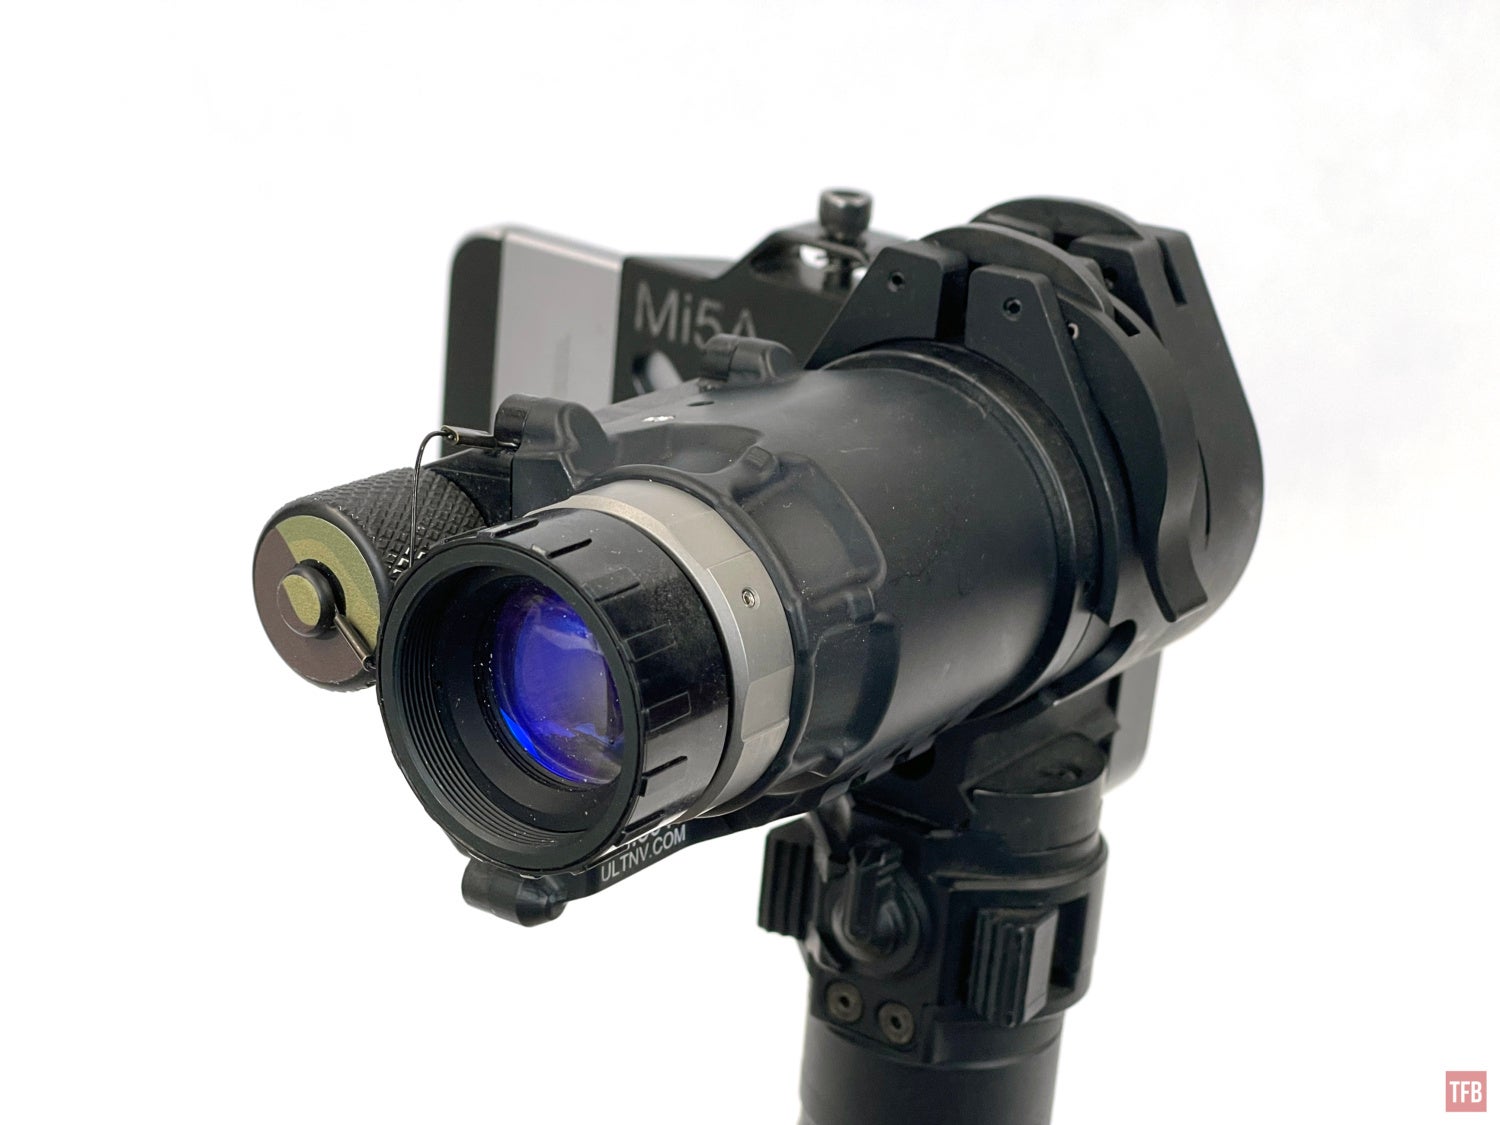
The core of the SSAHD is the coupler below.
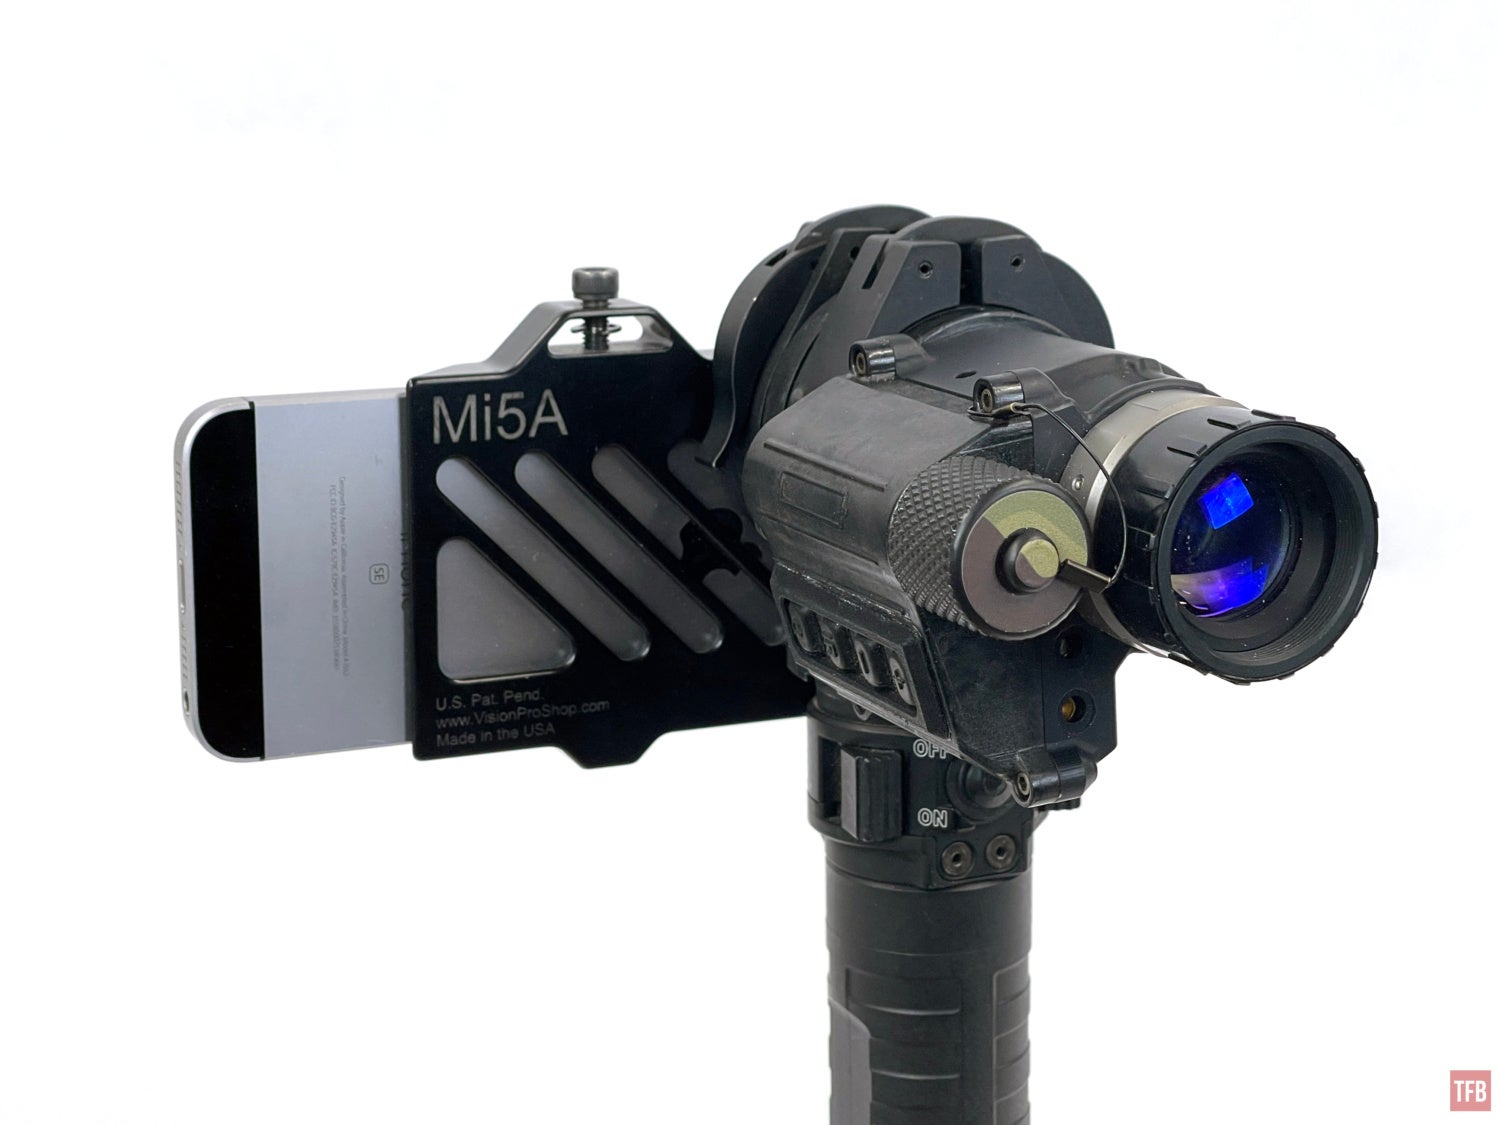
The second half of the SSAHD system is their phone cradles. Their cradles are milled aluminum but due to the ever-changing models of smartphones, they have not caught up with the newest versions like Phone Skope. So I use my old iPhone 5 with the SSAHD.
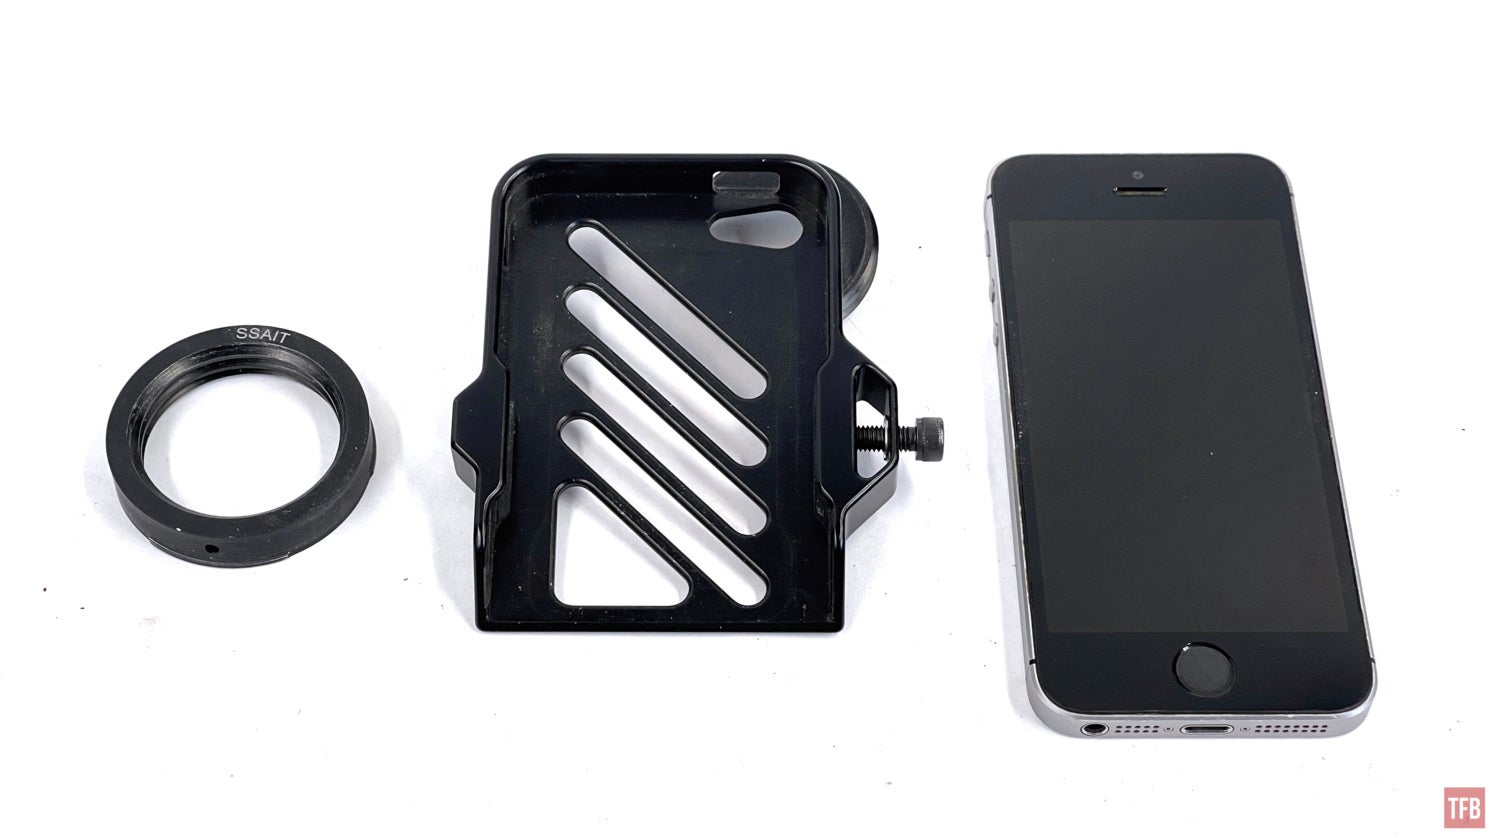

The phone cradle has extremely coarse threads and this is for use with the SSAHD adapter insert as well as their monoloc adapter for rifle scopes.
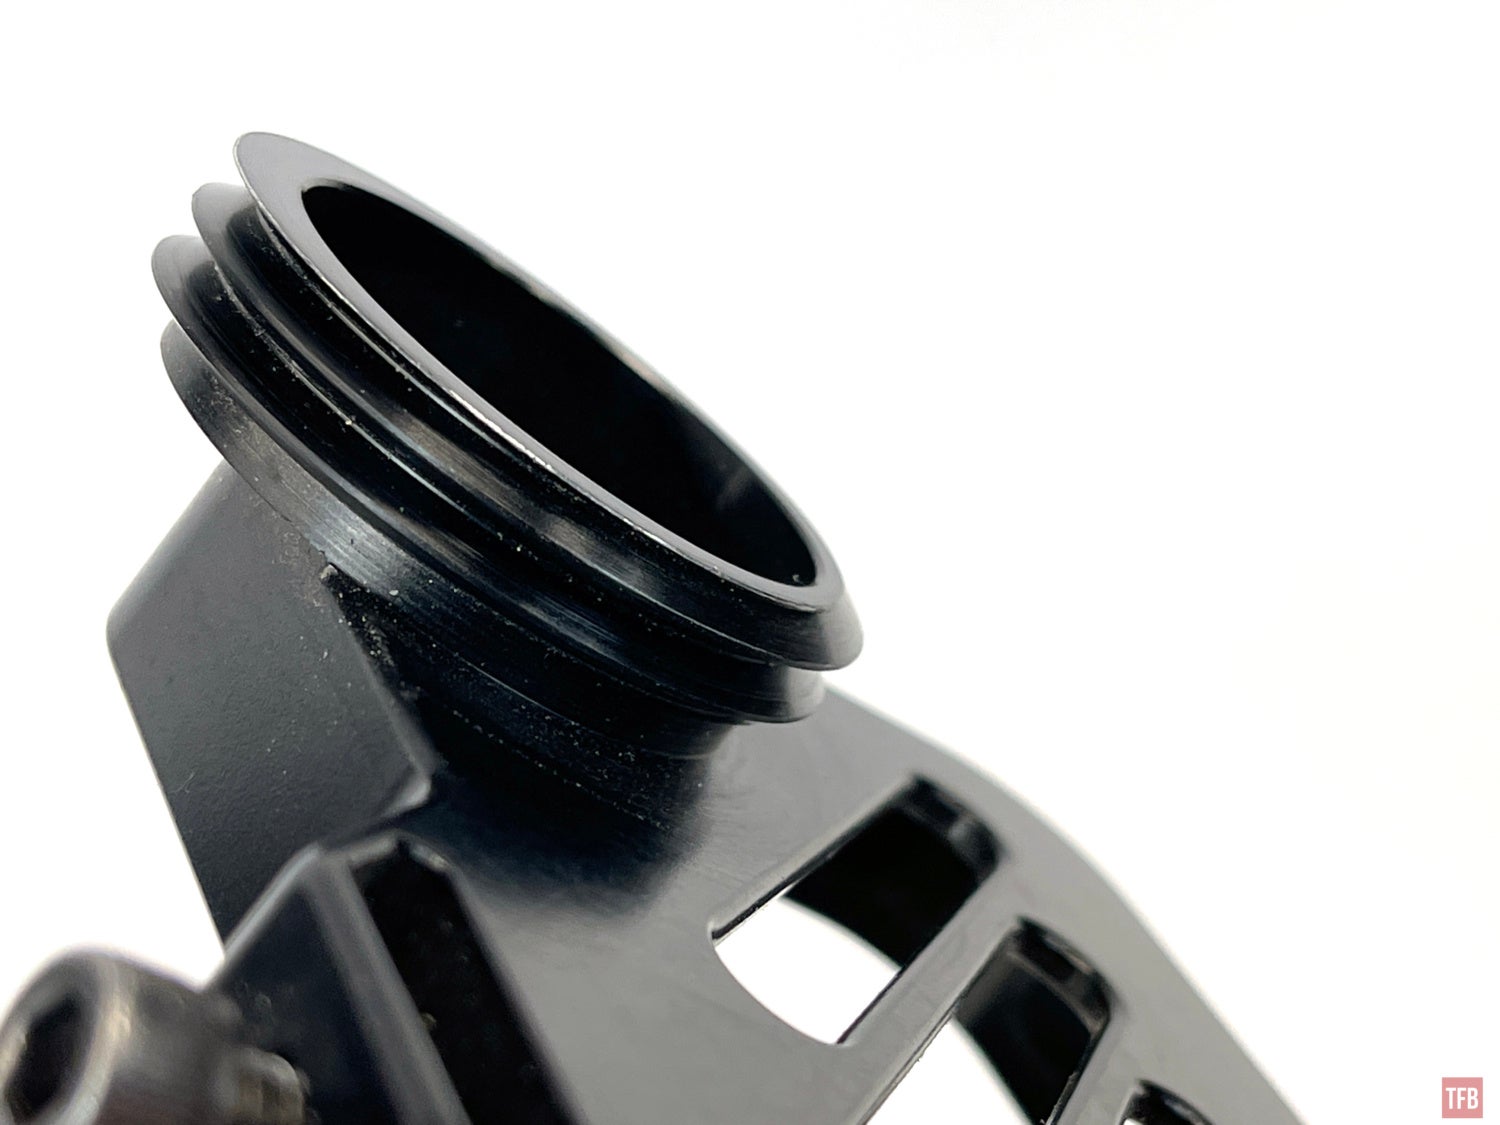
The phone cradle screws into this adapter insert. It is a short cylinder with a tripod lug lip.


The cradle has a tripod hole tapped into the side.

The opposite side has the set screw to hold the phone in the cradle.


The SSAHD has throw levers and clamps onto the adapter insert on the phone cradle. You need to lift the lever past its natural rest position to open the clamp to remove the insert.
The SSAHD has a Picatinny rail machined into it. I use this to mount a VFG.


I use a Wilcox GripPod as a sort of selfie stick, only I don’t use it to take selfies. I use it to hold the entire SSAHD setup. When the phone and PVS-14 are clamped in place, the entire setup is rock solid. The camera lens never moves and I am free to adjust focus with my other hand.

The great part about the SSAHD is that it clamps around the eyepiece and lock ring. It does not grab the diopter. I can violently shake this entire setup and nothing will move or shift out of position.

Tips For Using A Smartphone
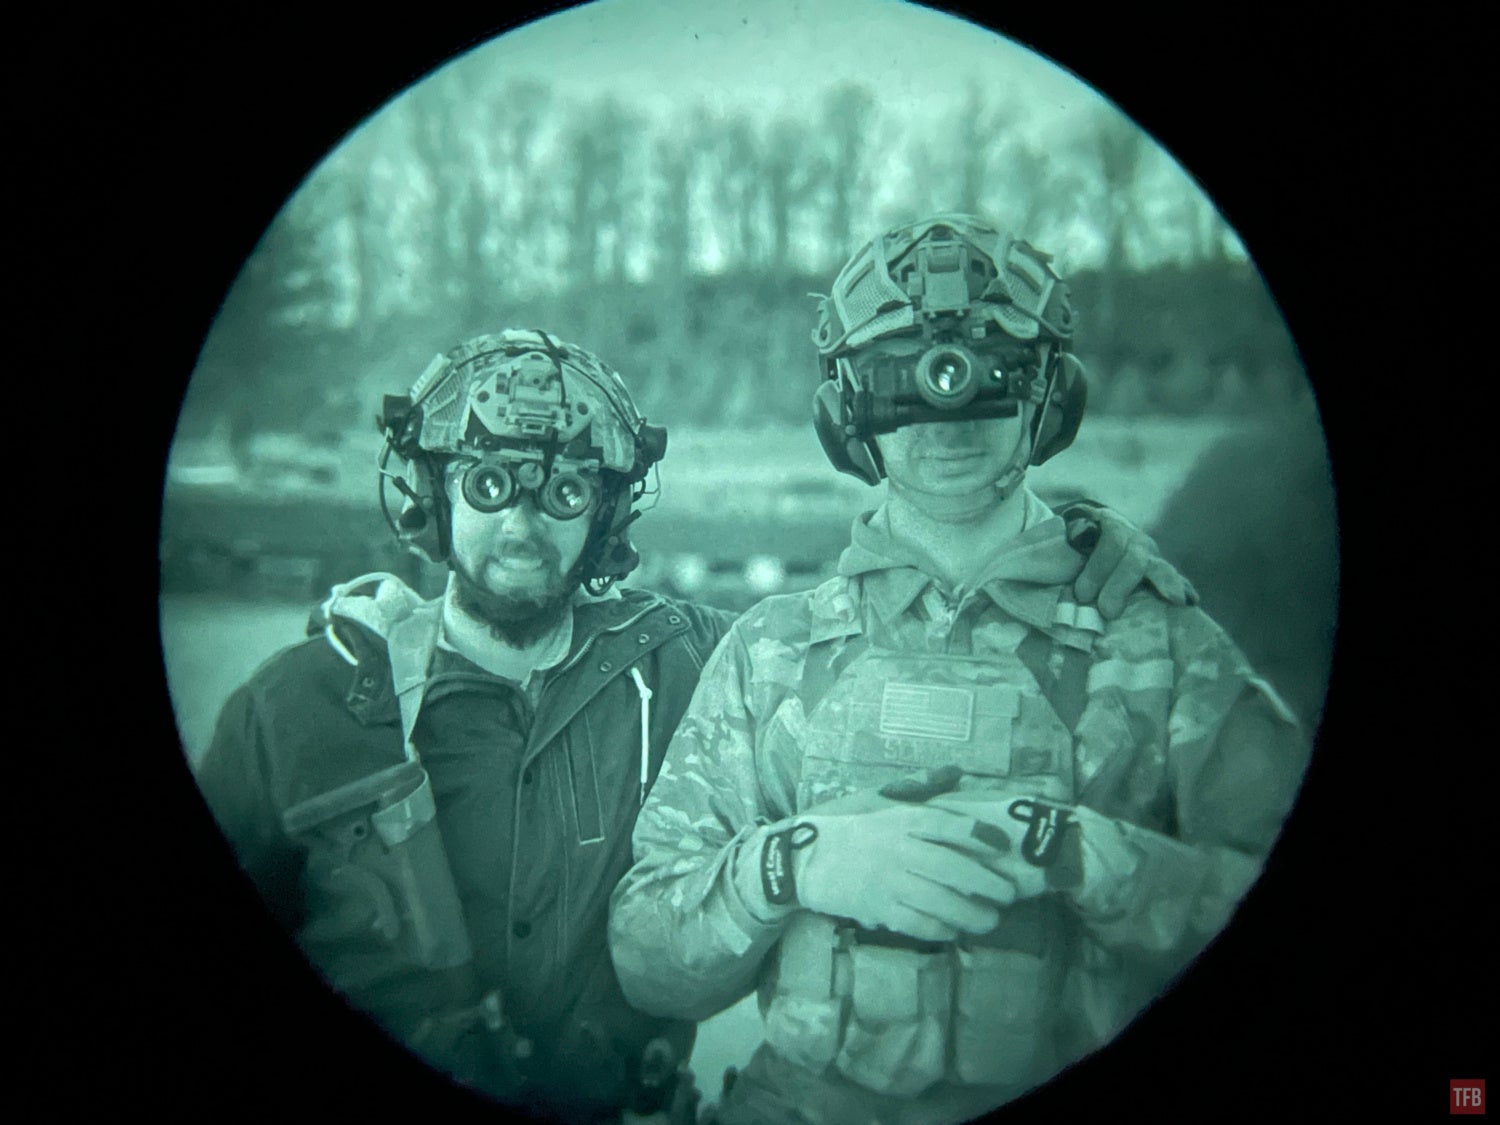
This was photographed with the SSAHD setup and my iPhone 5
I use an iPhone to photograph night vision so I am not familiar with using an Android phone or its camera settings but I suspect these tips might translate across. With a single-lens iPhone, like the iPhone 5 above, filming and photographing is pretty straightforward but with newer phones, with multiple lenses, it can be a bit trickier.
Here are some tips to get a better image with an iPhone.
- Use AE/AF lock by poking and holding down on the screen. You don’t need your iPhone to constantly change autofocus. This gets a bit tricky with phones that have LIDAR to measure distance for focus. This dot matrix can show up in the FOV of the PVS-14 or get reflected off the eyepiece of your PVS-14 and shows up as purple dots.
- Adjust your zoom. If you have a phone with multiple lenses try to keep the zoom at 2x or less. Often if you zoom past 2x, the iPhone shifts to a different lens and then you have to realign the PVS-14 to that other lens. Video mode tends to zoom in a bit so your video may be cropped a bit. Also, stay below 2x optical zoom.
- For taking cleaner photos lower your manual gain and have your iPhone take a longer exposure. This normalizes the noise in your image and smoothens out the scintillation.
Final Thoughts On How To Photograph Night Vision
Hopefully, some of these methods will help you to photograph night vision. You can use some of these setups with a binocular night vision device but it adds a level of complexity because you have to juggle the large binocular and your smartphone or camera. Manual gain helps a lot to reduce the noise in the image especially if your smartphone or camera can take a longer exposure. For video, you are stuck with what the phone camera can get out of the night vision device. Usually, the video camera needs more light so max gain on the night vision device.
The Phone Skope setup is probably the best balance of price and function. When set up right, it is pretty solid. Not quite as solid as the Vision Pro Shop setup but decent enough. The Gosky and similar adapters are the bare minimum to get images through your night vision. Now, these are only for filming and photographing with your hands. Not a helmet-worn setup. You can try to hold a smartphone between your face and a PVS-14. It is not ideal since your screen is millimeters from your eyeball.